



Ideen mit MIDI entwickeln - Einführung in MIDI

Mit
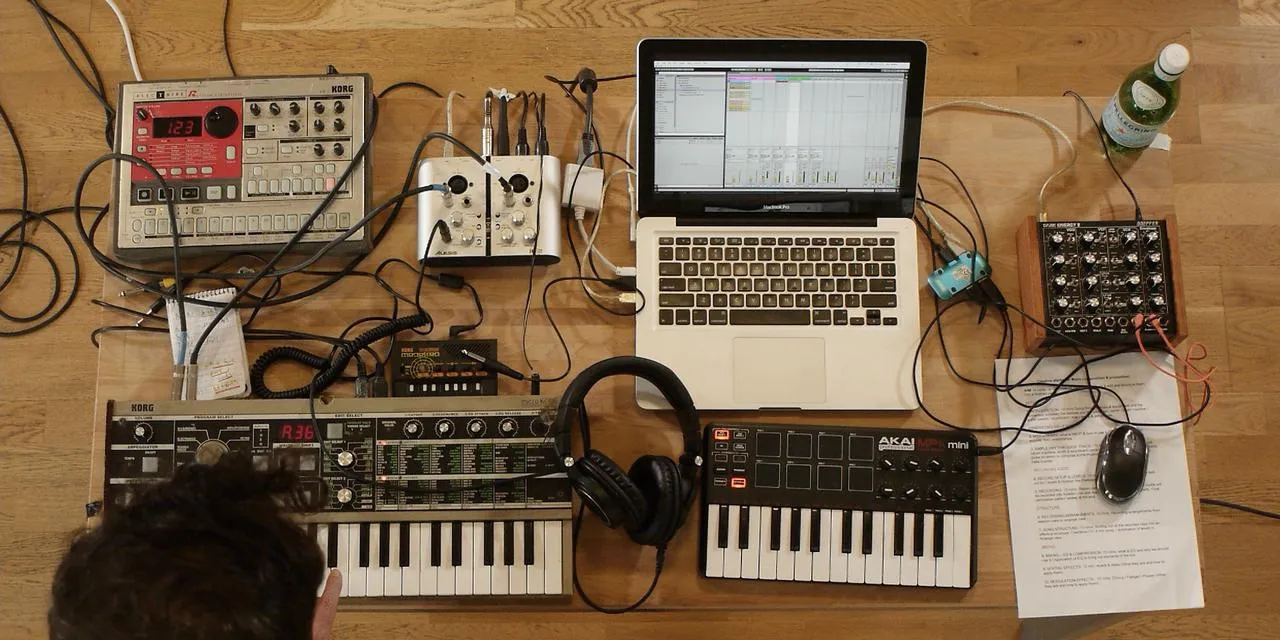
John WatsonJohn Watson erklärt, was MIDI wirklich ist und wie du einen Synthesizer wie den MicroKorg anschließt, um in Ableton Live Noten (statt Audio) aufzunehmen und zu bearbeiten.
Das steckt im Kurs
14 Lektionen (1h 39m) · 2 gratis
01. Erste Schritte und Geräte-Setup
11:07
02. Ideen mit MIDI entwickeln - Einführung in MIDI
Du bist hier6:12
03. Eine einfache Rhythmus-Guide-Spur aufnehmen
7:41
04. Audio aufnehmen: Einrichtung und Pegel
6:21
05. Audio aufnehmen
6:25
06. Ein externes Instrument verwenden
3:27
07. Die Basslinie erstellen
11:05
08. Eine weitere Rhythmusspur hinzufügen
2:50
09. Premixing & Session View
9:59
10. Songstruktur und Arrangement-Ansicht
8:47
11. Mischen: EQ und Kompression
7:37
12. Räumliche Effekte
4:40
13. Modulationseffekte
5:26
14. BONUS: Eine Basslinie mit dem Doepfer Dark Energy II erstellen
Gratis-Lektion7:26
Transkript der Lektion
Lesson Two: Understanding MIDI and Making Music
Welcome to lesson two. In this session, I'm going to talk a little bit about MIDI: what it really means and how we can use it to create music.
Connecting Your Instruments
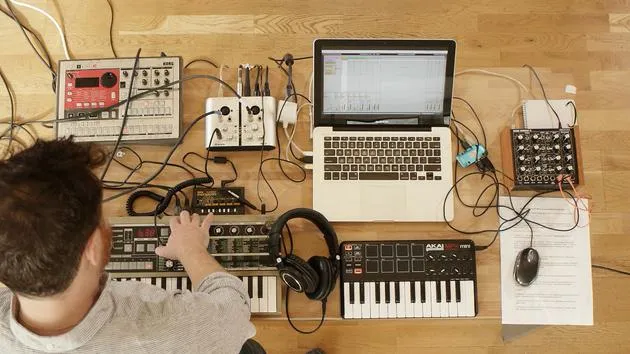
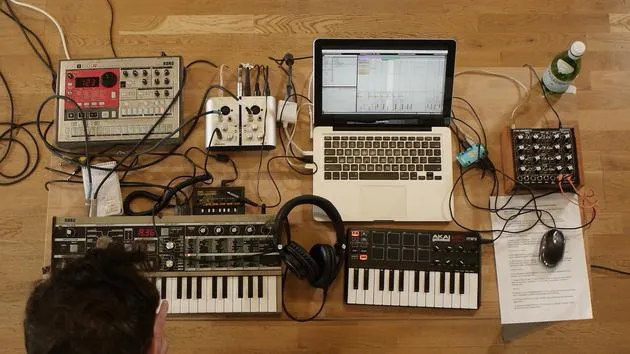
First off, I've got my MicroKorg synth that I was demonstrating earlier, and you heard me playing a few keys on it. But how do I connect it to the computer to play and record those notes, instead of just recording the audio output that I'm generating?
MIDI Connections
Here's the setup:
- My sound card has a MIDI In and a MIDI Out.
- Most modern synths and drum machines now have USB, but the old school MIDI needs a different type of connection.
So, what I've done is:
- Run MIDI Out from the Korg to MIDI In on my sound card.
- Run MIDI In to MIDI Out on the sound card.
This setup allows me to record notes with my synth connected like this.
Demonstrating MIDI Recording
Let's demonstrate this setup:
- Turn on the metronome.
- Hit Record and play some notes.
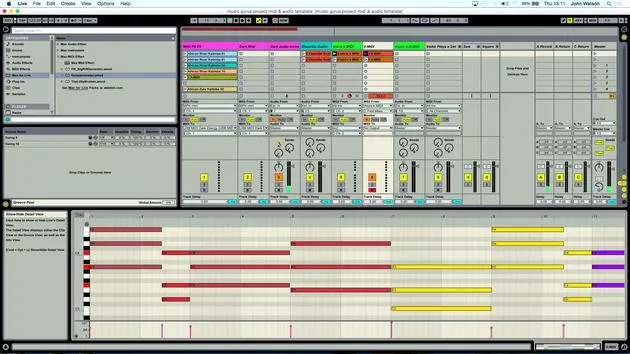
- After stopping the recording, double-click on the clip to view the series of notes that will play back through the MicroKorg.
Now, I'm turning the metronome off since I no longer need it.
If I play the track, I can confirm everything is working. Now, I like to generate a few ideas, maybe lay down something musical to start off with.
Using the Schwarzenegger Plugin
I'll be using a device that's free to get, created by producer Heinrich Schwartz, called the Schwarzenegger. This tool allows me to set up complex chords, which is great if you're not that confident in your music theory. It can really give you unique musical chords.
Setting Up the Schwarzenegger
- Load up the plugin.
- Earlier, we tested it and heard some notes from the MIDI keyboard, confirming that everything's working.
This plugin provides chords corresponding to the notes played in a particular scale. For example, I might decide to:
- Leave my black keys alone.
- Obtain a major chord for every white note I play on the keyboard.
The amount of notes in that chord can be adjusted using the Add Notes parameter. Currently, I have:
- A C Major
- An E Major
I can set it to a three-note chord system or expand it to a four-note chord system by adding an extra note.
Experimenting with Chords
I can also spread out the distance between notes in the chord. Let's turn on the spread and set it to 4. Here's what happens:
- The first note doesn't generate a chord.
- The second note gives us a different sound, which makes it easier to hear the four notes along with the spread.
By moving some of the notes into different octaves, I have:
- Adjusted the C note up two octaves.
This tool greatly helps in laying down musical ideas.
Recap
Just to recap:
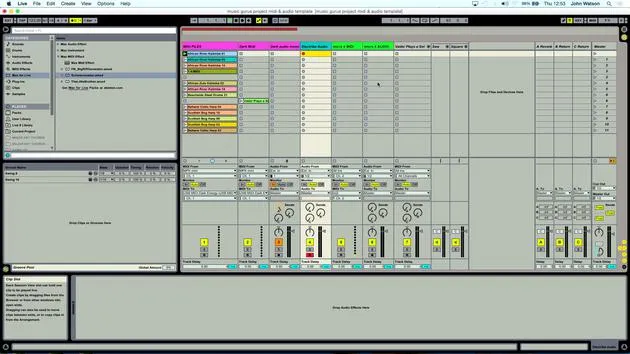
- I have my MIDI track from the Korg, playing through the MIDI effect.
- The notes are inputted into the DAW, with an audio track set up next door.
I've color-coordinated them for easy identification. To check whether the audio is coming through, I can simply refer to the track.
- You can see the MIDI notes being recorded.
- The same applies for every MIDI track I set up.
The next stage is to actually start generating some ideas!
14 Lektionen
1 Std. 39 Min. strukturierte Videolektionen
Erweiterte Videofunktionen
Verlangsamen, Passagen loopen, mitlesen
Handy, Tablet & Desktop
Üben, wo du willst
100 % Zufriedenheitsgarantie
30 Tage Geld-zurück-Garantie
Lern deinen Guru kennen
Lern deinen Guru kennen
Nach einem Praktikum bei Dave Allen, dem Produzenten von Depeche Mode und The Cure, ließ sich John dazu inspirieren, in London Music Technology zu studieren. Seine Musikkarriere nahm nach einem erfolgreichen Vertrag bei CookShop Records Fahrt auf, wo er 9 Singles und 2007 ein Album veröffentlichte, das begeisterte Kritiken von Q, Uncut und Lowdown Magazine sowie Airplay bei XFM und Radio One erhielt.
John begann seine Ausbildung zum Tontechniker 2005 im Bonafide-Studio, wo er sein Können verfeinerte, und gründete noch im selben Jahr Jackdaw Recordings. Er hat mit vielen erfolgreichen Künstlern zusammengearbeitet und begann 2007, für den Pop-Musiker Patrick Wolf zu spielen, mit Auftritten in führenden Häusern in Großbritannien und international – darunter The Astoria und das Shepherds Bush Empire.
Von seinem Londoner Studio aus schreibt John heute Musik, mit zwei weiteren Veröffentlichungen bei CookShop, macht Tontechnik für namhafte Künstler und gestaltet Sounddesign für TV-Spots, Film, Theater und Unternehmensvideos.
Genau diese seltene Mischung aus Songwriter, Produzent und aktivem Studiotechniker bringt John in seinen Unterricht ein. In Creative Composition & Production in Ableton Live und Creative Sampling & Production in Ableton Live zeigt er dir, wie er aus rohen Ideen fertige, veröffentlichungsreife Tracks macht – das Schreiben, das Sampling, das Sounddesign und das praktische technische Know-how hinter einer professionellen Platte.







