



Los geht's mit dem Setup (Akai MPD 32 & Push 2)
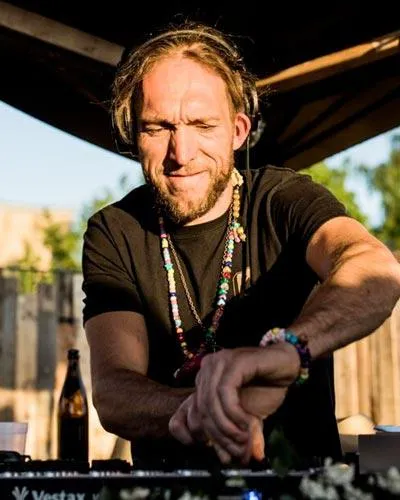
Mit
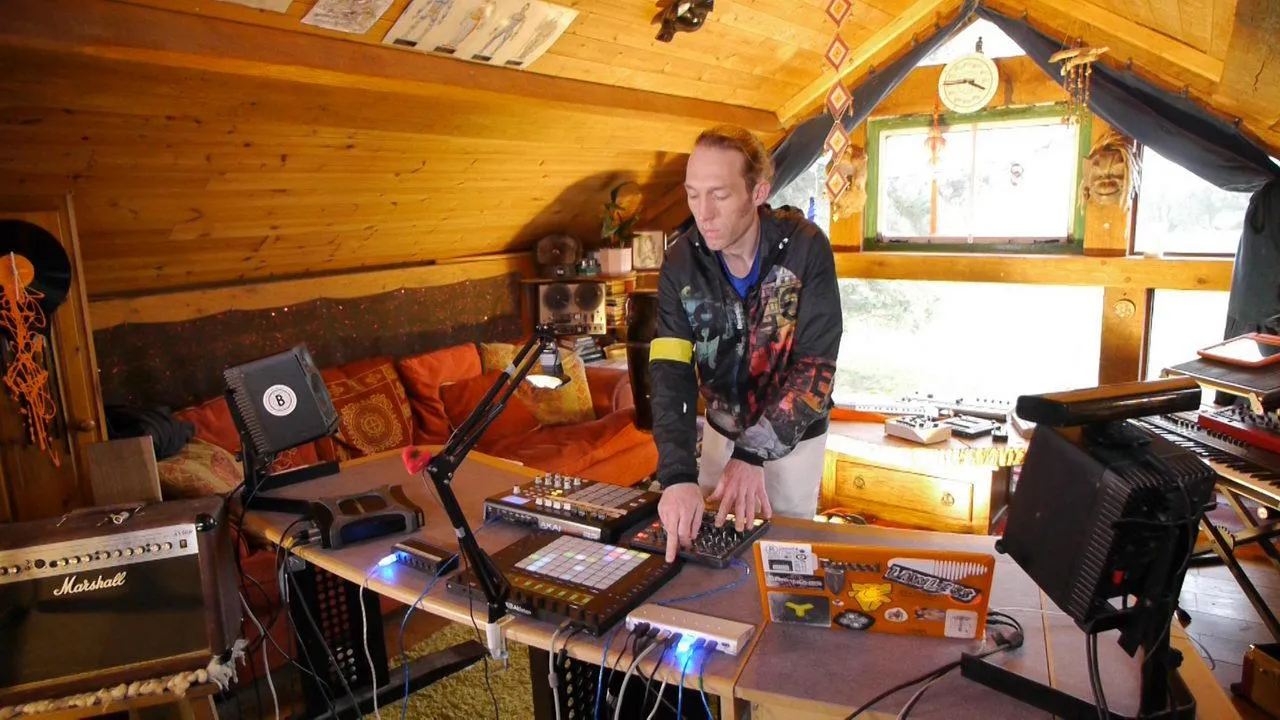
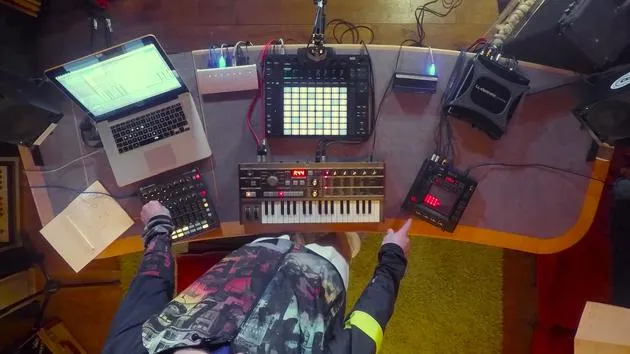
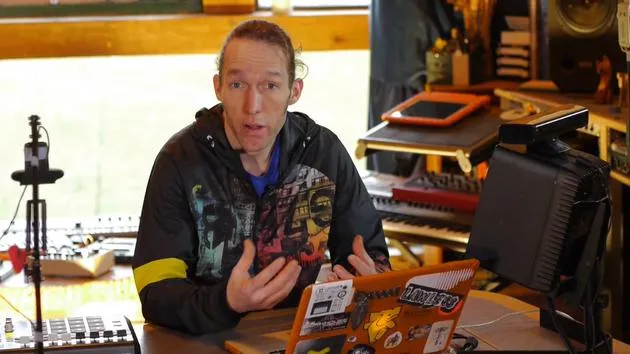
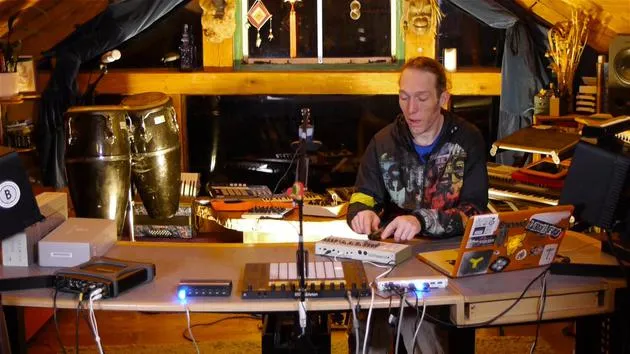
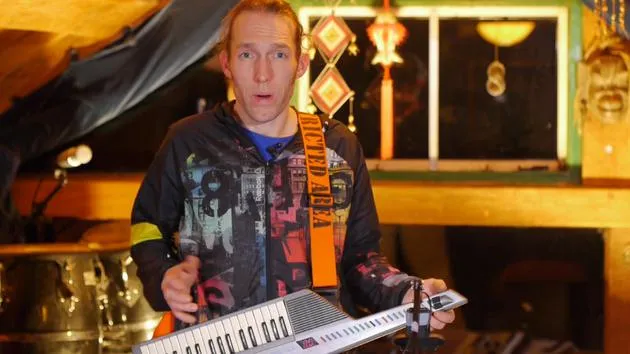
Mark BurnettNach einem kurzen Jam, der dir zeigt, was du in diesem Kapitel lernst, verbindet Mark sein AKAI MPD 32 & Push 2 mit Ableton Live.
Das steckt im Kurs
24 Lektionen (3h 29m) · 2 gratis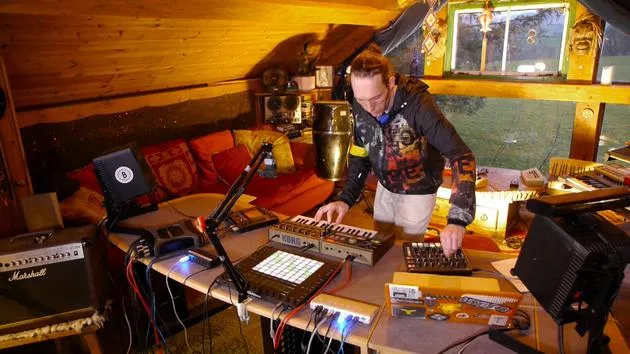
01. Was du in diesem Kapitel lernst
1:18
02. Lass uns das Setup einrichten (MicroKorg und Novation Launch Control)
7:47
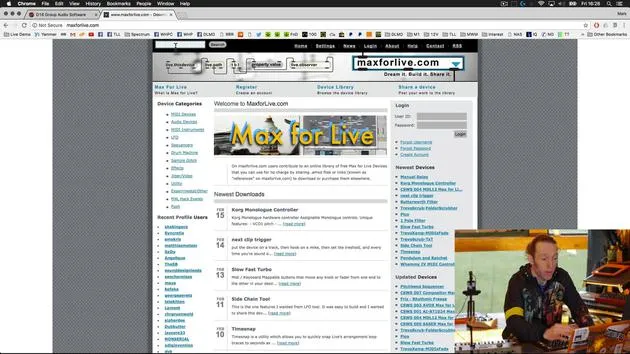
03. MIDI-CC-Nachrichten & Mapping des Novation LC auf MicroKorg-Parameter
18:19
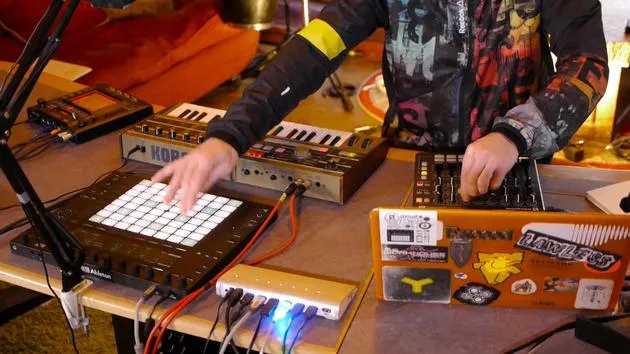
04. Demo des bisherigen Setups
1:47
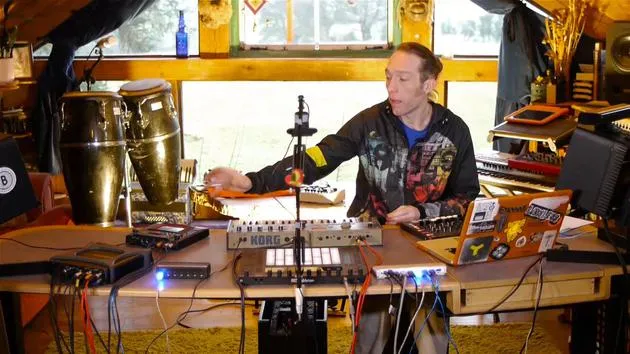
05. Taktile Effekte mit dem Kaoss Pad 3 hinzufügen
11:50
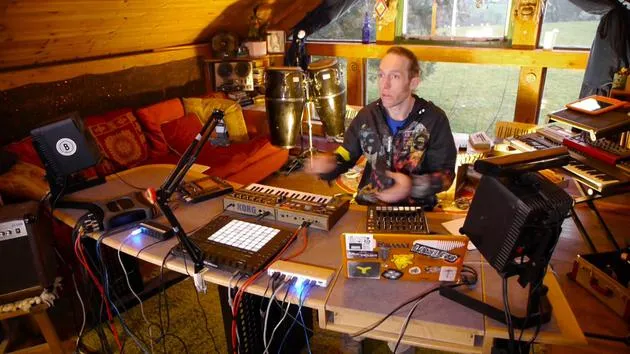
06. Das Kaoss-Setup abschließen
7:02
07. Zusammenfassung des Gelernten
4:23
08. Das Setup erkunden
3:54
Transkript der Lektion
Using External Gear to Control a VST in Ableton Live
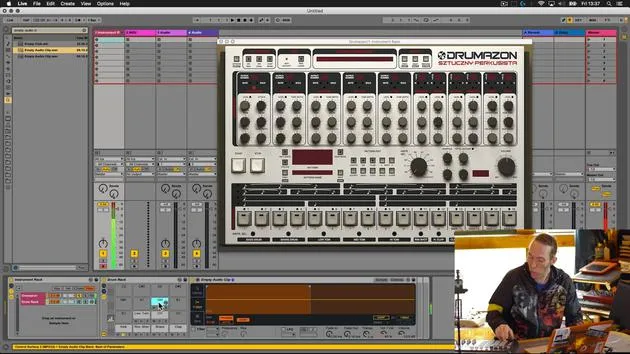
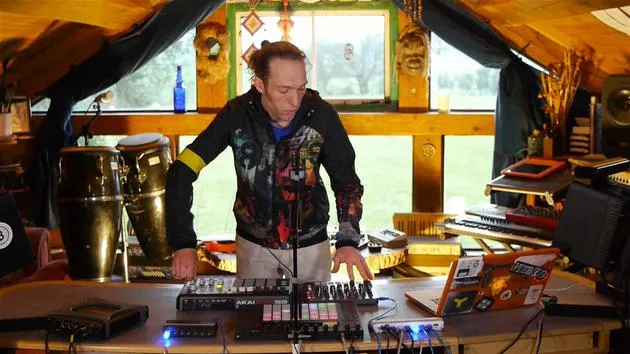
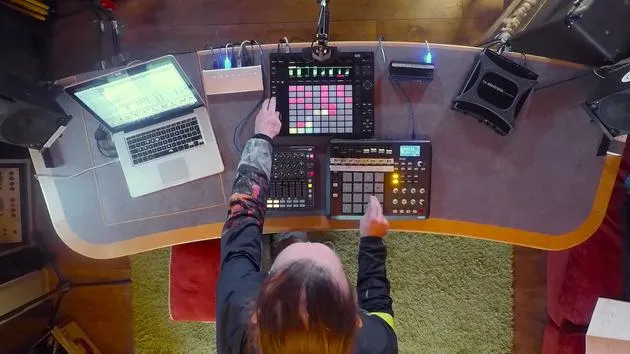
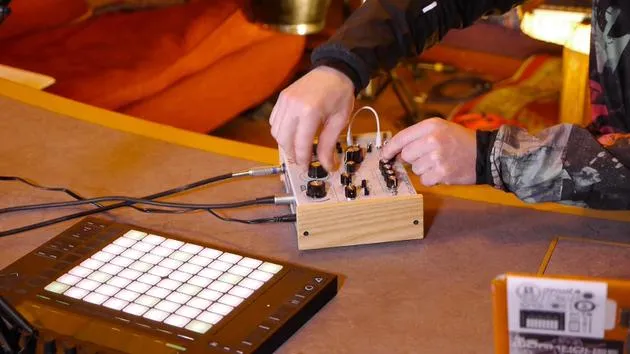
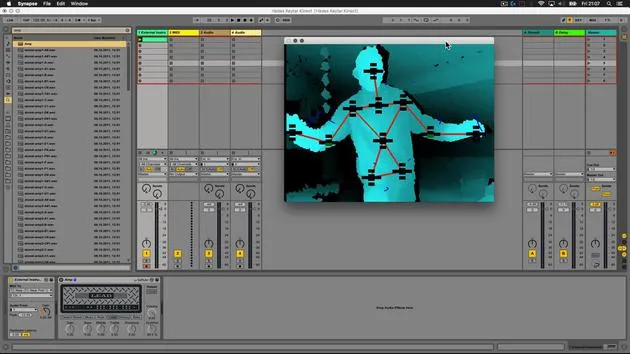
Okay, so what I've been doing here is using this piece of external gear to control a VST inside Ableton Live. I've also been using the Push to sequence that.
Overview
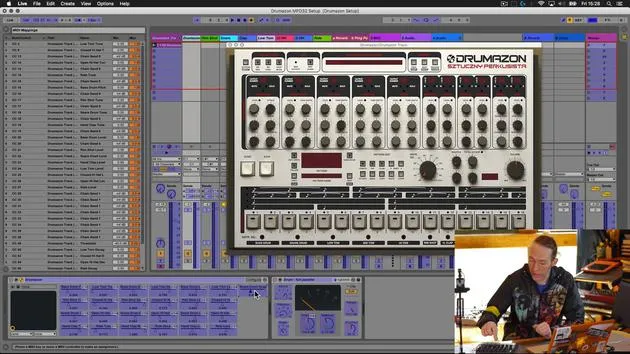
That's basically what we're going to cover now: augmenting a piece of software, a VST drum machine, with a piece of hardware to make it more hands-on and akin to working with a real piece of hardware.
Setup
What we're going to do is:
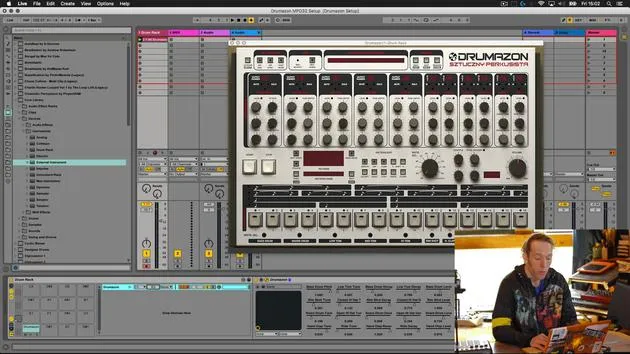
- Take a software instrument (a VST) called Drummerzon by D16 plugins.
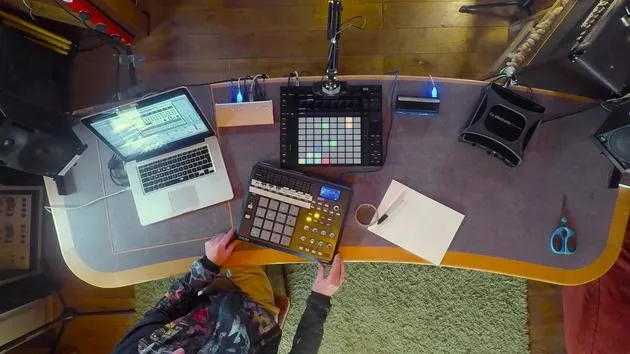
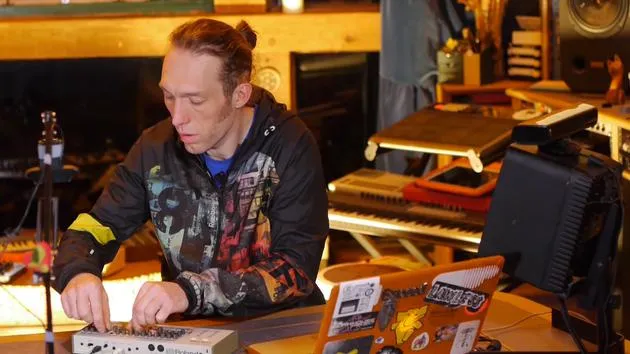
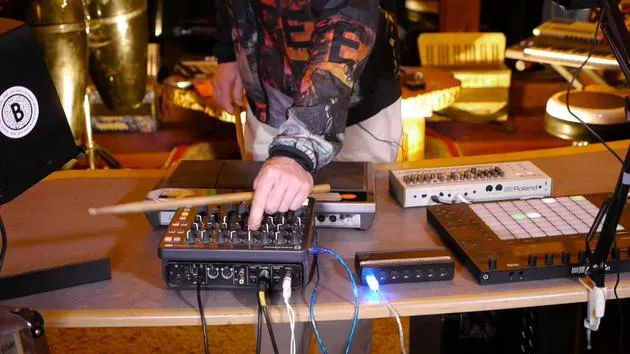
- Connect this Akai MPD32 (a bit of an older model, well-used, and road-tested) to Ableton Live.
- Set it up so that we can control that VST as you might control a piece of hardware.
Requirements
In order to do this, we need only a few things:
- A USB cable to connect the MIDI controller to Ableton Live.
- A notepad and pencil (or pen) to make a few notes during the mapping process.
- A trusty roll of low-tack tape to label parameters. As you can see on the MPD, there are some old labels from a previous mapping situation that are no longer relevant. Rather than try to clean all that off, I will just put some new tape on and mark up the parameters that we're going to map out.
Benefits
This setup will enable you to interact with that VST instrument in ways that would otherwise be quite difficult. It will eliminate the need to use the mouse and keyboard for interaction, making it a whole lot more fun!
Let's Get Started
So, let's get things plugged in and get started.
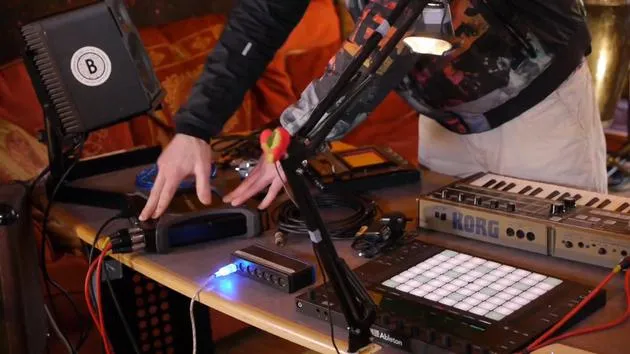
- First of all, I'm going to take the MIDI lead. Nice and simple, this bit.
- Stick the MIDI lead in the back of the MPD.
- Run it carefully around the side of the Push and into my USB hub.
Important Note
This is a USB 3 hub. It's really important to have a hub that can handle the amount of data being transferred when you've got this many peripherals plugged in. I've found this one to be really good.
So, that's plugged in, nice and simple. This device is powered by the USB, so we don't have to worry about external power.
Next Steps
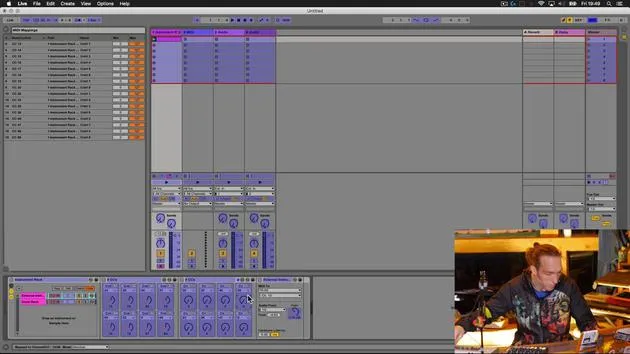
Now, what we're going to do is head into Ableton Live, check out the VST that we're going to be working with, and get that set up. Then, we'll come back and do some mapping on the Akai.
24 Lektionen
3 Std. 29 Min. strukturierte Videolektionen
Erweiterte Videofunktionen
Verlangsamen, Passagen loopen, mitlesen
Handy, Tablet & Desktop
Üben, wo du willst
100 % Zufriedenheitsgarantie
30 Tage Geld-zurück-Garantie
Lern deinen Guru kennen
Lern deinen Guru kennen
Mark Burnett ist ein Ableton Certified Trainer, der seit über 14 Jahren mit Ableton-Produkten arbeitet. Als Produzent und DJ bei Funk'n Deep Records liefen seine Tracks auf großen Festivals sowie in Sets und Podcasts von Künstlern wie Carl Cox und Richie Hawtin, und er hat vor Tausenden von Menschen gespielt. Außerdem veranstaltet er große Events wie das Workhouse Project und studierte am Imperial College London. Sein Kurs behandelt den Einsatz von Ableton Live zum Aufbau von Live-Performances und eignet sich für Produzenten und Performer im Bereich elektronischer Musik, die ihre Show aus dem Studio auf die Bühne bringen möchten.







