



Using the metronome
With
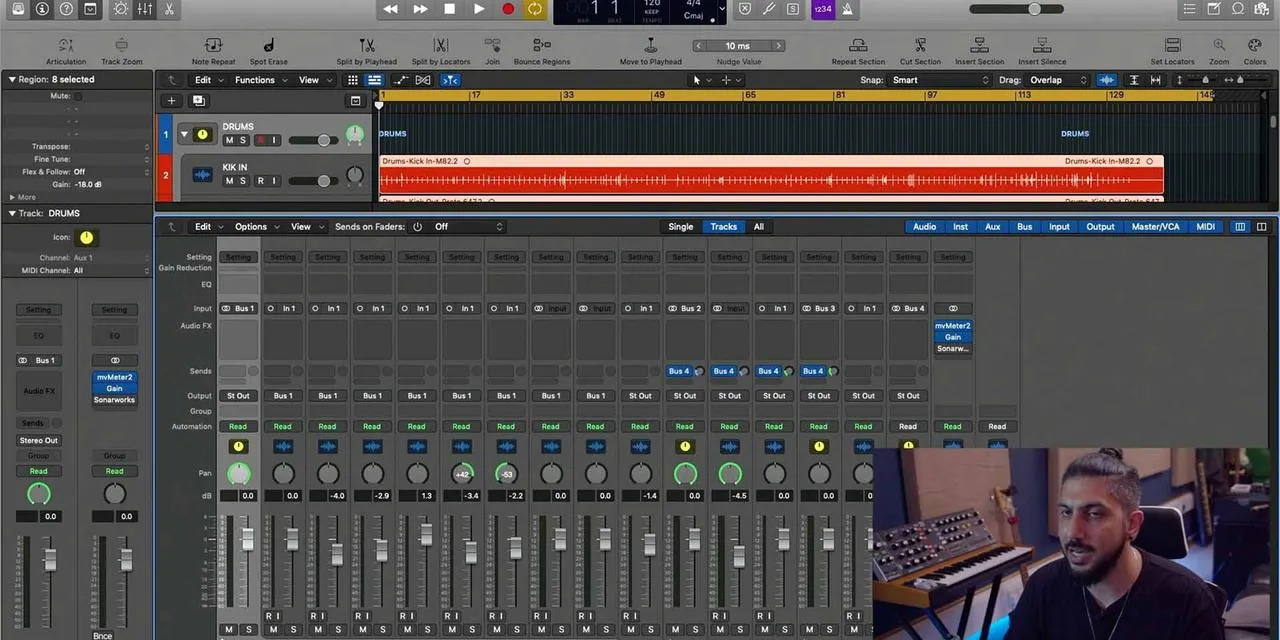
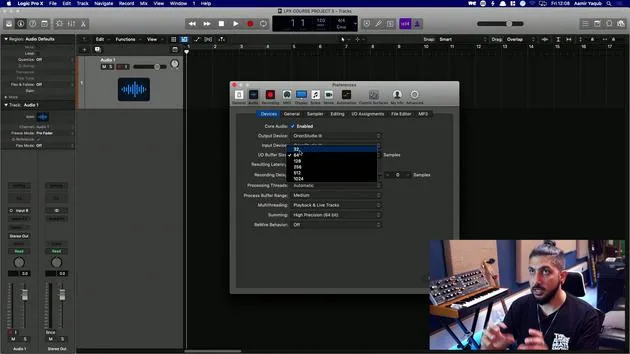
Aamir YaqubAamir Yaqub shows how to record to Logic's metronome, including setting a low buffer size and Low Latency Mode so the click stays tight while you play.
What's in the course
14 lessons (1h 22m) · 1 free
01. Welcome to Recording audio
0:58
02. Intro to recording audio
4:47
03. Using the metronome
You are here5:00

04. Making your first recording
Free lesson5:32
05. Comping
13:03
06. Editing audio
9:41
07. Managing project files
3:46
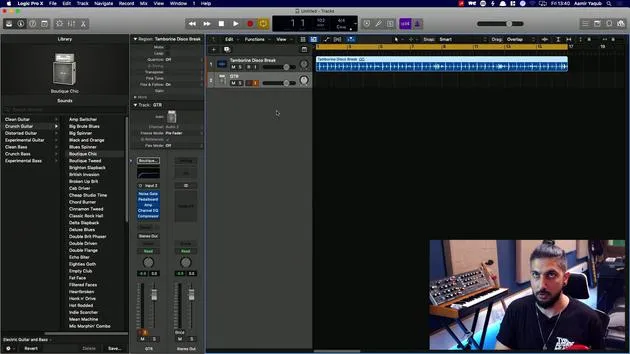
08. Recording an instrument track
2:06
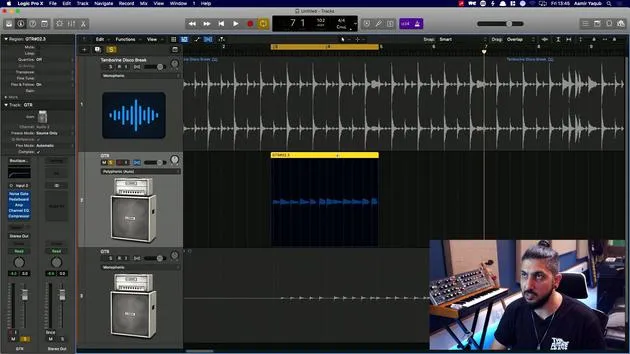
09. How to use Flex Time
10:58
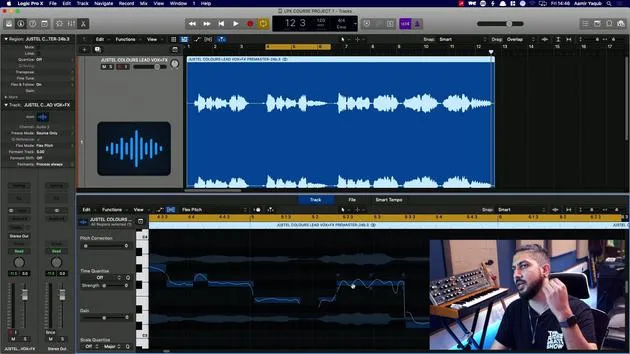
10. How to use Flex Pitch
11:12
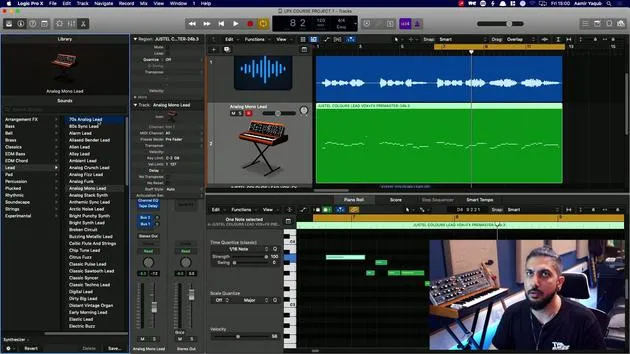
11. Converting pitch to MIDI data
3:11
12. Smart Tempo
3:04
13. Varispeed parameters and uses
4:08
14. Adaptive project tempo
5:00
Lesson transcript
Reducing Latency in Recording
To reduce the latency experienced while recording, follow these steps:
Adjusting Buffer Size
-
Access Audio Preferences:
- Navigate to your audio preferences.
- Locate the buffer size setting.
-
Optimal Buffer Size:
- Ideally, keep the buffer size as low as possible:
- 32 samples: Excellent for minimizing latency.
- 64 samples: Acceptable.
- 128 samples: Barely acceptable, beyond which recording may become difficult.
- Ideally, keep the buffer size as low as possible:
-
Impact of Buffer Size:
- A smaller buffer size results in:
- Shorter latency (the time taken to hear your voice or instrument after playing).
- A higher buffer size can create delays that hinder performance.
- A smaller buffer size results in:
Setting Input and Output Devices
- Ensure your input and output devices are set to your interface (e.g., Orion Studio 3).
Using Low Latency Mode
If you're in the middle of a session that uses considerable CPU power:
- Enable Low Latency Mode to temporarily suspend CPU-intensive plugins:
- Access via Record Menu: Select and tick Low Latency Mode.
- Alternatively, customize the Control Bar:
- Right-click on the control bar, choose Customize Control Bar and Display.
- Add the Low Latency Mode button, which will turn orange when activated.
Keeping Time with the Metronome
A metronome (or click) is crucial for keeping time during recording:
-
Accessing the Metronome:
- Locate the metronome button in the interface.
- Shortcut for toggling: Press K.
-
Metronome Settings:
- Right-click on the metronome button to adjust settings.
- Options include:
- Click while recording.
- Click only during the count-in.
- Polyphonic clicks for varied accents.
-
Customizing the Click:
- Choose accented notes for the click.
- Create louder clicks on downbeats for better guidance (higher note and sound).
- Adjust the tonality and volume to your preference:
- Softer tones for a less harsh click.
- Alternatively, a more pronounced tone for clear guidance.
-
Count-In Click:
- The area next to the metronome button displays the count (1, 2, 3, 4).
- This serves as the count-in click before recording starts.
- Access all settings via the metronome button by right-clicking.
By following these guidelines, you can optimize your recording experience and smooth out your performances!
14 lessons
1h 22m of structured video lessons
Advanced video features
Slow down, loop a passage, follow along
Mobile, tablet & desktop
Practise wherever you are
100% satisfaction guarantee
30-day money-back guarantee
Meet your guru
Meet your guru
Aamir Yaqub is a music producer and engineer based in London. He has worked with some of the biggest names in music, including Alicia Keys, David Guetta, Rihanna, Sia and will.i.am, as well as developing independent artists.
Across his courses he teaches his complete Logic Pro workflow - from the interface and recording through beat-making, synthesis and MIDI effects to mixing and finishing a track.







