



Making your first recording
With
Aamir YaqubAamir Yaqub walks through recording your first vocal take in Logic Pro, from signal flow and setting gain to pre-fader metering and input monitoring.
What's in the course
14 lessons (1h 22m) · 1 free
01. Welcome to Recording audio
0:58
02. Intro to recording audio
4:47
03. Using the metronome
5:00
04. Making your first recording
You are here5:32
05. Comping
13:03
06. Editing audio
9:41
07. Managing project files
3:46
08. Recording an instrument track
2:06
09. How to use Flex Time
10:58
10. How to use Flex Pitch
11:12
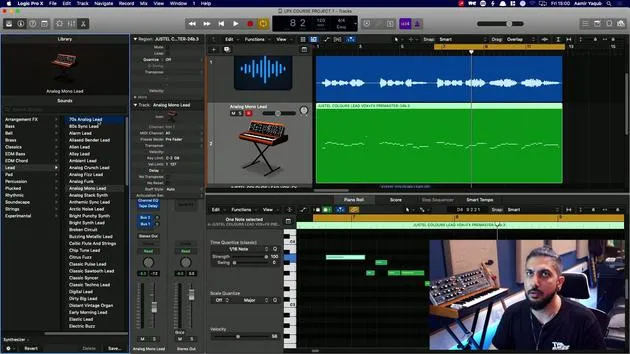
11. Converting pitch to MIDI data
3:11
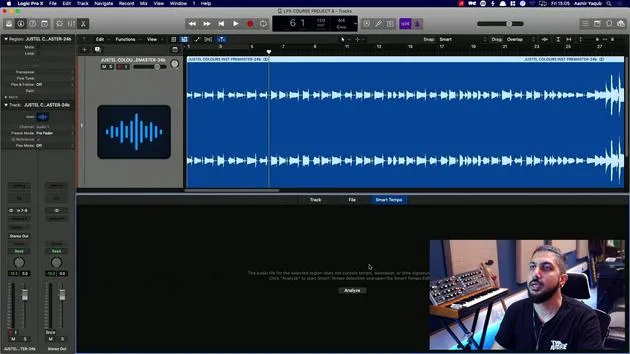
12. Smart Tempo
3:04
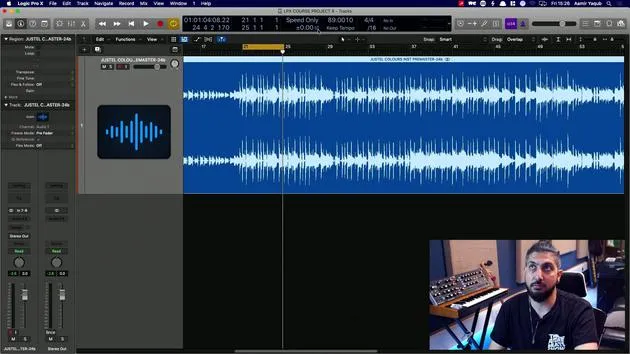
13. Varispeed parameters and uses
4:08
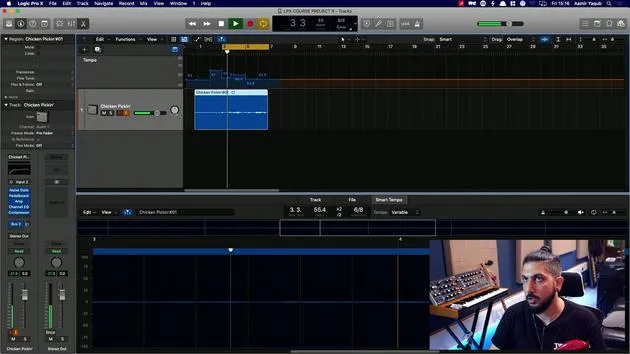
14. Adaptive project tempo
5:00
Lesson transcript
Vocal Recording Tutorial
Welcome to today's lesson! I'm going to record some of my vocals. I'm not going to sing for you because, you know, let's not embarrass myself here.
Equipment Setup
- Microphone
- Pop Shield: It's a good idea to use a pop shield when you are working with vocalists at this point in time.
Signal Flow
Remember when we talked about signal flow? The signal goes from me to the microphone, down the cable into the interface.
- Interface Adjustments: This is the first place where you'll essentially set your gain to give you an acceptable level of input.
Pre Fader Metering
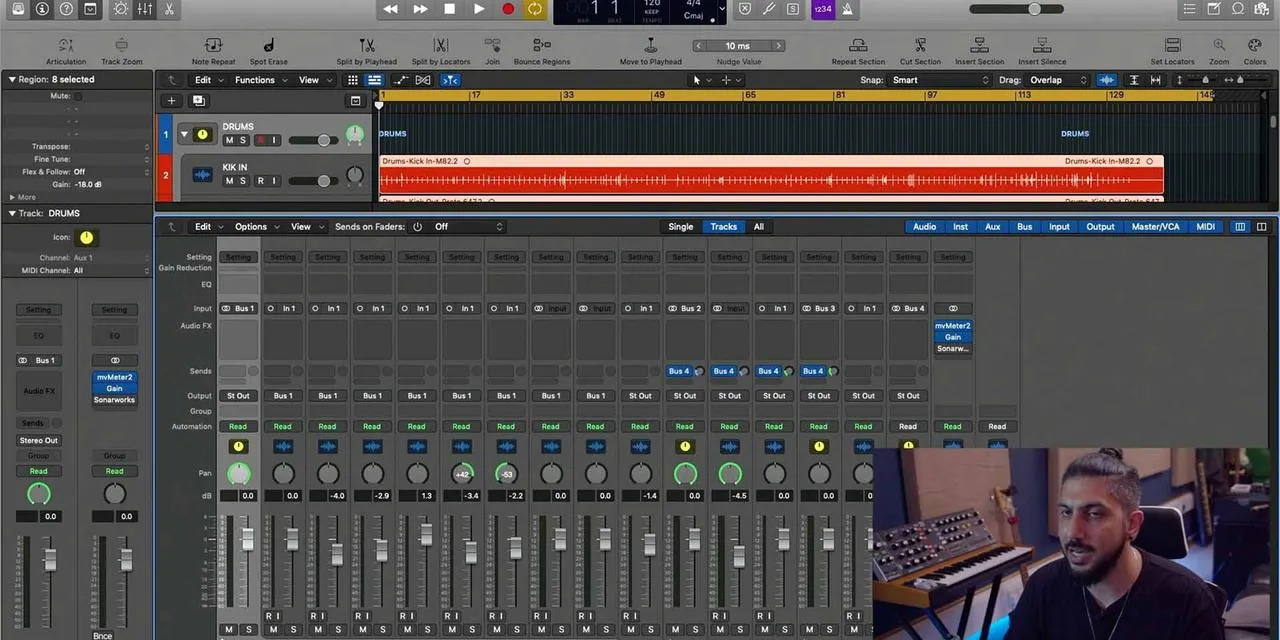
Now, what I tend to do when I'm working is use pre-fader metering. With pre-fader metering, you will see the actual levels coming into your audio interface.
- Objective: Make sure you're not overloading your audio interface at all.
To set up pre-fader metering:
- Go to the mix menu.
- Select pre-fader metering.
You can see it's already on in this session here. This means that whenever I am ready to record and have set everything, the meter will show me the exact amount of signal coming in.
Channel Strip Configuration
Make sure that the input going into my audio interface is being received on my audio track in the same way. This is picking up the signal from input 1, which is where this is in my audio interface.
- Set Input: Go to the top of your channel strip on your audio track and select input 1.
Now these two are talking to each other.
Monitoring Your Input
You can't see anything that's going on until you activate either:
- Input Monitoring (the I button), or
- Record Enable.
Click on Record Enable or Input Monitoring to see your signal coming through.
- Check Signal: "Check, check, check." I can see that my signal is coming in at a level which is more than respectable. Minus 16 is pretty good.
Headphone Usage
I won't be able to hear myself here until I turn on input monitoring. It's a good idea for you to use headphones because:
- If you're recording an instrument through a microphone, you don't want your speakers to spill into your microphone.
- Prevent feedback, which can be a horrendous sound.
So, I've plugged my headphones into the headphone output of my interface, and now I can hear myself. I've muted my speakers because I don't want to hear that sound back.
Naming Your Track
One suggestion before you start recording is to name your track.
- We'll call this Amir Vocals.
- When the audio file records, it will use that name.
This helps locate files more easily since the audio file saved on your hard drive will be called Amir Vocals in this instance.
Recording Process
Once again, the process of recording is very easy:
- Press the R button to start recording.
Now, I will record a short vocal performance:
"Hello, my name's Amir. Here we are on a tutorial for Logic Pro X. I hope you're enjoying the course so far."
Playback and Re-recording
Let's hear that back to verify:
"Hello, my name's Amir. Here we are on a tutorial for Logic Pro X. I hope you're enjoying the course so far."
If I feel like I didn't do a good job, I can easily try again, similar to when we were recording software instruments:
"Hi there, my name's Amir. I hope you're enjoying your Logic Pro X course so far."
Take Folders in Audio Recordings
Now, I have what we had before. If you remember, when we were doing software instruments, we had take folders. This is what I have here.
Let's take a look at what will happen when we start working with take folders in audio recordings.
14 lessons
1h 22m of structured video lessons
Advanced video features
Slow down, loop a passage, follow along
Mobile, tablet & desktop
Practise wherever you are
100% satisfaction guarantee
30-day money-back guarantee
Meet your guru
Meet your guru
Aamir Yaqub is a music producer and engineer based in London. He has worked with some of the biggest names in music, including Alicia Keys, David Guetta, Rihanna, Sia and will.i.am, as well as developing independent artists.
Across his courses he teaches his complete Logic Pro workflow - from the interface and recording through beat-making, synthesis and MIDI effects to mixing and finishing a track.







