



Vocals

With
Paul WhalleyPaul Whalley breaks down how he recorded and treated the lead vocals, using preamp EQ and compression to tame a powerful, dynamic voice.
What's in the course
26 lessons (1h 43m) · 1 free
01. Guitar part - concepts
1:37
02. Guitar part
4:58
03. Vocals - concepts
1:22

04. ASSIGNMENT: Recreate the guitar production
0:37
05. Vocals
You are here9:42

06. CHALLENGE #1: BUILD THE VOCAL ARRANGEMENT AND HOOK
0:45
07. Backing vocals
4:07
08. Keys and synths - concepts
0:54
09. Keys & synthesizers
9:38
10. Bass - concepts
1:01
11. Bass
5:24
12. Drums - concepts
0:58
13. Drums
9:49

14. ASSIGNMENT: Recreate the drum production
0:32
15. Effects and Atmospheric parts - concepts
1:09
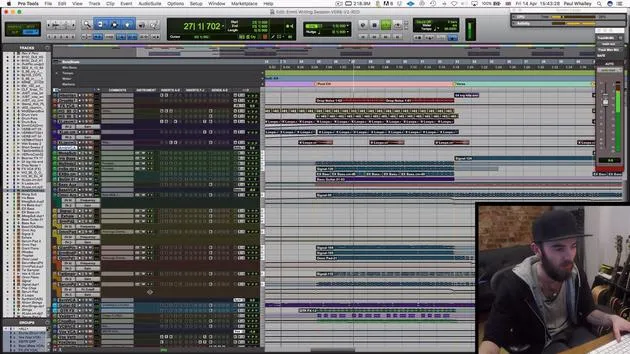
16. Effects and Atmospheric parts
5:53

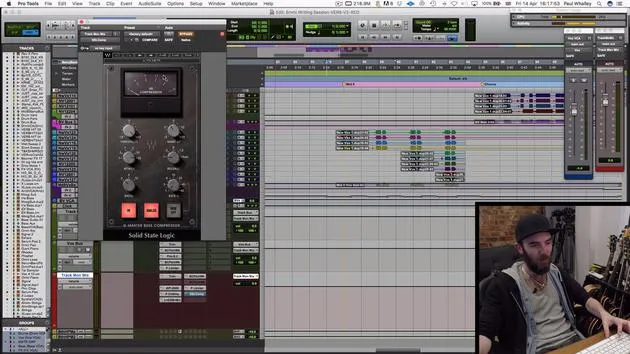

Lesson transcript
Breaking Down Vocal Production Techniques
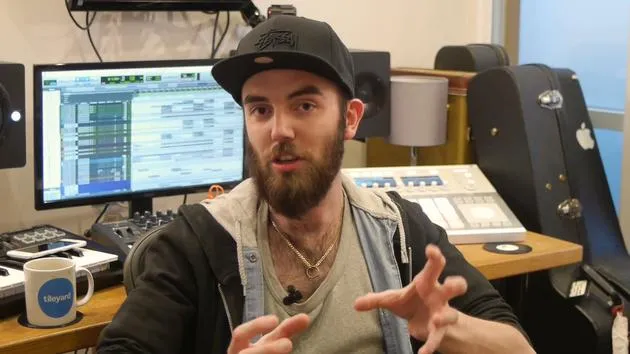
So guys, I'm going to start breaking down the vocals of these records and how I treated some of them.
Recording Vocals
The most important element of this process is how you treat your vocals as you're recording them.
- I recorded them here through my Universal audio sound card.
- Just going through two very simple plugins:
- Preamp: Adding a bit of equalization to the highs and lows that suit the singer's voice, just to help enhance it a little bit.
- Compression: This helps tame some of the dynamics.
She's got a very powerful voice, but this song particularly has some really quiet moments and some really loud moments. You don't want to be changing the gain on your preamp for every half a bar she sings.
Once you've got those into your DAW, you'll end up with a raw audio file that sounds somewhat like this:
"I stand in wonder of you. I don't know how you do all those things that you do."
It sounds nice and clean, but doesn't really sparkle yet.
Vocal Treatment Steps
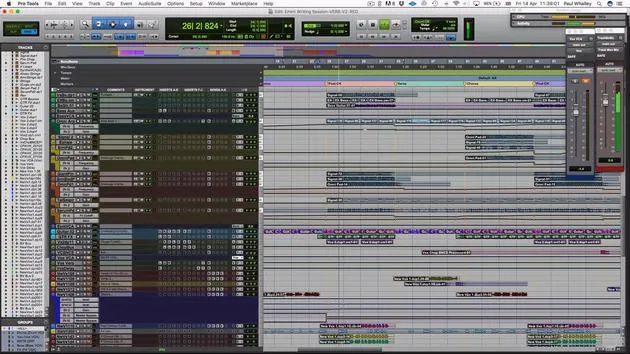
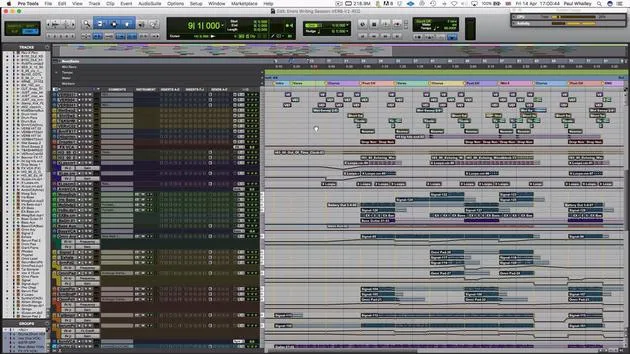
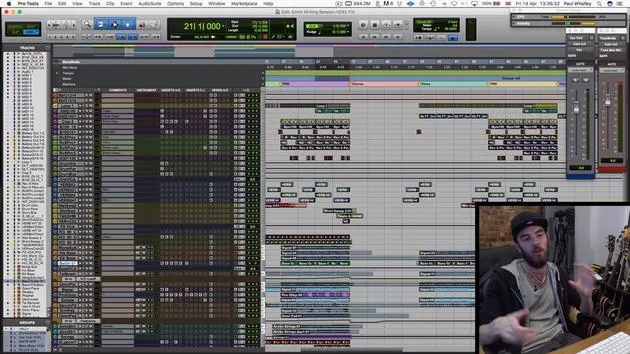
Let's run through the strip I've got here and what it's doing to the voice.
1. Gentle Tuning
- Just a very gentle bit of tuning.
- I'm very lucky in this scenario; she's a really good singer.
- This just helps tighten up a few things and is almost always done in any song for the pop industry.
2. Noise Gate
Next, I've got this trusty noise gate, which is Aarvox by Waves. This just helps get rid of some of these silences where she might be breathing, licking her lips, or making any kind of little noise.
"I stand in wonder of you. I don't know how you can see there."
The gate closes as soon as the audio signal stops coming in.
3. De-Esser
What we've got next is a De-Esser. This takes away some of the harsh sibilance of the voice, specifically the S's and P's that can ring out on a recording. I use one of the presets built into the Waves De-Esser called mink pop vocal, which is almost always the right setting for every singer.
It just helps tame a few things.
4. Additional Compression
Next, we have a bit more compression. We've already recorded it with some compression, but this really helps smooth it out and adds level to the thing without it distorting or peaking.
5. Distortion
Now, we're adding a bit of distortion. With this singer, I really like the smokey tone she has. I'm using the plugin in its default setting; it's not doing anything else. I'm just allowing the color of the plugin to enhance it a bit.
"I don't know how you do all those."
By adding this subtle effect, it helps boost the vocal in the record. Remember, your vocal is always going to be king above everything else.
6. Multiband Compressor
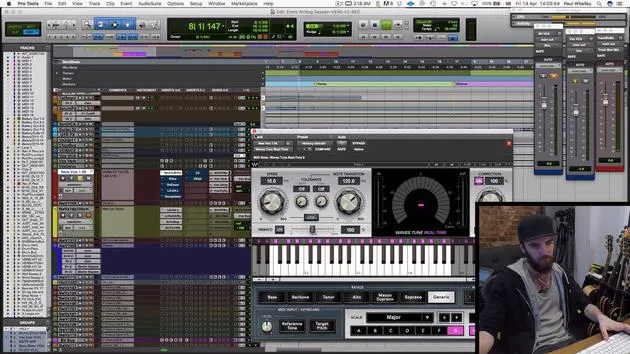
Next, I've got a multiband compressor. This is a fairly recent invention in audio software, allowing you to compress various frequencies of the voice.
- I can loop her vocals and start soloing the various different bands.
- This includes a very low band, all the mids (which are heavily compressed), and then the very high frequencies, similar to the S's we worked on with the De-Esser.
By adjusting these, I'm aiming to make the mid-range of the vocal really punchy, add air by boosting the high range, and tame the really high range to get rid of the last of the S's.
7. Vintage Equalizer
Lastly, we have the VEQ4 from Waves, which models a vintage equalizer.
- This adds distortion, dirt, and color to your vocal, while allowing control over its sonic quality.
- I'm taking out the super low frequencies and boosting the mid frequencies, which is useful for female vocals as they need that bit of weight.
- I'm also adding high coloration to help it shine on the overall record and pulling down the output to prevent the volume from rising too much.
"I stand in wonder of you."
Now, that sounds like a lovely polished vocal.
Effects Sends
Next up, you can see I've got a couple of sends going on with this vocal, directing to two auxiliary channels.
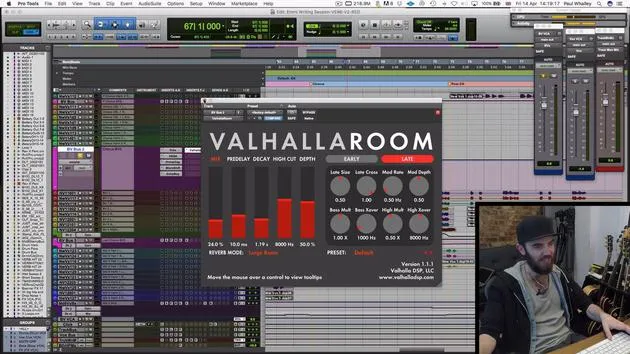
Reverb
The first is a reverb. This is essential for any vocal as it helps create a live feel, making it seem as if it was done in an actual space. Since recording real reverb can be challenging, it's a good idea to use a dead acoustic space and then add this effect.
I'm using the Universal Audio Lexicon reverb plugin.
- Default setting for just a decent length of 2.4 seconds, which helps smooth everything out and glue it all together.
When I roll off all the low end with EQ and use a noise gate to stop it from ringing too long, this helps maintain clarity when multiple vocals are present.
Delay
Next, we have a delay send which creates that repeating motion. This is a commonly used trick in vocal production, helping create rhythm and keep things moving.
- I tend to add a compressor on the delay using sidechain, which squashes the delay in volume when the vocal is singing and boosts it in the gaps.
This trick helps prevent the output from becoming too muddy or cluttered.
Final Thoughts
When all these techniques are combined, they create a polished lead vocal.
These treatments are applied similarly throughout the chorus and pre-chorus of the song, as well as in various different sections.
Next, we'll look at the backing vocals, which are a bit of a different exception to some of these rules.
26 lessons
1h 43m of structured video lessons
Advanced video features
Slow down, loop a passage, follow along
Mobile, tablet & desktop
Practise wherever you are
100% satisfaction guarantee
30-day money-back guarantee
Meet your guru
Meet your guru
Paul Whalley is a multi-instrumentalist, producer and songwriter with a deliberately broad sound. He spent years on the road as a touring session musician with artists including Mumford & Sons and Ellie Goulding. Classically trained, he holds an undergraduate degree in instrumental performance and a Master's in composition from the Guildhall School of Music. Since moving from touring into production and songwriting he has worked with artists such as NAO, Wretch 32 and Nina Nesbitt, and played on top-40 records around the world, including Little Mix's 'Shout Out to My Ex'. He is based at Tileyard Studios in north London, where he writes and produces for major UK labels and develops new artists. On MusicGurus he and Emmi Green deconstruct a pop record from scratch - every arrangement and production decision laid bare - for songwriters and producers who want to hear how hit records are really built.







