



Building the parts in Session view
With
John WatsonJohn Watson structures a track in Ableton's Session view - cleaning up and naming tracks, deleting what you don't need and organising the parts by sound.
What's in the course
14 lessons (2h 26m) · 2 free
01. Getting started & setup
3:21
02. Managing a sample library
Free lesson4:34
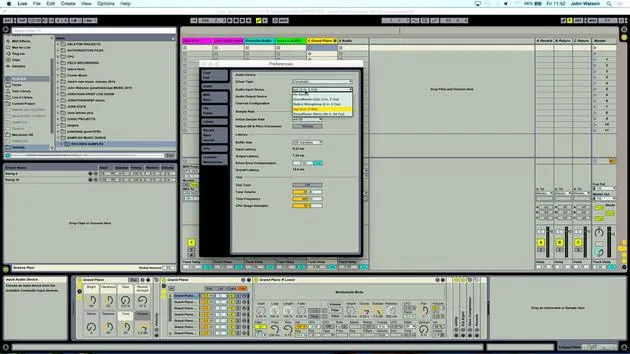
03. Ableton preferences
1:14
04. Using samples: Simpler and Sampler devices
7:04
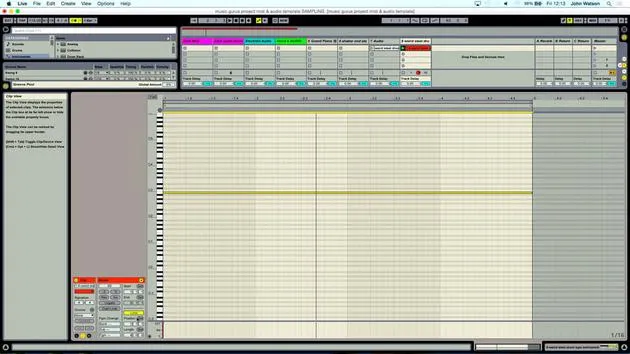
05. Using samples in your track (trim, stretch, tune, EQ)
12:56
06. Adding sampled strings and flutes
7:28
07. Adding sampled rhythm: kicks and snares
25:07
08. Sampling external intsruments - drum machine & synth
12:28
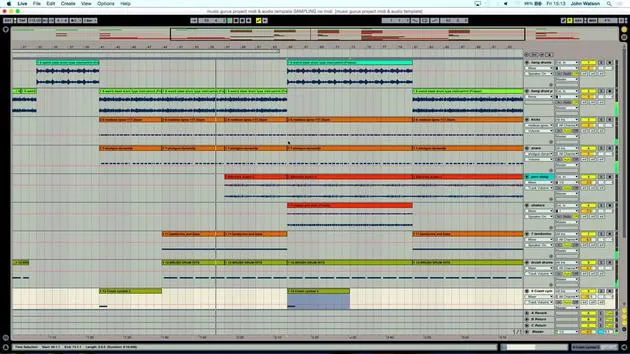
09. Building the parts in Session view
You are here13:55
10. Recording the song into Arrange view
4:34
11. Fine tuning track structure
5:35
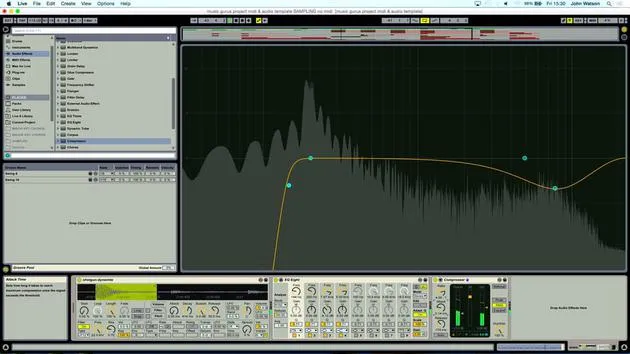
12. Mixing the track: effects
21:24
13. Final adjustments
13:14
14. BONUS: Mastering your track & uploading to Soundcloud
Free lesson13:31
Lesson transcript
Music Lesson: Structuring Your Track
Introduction
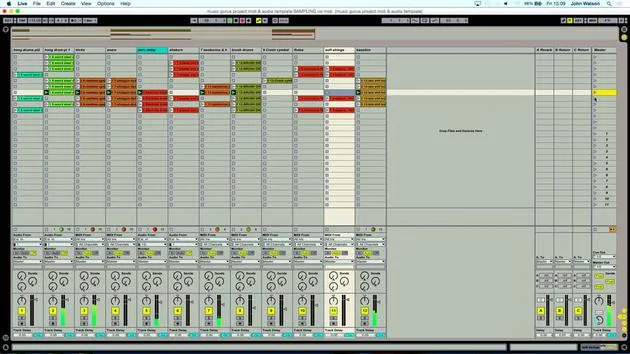
Okay, welcome back. The next stage now is to start structuring what I've got here. I need to:
- Delete unused tracks
- Ensure things are named properly
- Make it look a little less cluttered
Saving Your Work
First off, I'm going to save it as a different version. We can label it Sampling - No MIDI. This means that any amendments I make to this track, I can go back to the original if I accidentally delete something. I still have all the original files in place.
Cleaning Up the Tracks
Deleting Empty Tracks
- I'm going to take away these two empty tracks here.
- We'll call this track Percussion Delay.
Reviewing Audio Channels
- We have a microKorg audio channel that we haven't used.
- I think I've got enough in terms of sampling, so we don't need this track.
Managing Hang Drums
- This is the freeze track of the MIDI part of the hang drums that I've frozen.
- I've extracted the audio and have two versions of that, so I'm going to delete it.
Organizing Instruments
- Let's have a listen to this track; this is the Hang Drums and it's going to be Part Two.
- Let's also give it a different color.
Naming Other Instruments
- Kicks & Snare: Fairly straightforward.
- Grand Piano: Used to get the chromatic tuning and pitch correction; I don't need that anymore.
- Shakers: Still unsure what this is.
- Strings: Let's call this Soft Strings.
- Tambourine: This track will just be called Tambourine and Hats.
- Brush Drums: A jazz brush drum loop.
- Cymbal Crash: Labeled fine.
- Bass Line: Present.
- Flutes: There's another string part coming in a minute.
Eliminating Unused Tracks
- We have some Dead Space (nothing on this track) that we don't need.
- The Hang Drums - Part One will be given a different color. I made them green, but I'll choose a slightly different green.
- We'll put these next to the originals for clarity.
Organizing Structure
Now, let's organize everything chronologically:
- Hang Drums
- Kick and Snare
- Shakers
- Tambourine
- Flutes
- Strings
- Bass Line
Adjusting Levels
The next stage is to get a rough level sorted out.
Playing the First Part
- I'm going to turn the hang drums up a little bit to make them more obvious.
- I also need to delete the other hang drum tracks because they'll be at the original volume.
Balancing the Mix
- Kicks: A little bit low in the mix; let's turn it up.
- Shakers: Sound okay.
- Strings: Turn the volume up a bit.
- Tambourine: Increase the volume here; I have a lot of headroom in the simpler device.
Structuring the Track
Duplicating Scenes
Now, I want to start thinking about structure. The first thing I'm going to do is duplicate this first scene quite a few times (let's say four).
- I think an obvious starting point is the Hang Drum Sample, a really nice loop.
- I'll take everything else away initially.
Layering Sounds
- When I launch the first scene, only the Hang Drums will play.
- I'll duplicate the next scene and try to bring something else in, maybe the shakers.
Integrating Instruments
- I'll copy the settings down if I've turned something up, to avoid the volume jumping back to what it was originally.
Finalizing the Arrangement
Adjusting Instrument Placement
- The next layer needs to be a bit different. Let's introduce the main drums now.
- I'll move some tracks around for better organization and impact.
Adding the Bass Line
- The bass line should come in when the main drums enter for maximum impact.
Building Towards the End
- Begin calming things down; we'll make the track smaller and start to remove elements.
- Adding the Brush Drums and ensuring everything fits well.
Conclusion
To summarize, I've created this pre-structure. The idea now is to get this recorded into arrange view. By pressing Tab on my keyboard, I'll switch over to Arrange View, where the proper structure will take its form. From that point on, we can mix the track.
14 lessons
2h 26m of structured video lessons
Advanced video features
Slow down, loop a passage, follow along
Mobile, tablet & desktop
Practise wherever you are
100% satisfaction guarantee
30-day money-back guarantee
Meet your guru
Meet your guru
After work experience with Depeche Mode and The Cure producer Dave Allen, John was inspired to study Music Technology in London. His music career took off after a successful signing to CookShop Records, releasing 9 singles and an album in 2007 that received rave reviews from Q, Uncut and Lowdown Magazine, plus radio play from XFM and Radio One.
John began training as an audio engineer at Bonafide studio in 2005, where he refined his talents, and later that year set up Jackdaw Recordings. He has collaborated with many successful artists, and in 2007 began playing for pop musician Patrick Wolf, performing at leading venues here in the UK and internationally - including The Astoria and Shepherds Bush Empire.
Based in his London studio, John now writes music, with two more releases on CookShop, does sound engineering for prominent artists, and creates sound design for TV ads, film, theatre and corporate video.
That rare mix of songwriter, producer and working studio engineer is exactly what John brings to his teaching. In Creative Composition & Production in Ableton Live and Creative Sampling & Production in Ableton Live, he shows you how he turns raw ideas into finished, release-ready tracks - the writing, the sampling, the sound design and the hands-on engineering know-how behind a professional record.







