



Workflow and Efficiency
With
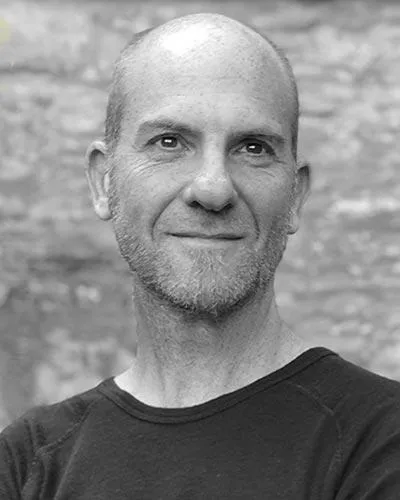
Dov Waterman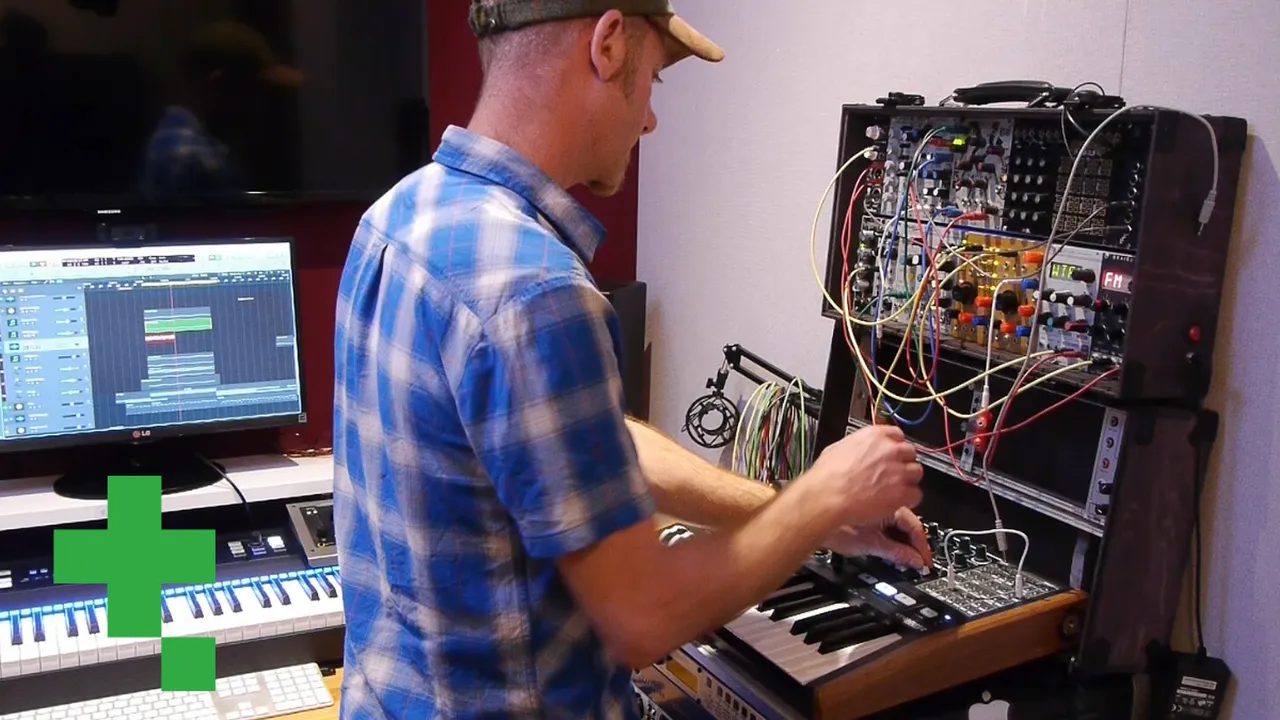
What's in the course
10 lessons (0h 46m) · 1 free
01. Welcome to the course & Dov's take on creativity
Free lesson3:29
02. Intro to Workflow & Efficiency
1:30
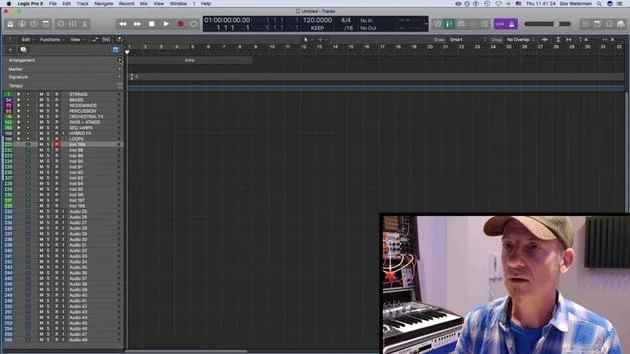
03. Workflow and Efficiency
You are here7:13
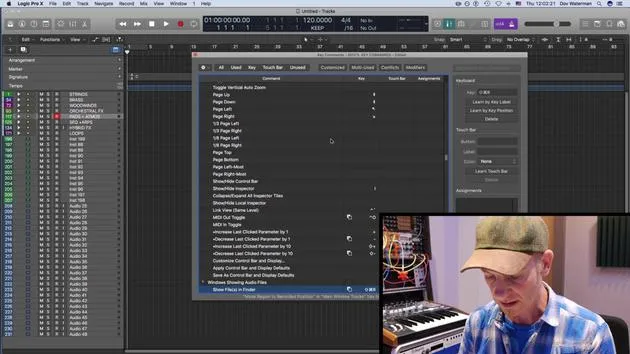
04. Key Commands
6:04
05. Creating a sound pallette
4:02
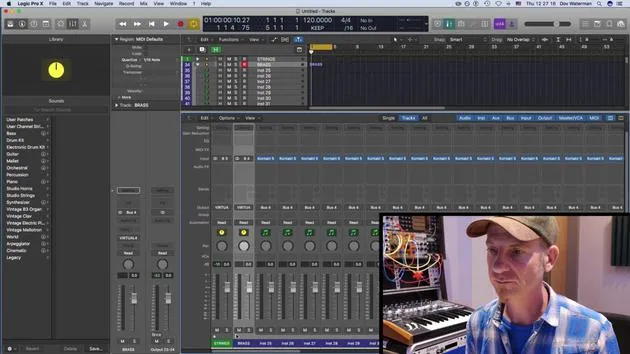
06. Setting up and saving a template
4:30
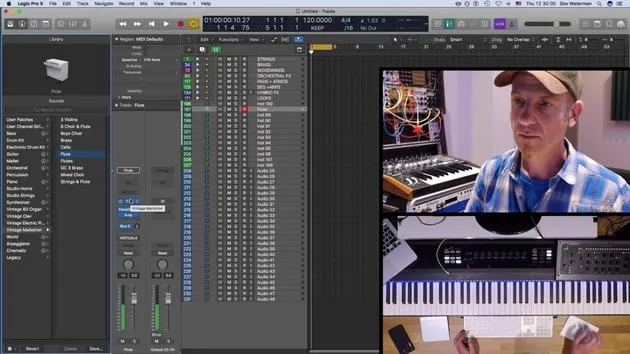
07. Overview of library and channel strips
9:20
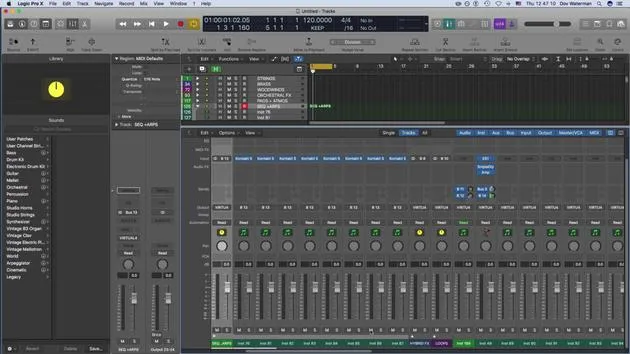
08. The Toolbar
4:23
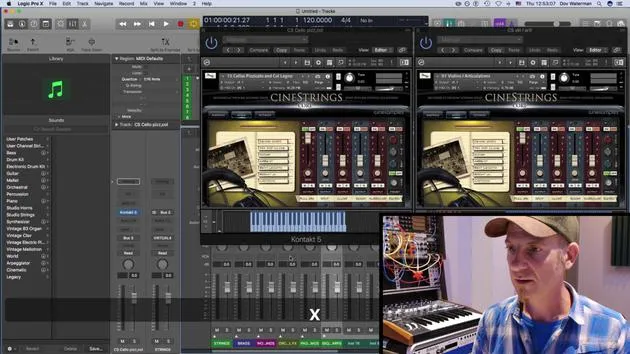
09. Screen-sets
4:34
10. Assignment: Create your template
1:18
Lesson transcript
Workflow and Efficiency in Logic Pro
Okay, so workflow and efficiency, it's all about keeping in the zone. The first place to look at is our arrangement and Logic environment, specifically the single page.
Single Window Environment
The single window environment is where it all happens, really. In previous iterations of Logic over the years, Logic would have multiple windows. If you were using a lot of those multiple windows, you would utilize screen sets or multiple screens.
With the single window environment, everything is at your fingertips. You've got:
- Your mixer
- Various browsers
These all come up as windows within the single window, which is handy when you need things right in front of you, without pages hidden by other pages.
Overview of the Environment
I think I'm just going to run through right from top to bottom. This is stuff that many of you should already know: your browsers and various functions.
Control Bar and Inspector
Starting from the top, we have:
- Library
- Info tab (Inspector T): shows your signal flow, signal chain, master output, and various other bits.
This top bar here is your control bar. There are two bars present: the control bar and the toolbar, which we'll discuss in a few minutes.
Smart Control and Mixer
Moving on, we have the Smart Control, which we'll talk about later. Then there's your mixer and various editors.
- MIDI editor: comes up when needed
- Transport controls and your display
The display, like everything else, is customizable. The whole point of this course is to customize your environment to work for you so you can stay within the zone and have a seamless workflow, without the disruption of trying to find things.
Customizing the Control Bar
To customize the control bar, I'll just show you my command so you can see what I'm doing. When I press Control, I get the option to Customize Control Bar Display.
- LCD Display: Currently set to custom, which shows everything I need, such as SMT, beat position, BPM, signature, and MIDI in/out.
Moving on, there are various other controls that I prefer to have. Again, if I control-click, I can add a couple of others that I use here in modes and functions, including:
- Pre-fader metering
- Low latency mode
You can easily populate this control bar with just two easy strokes.
List Editors and Global Tracks
These are your list editors in various browsers, showing you:
- Events
- Markers
- Tempo signature
The windows over here are mirrored by the global tracks, which we will discuss later. This is very handy when writing, as it allows you to see any changes to the signature and tempo.
Your marker section, which we'll touch on later, is also found in the global tracks at the top.
Text and Loop Browsers
Moving on, we have a text editor that is useful for writing notes, especially when collaborating with a director or producer. You can write comments about your arrangement per project or per track, track-by-track notes make adjustments much easier.
The loop browser can be opened with O. We'll talk a little more about key commands soon.
- This is your loop browser, and it's very handy.
- The media browser shows all your audio within the project and allows you to find other pieces of audio on your computer.
Library and Mixer Page
Moving on to the library, which we will cover in greater depth later. Your mixer page is also important; it greatly aids in editing.
- The mixer page can be accessed using the key command X.
- For MIDI: When you have a MIDI region in your arrangement, double-clicking it brings up your piano roll, score mode, or step editor.
Global Tracks and Arrangement Tracks
All of this content is something you presumably already know, this is just an overview.
Global tracks will also be discussed as we move forward. Having all the global tracks open at the same time really depends on your needs and usage.
Sketching Arrangements
Arrangement tracks are very handy when you want to quickly sketch out an arrangement.
- These features are new to Logic 10. If you're not familiar with Logic 10, the arrangement track will quickly populate your session with parts of a song.
- You can easily edit these tracks if you are using the Virtual Drummer. Once you open the virtual drummer and the arrangement consists of an intro, verse, chorus, bridge, and outro, it will populate your drummer with corresponding sections that reflect the song itself.
We will talk about the virtual drummer a little later.
10 lessons
0h 46m of structured video lessons
Advanced video features
Slow down, loop a passage, follow along
Mobile, tablet & desktop
Practise wherever you are
100% satisfaction guarantee
30-day money-back guarantee
Meet your guru
Meet your guru
Dov Waterman is a composer, pianist and producer. He has written and designed sound for films including After Earth, Terminator Genisys, Transformers: The Last Knight and The Snowman, and works as a sample-library audio editor and sound designer with companies such as Native Instruments and SonoKinetic.
His Composition in Logic series walks through building a track end to end in Logic Pro - from templates and workflow to synthesis and beat programming, MIDI effects, editing and the final mix - for producers who want to turn their ideas into finished records.







