



Delay compensation and HEAT
What's in the course
23 lessons (2h 35m) · 1 free
Lesson transcript
Pro Tools and Logic: Delay Compensation and Heat
Introduction
Okay, before we get to the vocal, I just want to show one more thing that we have in Pro Tools and also in Logic. Actually, two things.
Delay Compensation
Pro Tools
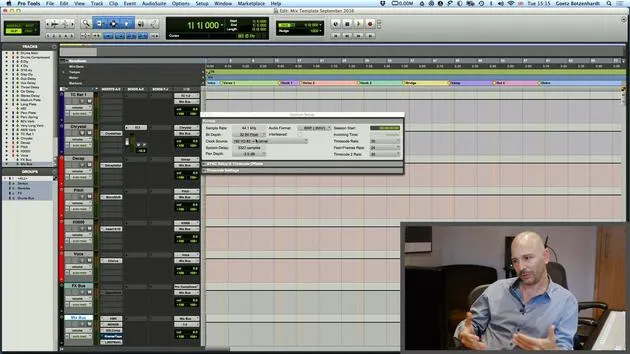
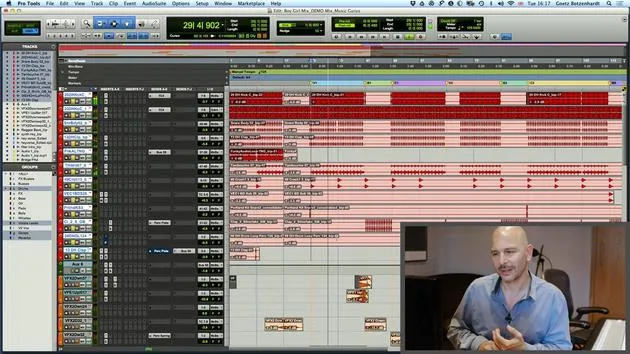
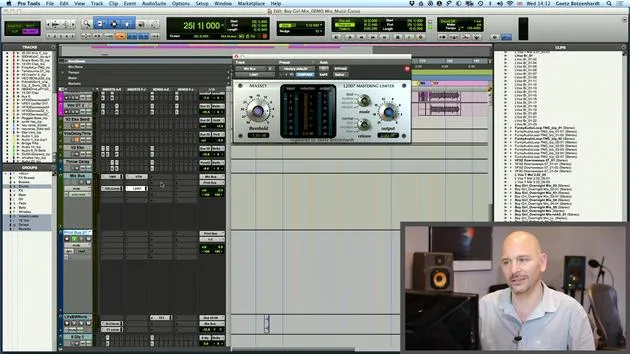
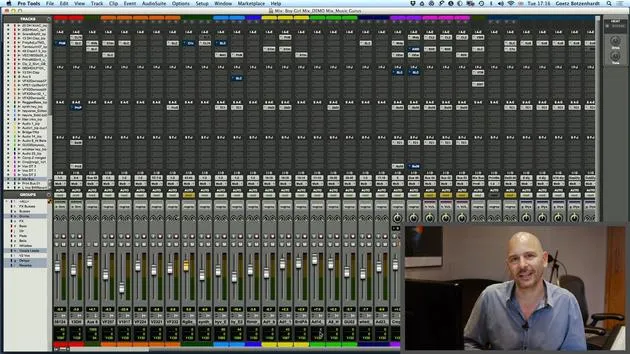
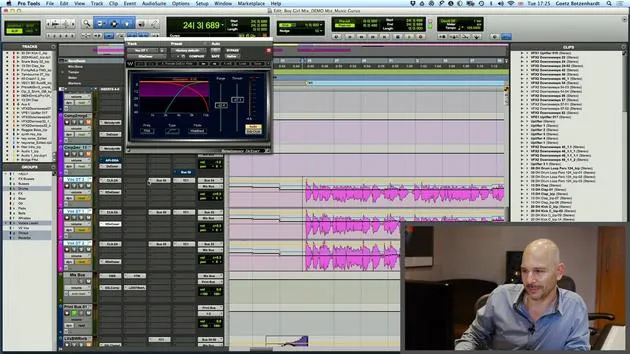
- Down here in Pro Tools, we have something called delay compensation.
- It's quite boring and geeky, but it basically shows what happens when you put plugins on each channel.
Key Points:
- Each plugin causes a little delay, a processing delay.
- This delay is the time taken to crunch the numbers, apply the processing, and put the signal back out.
Importance of Monitoring
- If you put different plugins on every channel, you end up with everything going out of time.
- To compensate, Pro Tools at the bottom shows you how much processing happens on each channel.
- It works out the processing delay for each channel and adds a little compensation.
Remember:
- It's really important that all the numbers here are always green.
- If they go red, it means there's too much processing going on, and Pro Tools can't keep up.
Logic
- Logic has a similar feature, but you can't actually see the numbers.
- It's worth looking at your system occasionally to ensure it doesn't run out of compensation headroom.
Note:
- If it does, you're going to get timing problems, and the audio will start to sound pretty bad.
- There is a page in Logic as well where you can investigate these issues.
Visual Check
- Every now and then, just look down here to make sure all your numbers are green.
- There's one number here that is always orange, indicating the channel with the most processing and the biggest delay.
- Don't worry about that; it just shows which channel has the longest delay and helps determine the other figures.
Heat in Pro Tools
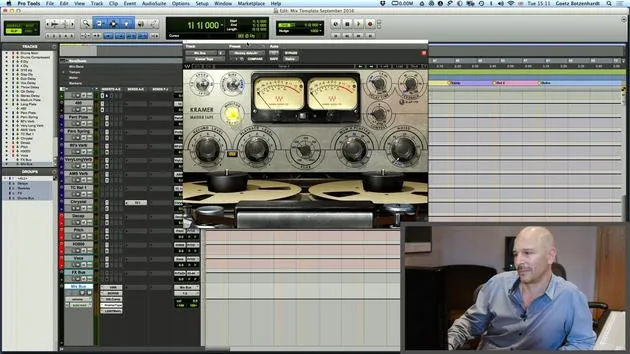
- One more thing I want to mention quickly is Heat in Pro Tools.
- Heat emulates an analog tape machine.
Activation:
- Go down here on Options.
- Activate Heat.
Functionality
- When activated, you can adjust a knob:
- Turning it to the left adds a bit of harmonic distortion on each channel, which mimics the effect of a tape machine.
- Each sound becomes a bit more defined and may add a tiny bit of distortion, which can be quite nice sometimes.
Demonstration
- Let's just play and I'll kick it in more and more.
- You can hear when it really starts distorting, and at that point, you know it's probably too much.
Tip:
- I usually like to have it on one or maybe sometimes two if it's a rock record.
- Don't be scared to put a bit of distortion on it; it can be quite nice.
Final Note:
- Always check the difference before and after adding Heat to enhance your sound.
23 lessons
2h 35m of structured video lessons
Advanced video features
Slow down, loop a passage, follow along
Mobile, tablet & desktop
Practise wherever you are
100% satisfaction guarantee
30-day money-back guarantee
Meet your guru
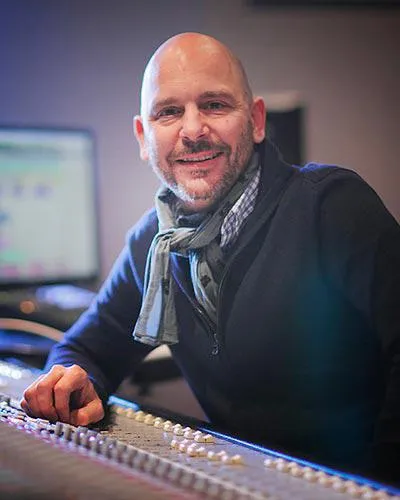
Meet your guru
In the early nineties, Goetz Botzenhardt trained at Swanyard Recording Studios, assisting top producers like Flood, Alan Moulder and Tom Lord-Alge, and cut his teeth recording and mixing the dance and Acid Jazz bands of the 90s - Incognito, Galliano, Soul II Soul and many others.
At Swanyard he met Rollo Armstrong and the two quickly formed a creative partnership, leading to many big dance records and remixes and, soon after, to recording and mixing the first two acclaimed Faithless albums and Dido's multi-platinum 'No Angel'.
Ranging across genres, he recorded and mixed the Sugababes' debut album 'One Touch', including their first hit 'Overload', and has mixed for The Cardigans, Bjork, The Cinematic Orchestra, Craig David, the Pet Shop Boys and Hikaru Utada, one of Japan's most successful artists.
More recently he expanded into film and TV, working extensively with composers Christian Henson, Martin Phipps and Anne Nikitin, and mixing Daniel Pemberton's Golden Globe-nominated score for 'Steve Jobs', directed by Danny Boyle. Away from film he produced Tanita Tikaram's 'Closer to the People', mixed tracks for Sigala, Ella Eyre, Breton, Planet Funk and Tito Jackson, and in 2016 mixed Peabo Bryson's album with Jimmy Jam and Terry Lewis. A full list of his work is on his discography and filmography pages at goetz-botzenhardt.com.
Goetz works from his own studio and mix room, built around an SSL E4044 console, Adam 5.1 surround monitoring, a 48-channel Pro Tools HDX system and choice outboard gear. In his courses he takes you inside that room to show how he mixes across two very different worlds: in Mixing for Film & TV Score, how he balances and shapes orchestral and hybrid scores to serve the picture; and in Mixing Commercial Pop Music, how he builds punchy, radio-ready pop mixes from the multitrack up.







