



Effets MIDI et modification des données MIDI

Avec
Isaac CotecIsaac montre comment les effets MIDI de Live, comme l'arpégiateur, transforment tes données MIDI avant qu'elles n'atteignent l'instrument, le tout de façon non destructive.
Le contenu du cours
17 leçons (1h 33min) · 1 gratuites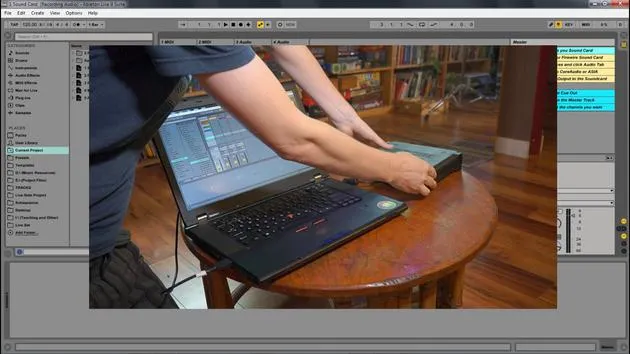
Transcription de la leçon
Exploring MIDI Effects in Ableton Live
So that is the grid within Ableton Live. Now let's look at adding MIDI effects.
What Are MIDI Effects?
MIDI effects can change the incoming MIDI before it reaches the instrument.
- If you hold a single note, you can add a MIDI effect to:
- Arpeggiate the note
- Apply various transformations to the note information
This process is non-destructive. In other words, it does not change the note; it just changes what Live does with it. You can always go back and change this parameter later.
Demonstrating MIDI Effects
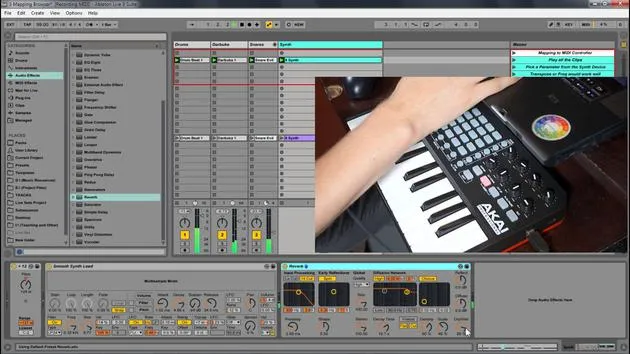
Let's use this controller as a visual way of showcasing the MIDI effects.
-
Access MIDI Effects:
- Go into the MIDI effects section in the browser.
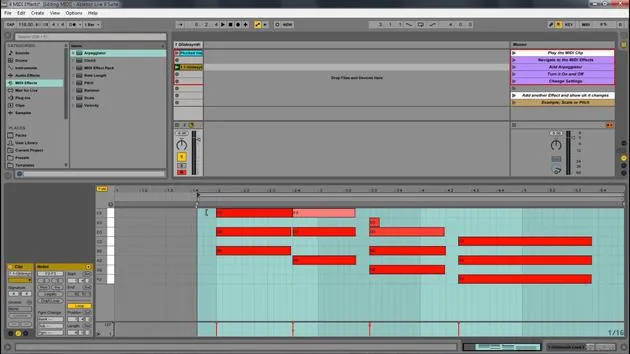
- Select Arpeggiator.
-
Initial Playthrough:
- First of all, I'm just going to play a note. When I hold it, it plays all the way through.
-
Positioning the Arpeggiator:
- Let's put our arpeggiator before the synth.
- The Arpeggiator acts as an intermediary between pressing a note and the actual sound output.
- It takes the MIDI information and changes those parameters to output new information for the synth.
This can be a great way to create interesting arpeggios!
Recording and Quantizing
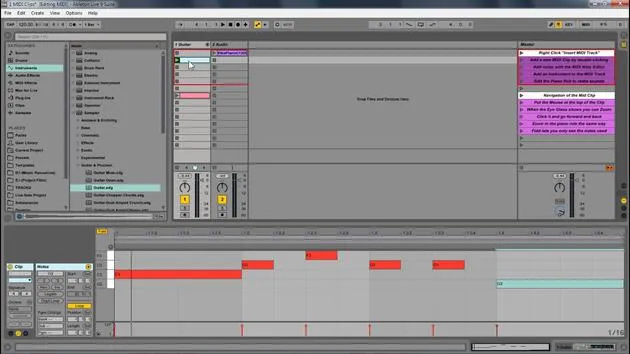
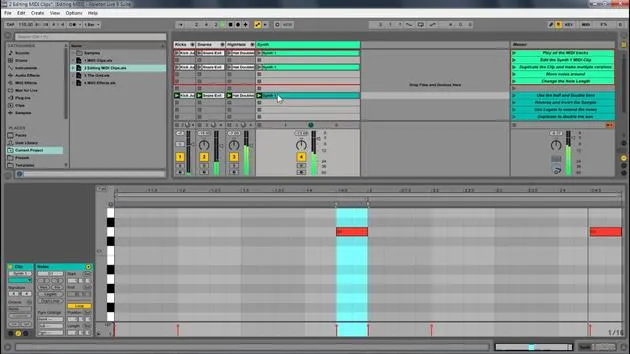
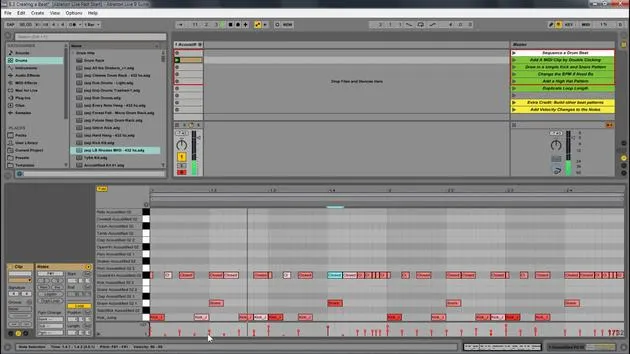
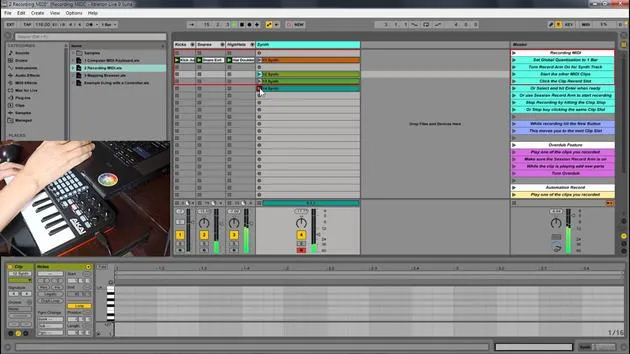
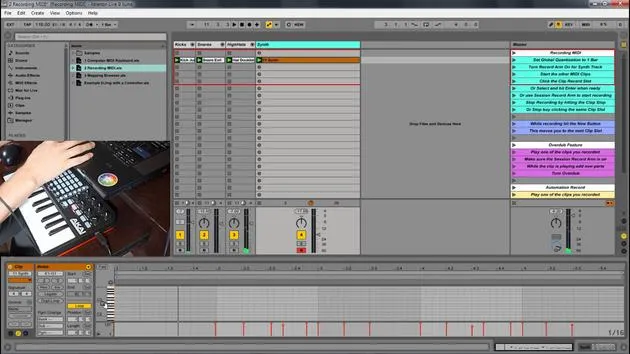
If I press record, you'll notice that I have the MIDI here, but it isn't showing all that arpeggiation and movement.
- What this means is I will quickly select this and quantize it.
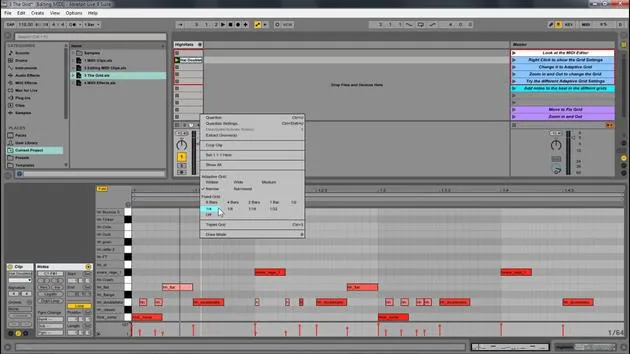
- Just like we can quantize audio, we can right-click and quantize MIDI.
Now I'm going to move these things around just to enhance the example. Since those original notes are there, I can come in here and change the parameters:
- Change the rate
- Experiment with swing
Non-destructive Editing
Now, that's a completely different Arpeggiator. If I come over here to view the notes, you'll notice they're exactly the same. This showcases the non-destructive nature of MIDI effects.
Exploring Additional MIDI Effects
With the same concept in mind, let's quickly look at some other MIDI effects:
-
Note Length: Affects the length of the note.
-
Randomizer:
- Let's turn off the Arpeggiator and select these notes.
- The notes that play are not the same notes; they simply randomize whenever a note is triggered.
-
Pitch Shift:
- We can lower and raise the pitch. For example, if a note is a C, a shift of +12 will put it up an octave.
-
Scale:
-
Dragging in Scale allows you to specify where the notes fit.
-
Let's speed this up now. Opening the scale, I can choose different options.
-
For instance, putting it in blue scale. This takes all incoming notes and constrains them to fit that scale.
-
There are no wrong notes outside of this scale. Traditionally, sequences go like this: B note → A note → B → C, and so on.
-
But when I apply the scale, it adjusts those notes, ensuring they stay within the dictated scale parameters.
-
Conclusion
You can see how we can:
- Change out the MIDI effects
- Delete them
- Tweak the parameters
All while keeping the original MIDI intact. The MIDI information gets processed through these effects and is then sent to your instrument.
17 leçons
1h 33m de leçons vidéo structurées
Fonctions vidéo avancées
Ralentissez, bouclez un passage, suivez la partition
Mobile, tablette et ordinateur
Pratiquez où vous voulez
Satisfaction garantie à 100 %
Garantie remboursement 30 jours
Rencontrez votre guru
Rencontrez votre guru
Isaac Cotec est, sans doute, l'un des meilleurs formateurs Ableton au monde ! Tout en travaillant sur sa propre musique, il a commencé à enseigner les techniques d'enregistrement, le design sonore et Ableton Live à des élèves particuliers et, depuis qu'il a obtenu sa certification d'Ableton Certified Trainer officiel, il a aidé des milliers de producteurs à passer un cap et à réussir comme musiciens.
Isaac a commencé à produire de la musique électronique en 2005 avec Psyche Sonics, un groupe expérimental travaillant sur la science et la recherche des binaural beats et la modification de la conscience par le son. Après avoir tourné, il a continué à écrire de la musique sous l'alias Cotec puis a émergé comme l'artiste Subaqueous, mêlant son passé électronique à des techniques de production à la fois futuristes et organiques. À ce jour, il a sorti 3 albums et 4 EPs.
Isaac est aussi le fondateur et le gérant du label Invibe Music, qui représente certains des meilleurs artistes de musique électronique du Pacific Northwest et se spécialise dans la dance midtempo.
Dans ses cours Ableton Live, Isaac partage les techniques de production, de design sonore et d'écriture qu'il a passé des années à affiner — les compétences mêmes qu'il utilise pour transformer l'étincelle d'une idée en un morceau fini.







