



Enregistrer et jouer des patterns Drumazon avec un instrument externe
Lesson time: (10min 36sec)
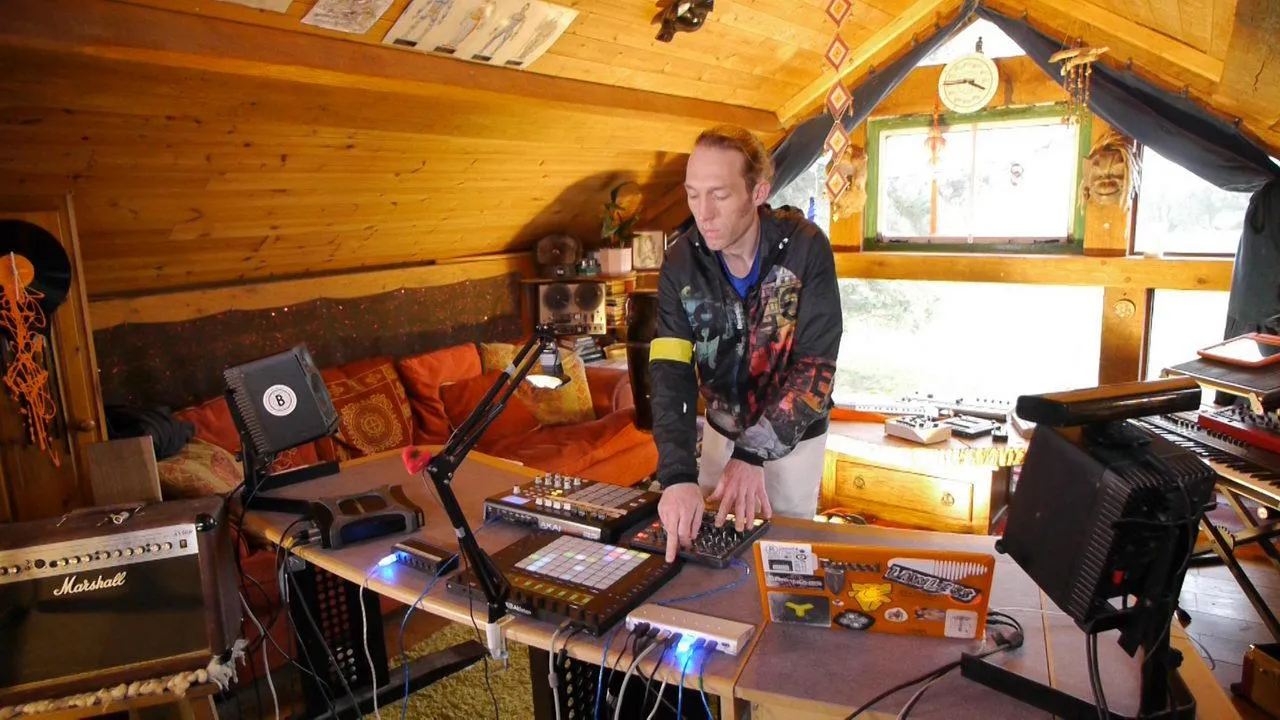
Mark Burnett montre comment programmer des patterns de batterie Drumazon dans Ableton Live, en dessinant les notes avec l'outil crayon et en enregistrant depuis du matériel externe comme l'AKAI MPD32 et le Push 2.
Course preview
This lesson is part of the course Augmenter Ableton Live : le guide ultime pour utiliser des appareils externes
Watch a preview of the full course below.
Lesson transcript:
Music Lesson: Creating a Simple Drum Pattern in Ableton Live
Setting Up the Drum Machine
"Okay, so now that we've got that set up, let's just create a really simple pattern in Live using our drum machine and have a play around with it and see how that goes."
-
Create an Empty MIDI Clip
- Go over to the track where the drummers are located.
- Double click to create an empty MIDI clip.
-
Convenient Sounds
- Notice that the sounds assigned to the empty MIDI clips correspond with our drum rack.
- The drum rack added to the instrument rack enables us to program on the Push in drum programming mode, resulting in appropriately labeled MIDI notes in the piano roll at the bottom.
Programming the Pattern
-
Draw in Notes
- Using the pencil tool, draw in a simple pattern, perhaps something like this.
-
Playback
- Play it back and hit record to live overdub.
-
Add Hi-Hat Pattern
- Add a little bit of a hi-hat pattern as well.
-
Quantization
- Go into the MIDI editor to tidy up using quantization:
- Select all notes using Command + A.
- Quantize notes using Command + U.
- This may make it quite boring and straight, but for this exercise, we just want to play around with some mappings.
- Go into the MIDI editor to tidy up using quantization:
Testing the Mappings
- Play and Adjust Volumes
- Test out the mappings created.
- Use the faders at the top to adjust volumes for each sound:
- Kick
- Snare
- Rim Shot
- Clap
- Tom
- Open and Closed Hats
- Ride
Using Low Tack Tape for Labels
- Labeling Sounds
- Use low tack tape to cover previous mappings.
- Use a Sharpie to put simple abbreviations:
- Bass Drum
- Rim Shot
- Snare Clap
- Low Tom
- Closed Hat
- Open Hat
- Ride
"These are fairly standard abbreviations for those sounds, but it doesn't matter what you use, as long as it makes sense to you."
Pitch Control and Decay
-
Control Parameters
- Remember that we have pitch control on Bank A and decay settings on Bank B.
- Bring in sounds one at a time to demonstrate functionality:
- Adjust the volume, tune, and shorten the kick drum.
- Snare and rim shot adjustments.
-
Recording Automation
- By using the automation record, create variations within the pattern by manipulating parameters while recording.
Enhancing Your Pattern
- Using the Push
- As you explore, notice color on the various drum pads in Push.
- Play the drum sounds from Push.
- Program directly from Push, controlling the VST without having to look at the screen.
"We're using the software VST here as the engine, but we're using any kind of generic MIDI controller to augment that piece of software with a real tactile interface."
- Creating a New Pattern
- Quickly create a new pattern on the Push.
- Use the extended features that Push offers for programming.
"It's kind of replicating having a hardware drum machine."
Conclusion
You can see how easy it is to access various parameters, make quick changes, and take full advantage of your drum machine setup in Ableton Live. Enjoy experimenting and making creative adjustments!
About the instructor
Mark Burnett est un Ableton Certified Trainer qui travaille avec les produits Ableton depuis plus de 14 ans. En tant que producteur et DJ chez Funk'n Deep Records, ses morceaux ont été joués dans de grands festivals ainsi que dans les sets et podcasts d'artistes comme Carl Cox et Richie Hawtin, et il s'est produit devant des foules de plusieurs milliers de personnes. Il organise également des événements de grande envergure comme le Workhouse Project, et a étudié à l'Imperial College London. Son cours porte sur l'utilisation d'Ableton Live pour construire des performances en direct, et convient aux producteurs et interprètes de musique électronique qui souhaitent faire passer leur spectacle du studio à la scène. read more