



Enrichir le VST Drumazon avec des contrôleurs matériels
Avec
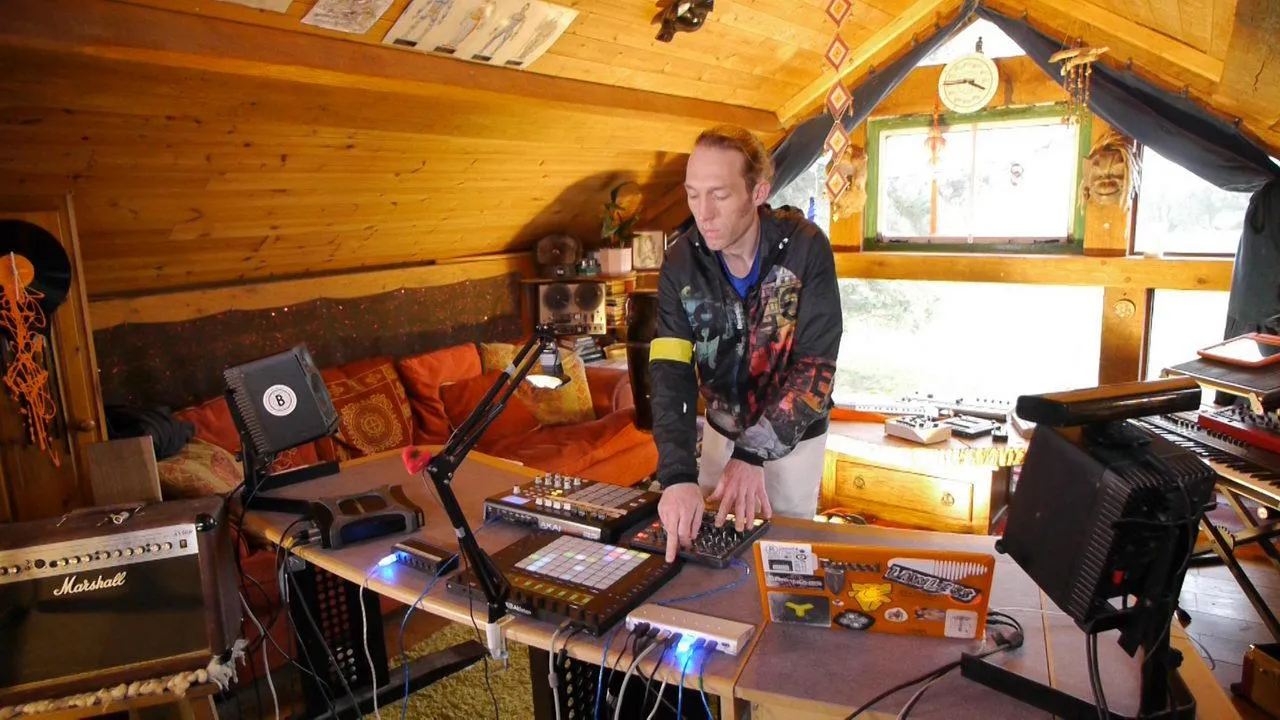
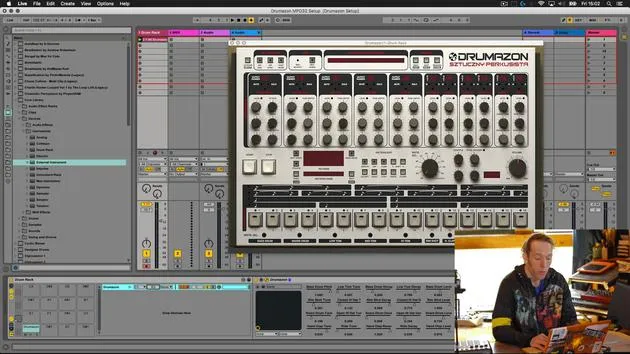
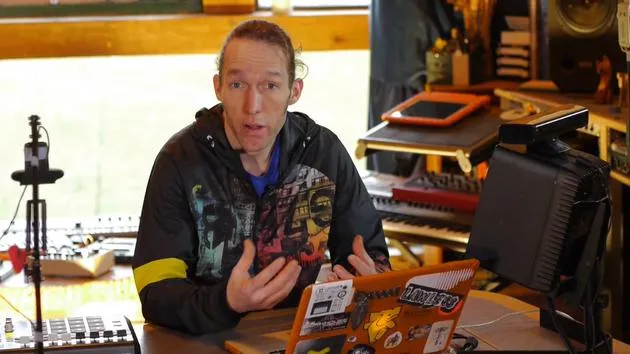
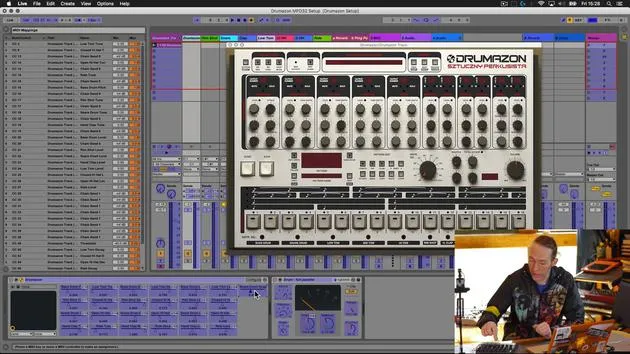
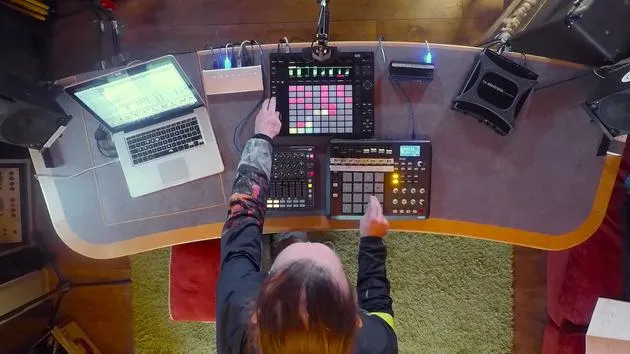
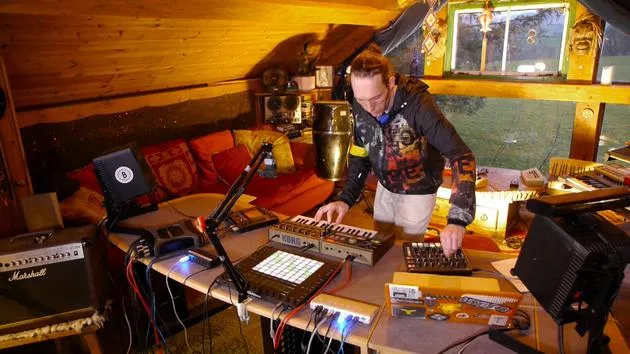
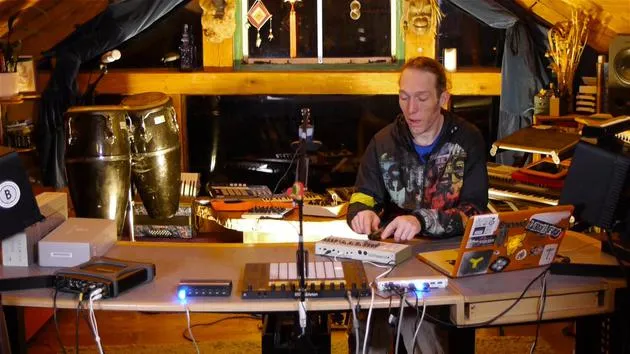
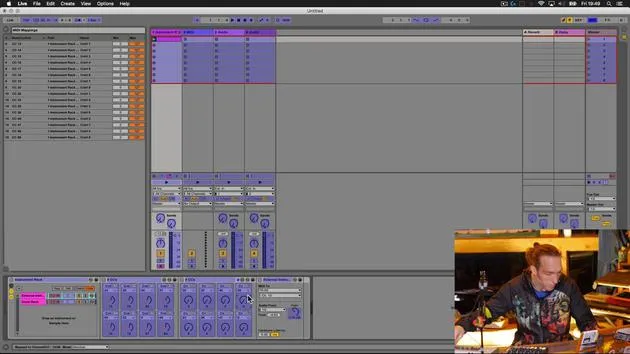
Mark BurnettMark Burnett configure Drumazon (une émulation de la TR-909 de D16) dans Ableton Live et effectue le mapping MIDI des faders et potentiomètres AKAI pour que tu puisses piloter le VST depuis le matériel.
Le contenu du cours
24 leçons (3h 29min) · 2 gratuites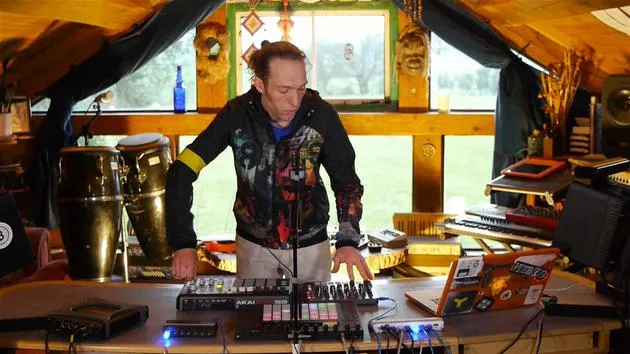
01. Ce que tu vas apprendre dans ce chapitre
1:53
02. Comment router les sons de Drumazon vers des pistes individuelles
16:58
03. Comment appliquer des effets à des groupes de batterie
5:08
04. Comment mapper des effets logiciels sur un contrôleur externe
12:44
05. Sauvegardons cette configuration et testons-la !
9:21
01. Ce que tu apprendras dans ce chapitre
1:18
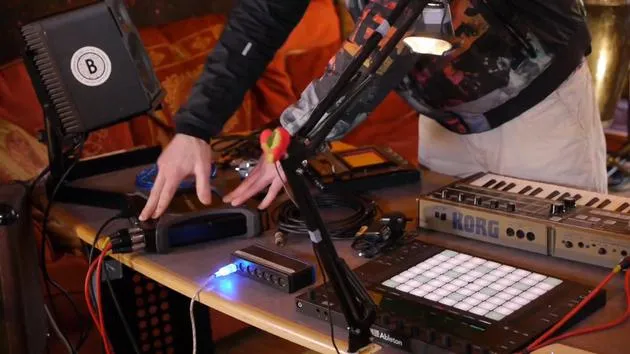
02. Préparons le setup (MicroKorg et Novation Launch Control)
7:47
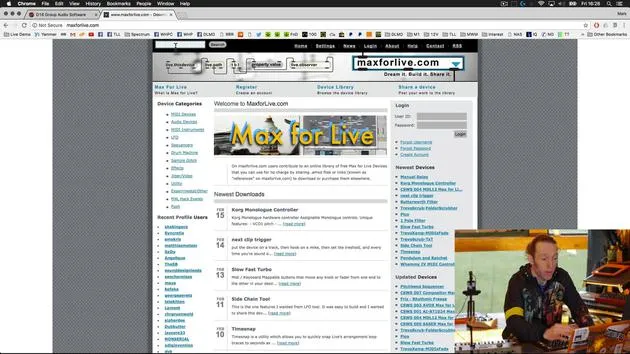
03. Messages MIDI CC et mapping du Novation LC vers les paramètres du MicroKorg
18:19
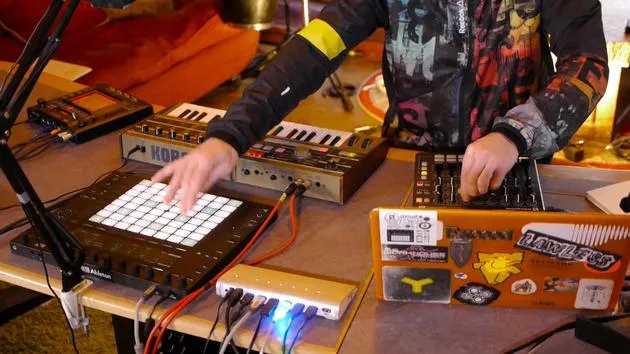
04. Démonstration de la configuration jusqu'ici
1:47
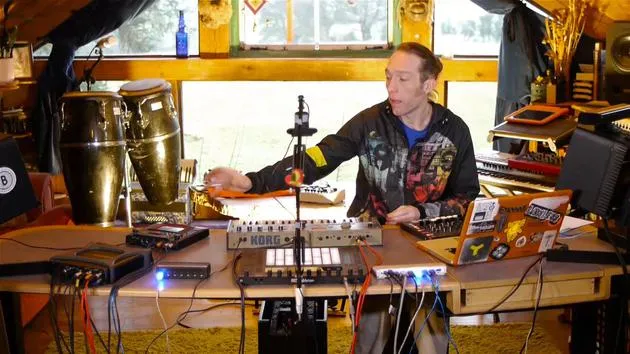
05. Ajouter des effets tactiles avec le Kaoss Pad 3
11:50
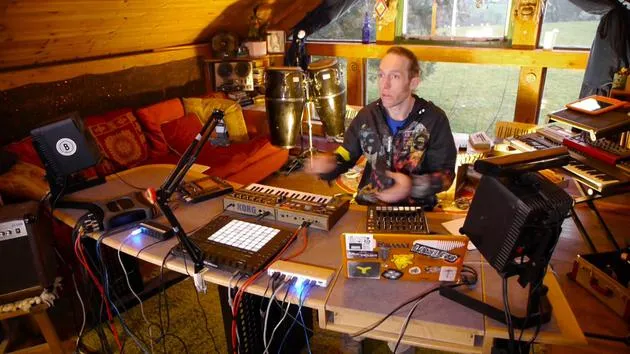
06. Finaliser la configuration du Kaoss
7:02
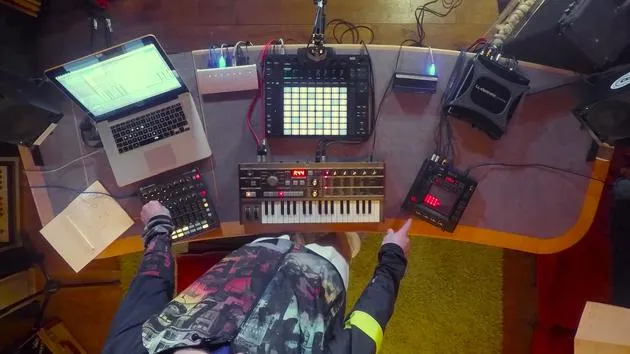
07. Récapitulatif de ce qu'on a appris
4:23
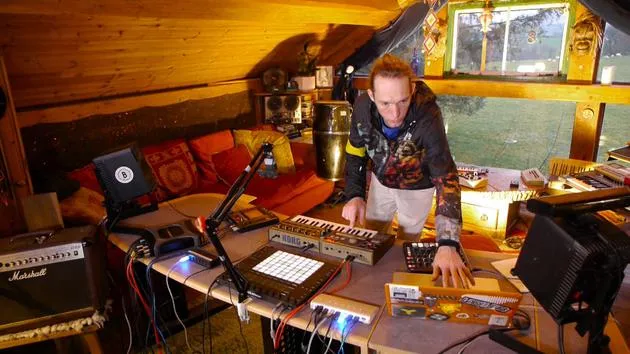
08. Explorer le setup
3:54
Transcription de la leçon
Music Lesson: Using Drummers On VST in Ableton Live
Introduction to Drummers On VST
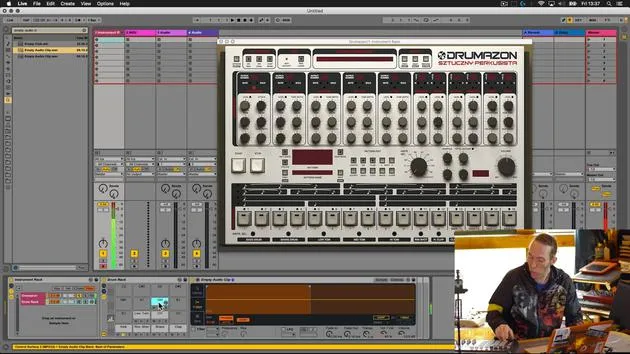
So this is the VST that we're going to be using today. It's called Drummers On. It's by D16 Group and is a software emulation of a classic drum machine, the Roland TR909.
If you're familiar with it, then you'll know exactly what I'm talking about. If you're not, you will become familiar with it because you'll have heard the sound of the TR909 in countless tracks over the last three decades.
Opening the VST in Ableton Live
Now, this device is a VST. It will run inside your DAW. Let's open it up in Ableton Live and have a look at its interface.
- Open Ableton Live: I've already loaded it into the first track.
- Access the VST Interface: Go down to the instance of Drummers On in Live and click on the little spanner tool to see the VST interface.
VST Interface Overview
Here it looks very much like the top panel of the TR909. We have a selection of drum sounds:
- Bass drum
- Snare drum
- Toms
- Rim shot
- Clap
- Hi-hat sounds
- Cymbal sounds
Underneath each sound, we have parameters that enable us to change and control those sounds.
Mapping Controls for Ease of Use
In order to do that, though, we're going to need to use the mouse and keyboard to click on these knobs and faders, which is quite limiting. This is why we're going to look at how to map all of those to an external piece of hardware, specifically an external MIDI controller. This will enable us to access those controls more easily and, hopefully, make the whole process of using this VST more fun.
Checking for Sound
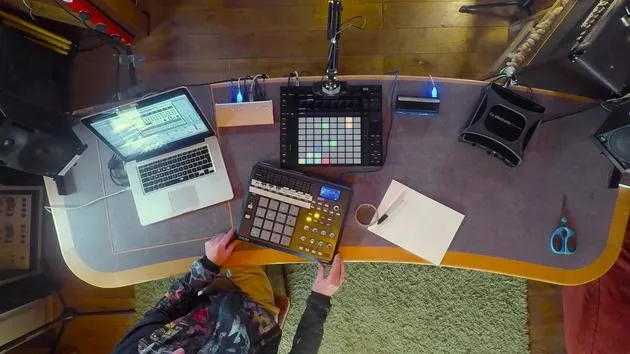
Before we proceed, we need to check that we've got some sound. This instance of Drummers On has been put onto a MIDI track, and because the Push 2 is active, this track is in a kind of Live Preview Mode. This means any MIDI information coming in, whether from the Push or from anywhere else (like the Akai), should be sent to the Drummers On.
- Test with the Push: Let's check if the Push is outputting notes.
- Confirm Sound Reception: The notes are being picked up by Drummers On, and we can hear the sounds.
Checking with the Akai MPD
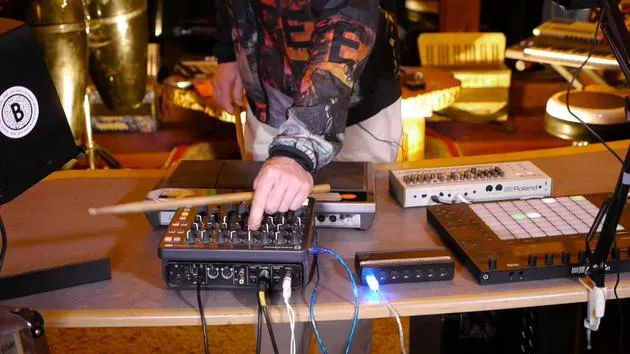
Next, with the Akai MPD, the basic mapping of these pads or the output of these pads is standard generic notes, so this should correlate with the sounds and the note numbers for Drummers On.
- Test Sounds: Kick, snare, rim shot, clap, and so forth.
Consideration of Sound Order
You'll notice that kick, rim shot, snare, clap do not appear in the order in the VST. This is a consideration that we need to keep in mind as we create a control template that makes sense both in Live and in the real world.
Grouping and Mapping
To assist with this, let's group the Drummers On device:
- Right-click on Drummers On: Select Group to create a new instrument rack.
- Add Drum Rack: Underneath Drummers On, where it says "Drop instruments or samples," we will drop an instance of Ableton Live's Drum Rack.
Initializing the Drum Rack
When we do that, the Push responds. We've gone out of your classic chromatic note mode, and we're now in the standard drum programming mode.
Adding Color for Clarity
To make it easier to locate sounds, I suggest adding an empty audio clip. I have an empty audio clip here saved in my user library.
- Drop the Empty Clip: Place this into Drum Rack Cell 1 and rename it Kick.
- Using the Push: Hitting the kick pad on the Push shows the clip lighting up in Live, confirming everything is working.
Labelling Other Cells
Now, we need to label the other cells in the drum rack for clarity:
- Rim Shot
- Snare
- Clap
- Low Tom
- Closed Hi-Hat
- Open Hi-Hat
- Ride
Color Coding
We can enhance visibility by assigning colors to each sound:
- Hold down the shift button, press the note, and assign a color.
Now that we've got sound coming through and our pads set up, let's move on to parameter adjustments.
Mapping Parameters
Next, we need to change some of the parameters within Drummers On. We will set up mapping for the faders and knobs on the Akai.
Entering Configuration Mode
- Go back to the Drummers On chain and open up the configuration panel.
- Toggle Configuration Mode: Enable this to access parameters within the VST.
Selecting Useful Parameters
After evaluating which parameters will be most useful, the pitch control for each sound stands out. Assigning the pitch (tune) for the following sounds:
- Bass Drum
- Rim Shot
- Snare Drum
- Hand Clap
- Low Tom
- Closed Hi-Hat
- Open Hi-Hat
- Ride
Confirm Configuration
Once all parameters have been selected, exit configuration mode.
Mapping to External Controller
- Enter MIDI Mapping Mode: Command + M or click on the MIDI mapping mode icon.
- Map Each Control: Assign to the corresponding control on the Akai.
- Bass Drum: Assign to first knob.
- Proceed through each sound in the same sequence.
Double Check Mappings
After mapping, check each knob on the controller to ensure it's working correctly.
Further Parameter Mapping
Next, we will add controls for the decay of each sound, recognizing that hand clap has reverb instead of decay.
Assign Decay Parameters
- Activate Configuration Mode: Reopen to add decay parameters.
- Assign each decay in the same order:
- Bass Drum
- Rim Shot
- Snare Drum
- Hand Clap
- Low Tom
- Closed Hi-Hat
- Open Hi-Hat
- Ride
Secondary Control Bank
The decay controls will be assigned to the second bank on the MPD.
Final Level Control Assignments
After setting up the decay, ensure levels are also controllable via the eight faders at the top:
- Open Configuration Mode: Again, add level controls for each drum sound.
- Same order mapping enters MIDI mapping mode.
Confirming Comprehensive Control
Now we have a comprehensive selection of controls for each sound within the drum machine.
- Play Live: We can adjust volume, decay, and pitch on-the-fly.
- Enhanced Workflow: This setup allows for control over multiple parameters simultaneously, enhancing the ease of instrument management and creativity.
Thank you for following along today! Enjoy making music with your Drummers On VST!
24 leçons
3h 29m de leçons vidéo structurées
Fonctions vidéo avancées
Ralentissez, bouclez un passage, suivez la partition
Mobile, tablette et ordinateur
Pratiquez où vous voulez
Satisfaction garantie à 100 %
Garantie remboursement 30 jours
Rencontrez votre guru
Rencontrez votre guru
Mark Burnett est un Ableton Certified Trainer qui travaille avec les produits Ableton depuis plus de 14 ans. En tant que producteur et DJ chez Funk'n Deep Records, ses morceaux ont été joués dans de grands festivals ainsi que dans les sets et podcasts d'artistes comme Carl Cox et Richie Hawtin, et il s'est produit devant des foules de plusieurs milliers de personnes. Il organise également des événements de grande envergure comme le Workhouse Project, et a étudié à l'Imperial College London. Son cours porte sur l'utilisation d'Ableton Live pour construire des performances en direct, et convient aux producteurs et interprètes de musique électronique qui souhaitent faire passer leur spectacle du studio à la scène.







