



Usar el metrónomo
Con
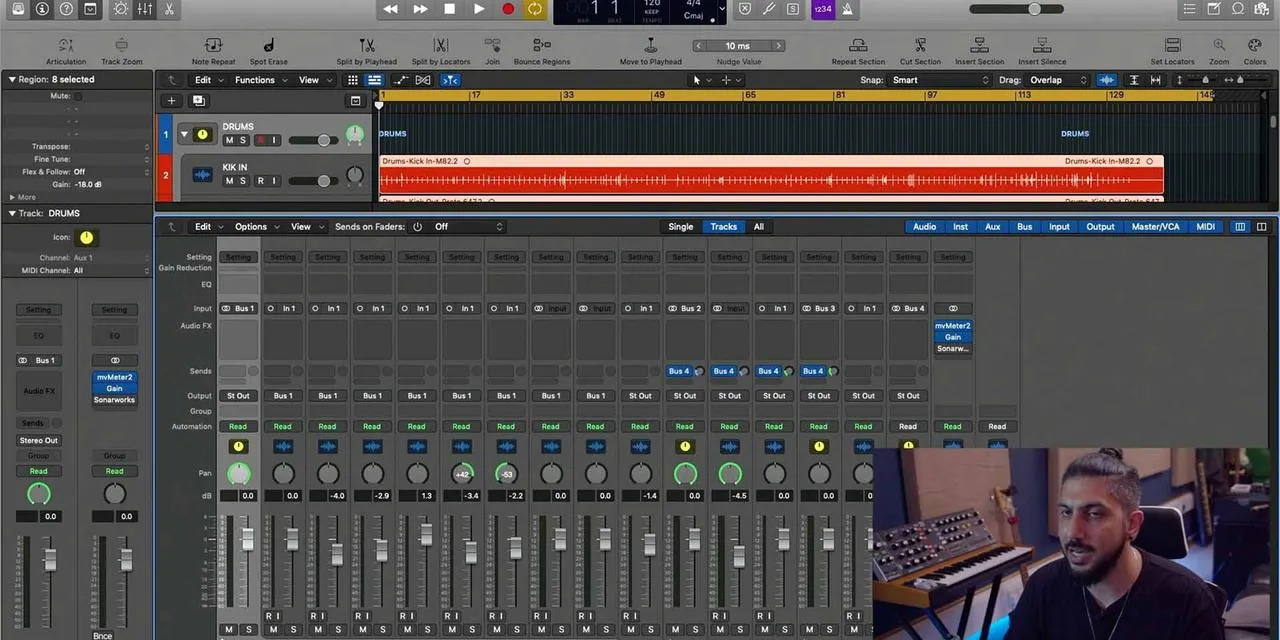
Aamir YaqubAamir Yaqub muestra cómo grabar con el metrónomo de Logic, incluyendo cómo configurar un buffer bajo y el Low Latency Mode para que el clic se mantenga preciso mientras tocas.
Qué incluye el curso
14 lecciones (1h 22m) · 1 gratis
01. Bienvenido a la grabación de audio
0:58
02. Introducción a la grabación de audio
4:47
03. Usar el metrónomo
Estás aquí5:00
04. Hacer tu primera grabación
Lección gratis5:32
05. Comping
13:03
06. Editar audio
9:41
07. Gestionar los archivos del proyecto
3:46
08. Grabar una pista de instrumento
2:06
09. Cómo usar Flex Time
10:58
10. Cómo usar Flex Pitch
11:12
11. Convertir el tono en datos MIDI
3:11
12. Smart Tempo
3:04
13. Parámetros y usos de Varispeed
4:08
14. Tempo de proyecto adaptativo
5:00
Transcripción de la lección
Reducing Latency in Recording
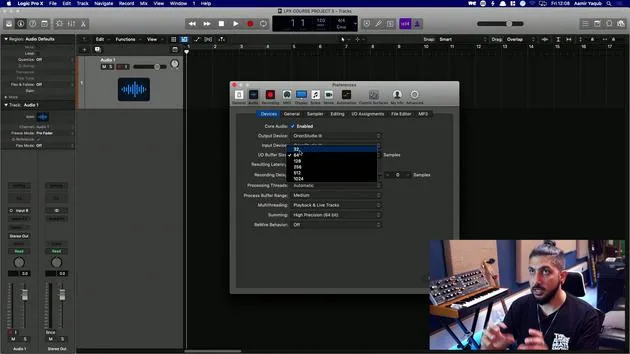
To reduce the latency experienced while recording, follow these steps:
Adjusting Buffer Size
-
Access Audio Preferences:
- Navigate to your audio preferences.
- Locate the buffer size setting.
-
Optimal Buffer Size:
- Ideally, keep the buffer size as low as possible:
- 32 samples: Excellent for minimizing latency.
- 64 samples: Acceptable.
- 128 samples: Barely acceptable, beyond which recording may become difficult.
- Ideally, keep the buffer size as low as possible:
-
Impact of Buffer Size:
- A smaller buffer size results in:
- Shorter latency (the time taken to hear your voice or instrument after playing).
- A higher buffer size can create delays that hinder performance.
- A smaller buffer size results in:
Setting Input and Output Devices
- Ensure your input and output devices are set to your interface (e.g., Orion Studio 3).
Using Low Latency Mode
If you're in the middle of a session that uses considerable CPU power:
- Enable Low Latency Mode to temporarily suspend CPU-intensive plugins:
- Access via Record Menu: Select and tick Low Latency Mode.
- Alternatively, customize the Control Bar:
- Right-click on the control bar, choose Customize Control Bar and Display.
- Add the Low Latency Mode button, which will turn orange when activated.
Keeping Time with the Metronome
A metronome (or click) is crucial for keeping time during recording:
-
Accessing the Metronome:
- Locate the metronome button in the interface.
- Shortcut for toggling: Press K.
-
Metronome Settings:
- Right-click on the metronome button to adjust settings.
- Options include:
- Click while recording.
- Click only during the count-in.
- Polyphonic clicks for varied accents.
-
Customizing the Click:
- Choose accented notes for the click.
- Create louder clicks on downbeats for better guidance (higher note and sound).
- Adjust the tonality and volume to your preference:
- Softer tones for a less harsh click.
- Alternatively, a more pronounced tone for clear guidance.
-
Count-In Click:
- The area next to the metronome button displays the count (1, 2, 3, 4).
- This serves as the count-in click before recording starts.
- Access all settings via the metronome button by right-clicking.
By following these guidelines, you can optimize your recording experience and smooth out your performances!
14 lecciones
1h 22m de lecciones en vídeo estructuradas
Funciones de vídeo avanzadas
Ralentiza, repite un pasaje, sigue la partitura
Móvil, tablet y ordenador
Practica donde quieras
Garantía de satisfacción 100%
30 días de garantía de devolución
Conoce a tu gurú
Conoce a tu gurú
Aamir Yaqub es un productor e ingeniero musical afincado en Londres. Ha trabajado con algunos de los nombres más grandes de la música, entre ellos Alicia Keys, David Guetta, Rihanna, Sia y will.i.am, además de desarrollar a artistas independientes.
A lo largo de sus cursos enseña su flujo de trabajo completo en Logic Pro: desde la interfaz y la grabación, pasando por la creación de ritmos, la síntesis y los efectos MIDI, hasta la mezcla y el acabado de un tema.







