



Hacer tu primera grabación
Con
Aamir YaqubAamir Yaqub explica cómo grabar tu primera toma vocal en Logic Pro, desde el flujo de señal y el ajuste de la ganancia hasta el metering pre-fader y el input monitoring.
Qué incluye el curso
14 lecciones (1h 22m) · 1 gratis
01. Bienvenido a la grabación de audio
0:58
02. Introducción a la grabación de audio
4:47
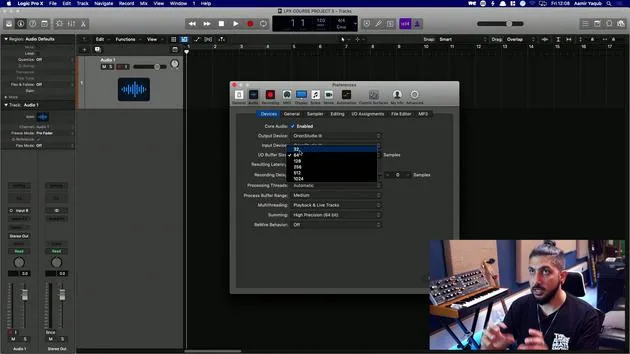
03. Usar el metrónomo
5:00
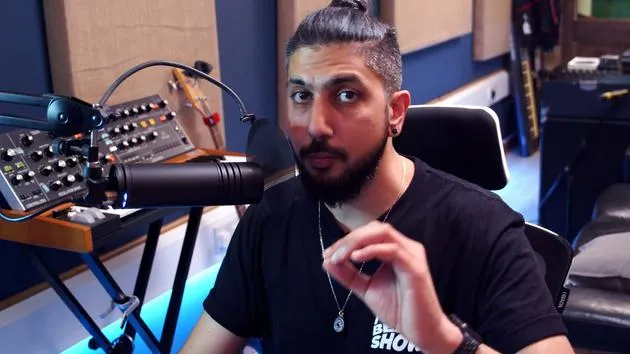
04. Hacer tu primera grabación
Estás aquí5:32
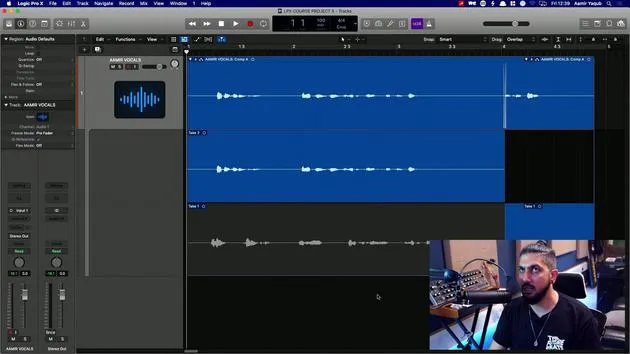
05. Comping
13:03
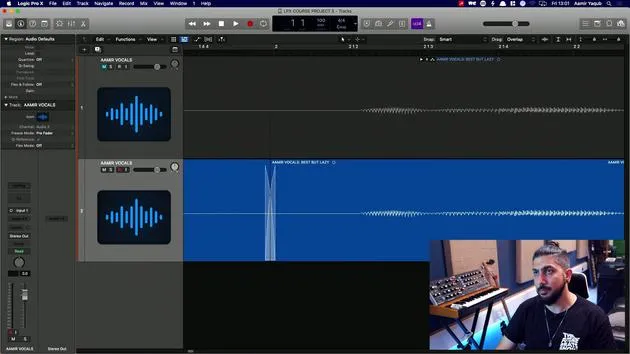
06. Editar audio
9:41
07. Gestionar los archivos del proyecto
3:46
08. Grabar una pista de instrumento
2:06
09. Cómo usar Flex Time
10:58
10. Cómo usar Flex Pitch
11:12
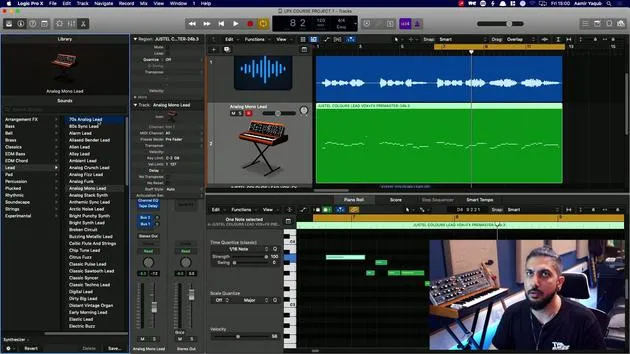
11. Convertir el tono en datos MIDI
3:11
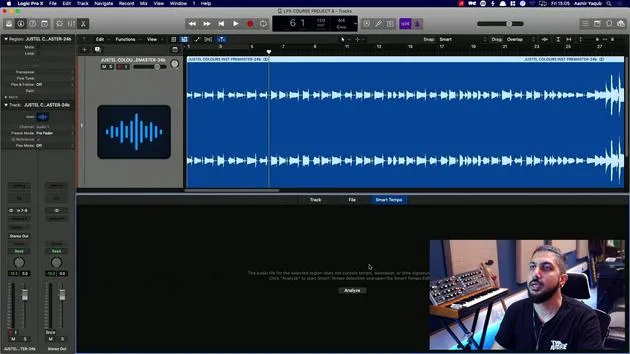
12. Smart Tempo
3:04
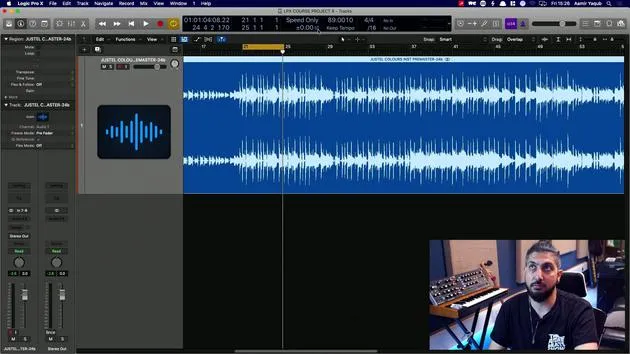
13. Parámetros y usos de Varispeed
4:08
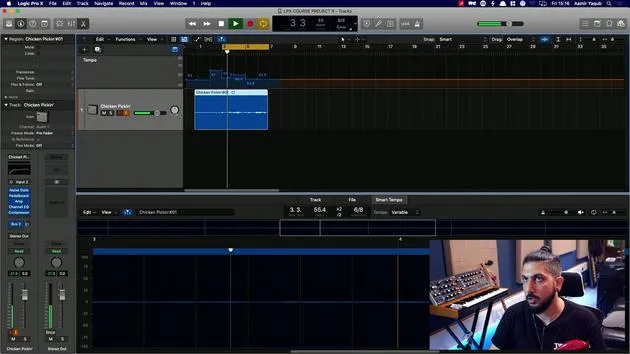
14. Tempo de proyecto adaptativo
5:00
Transcripción de la lección
Vocal Recording Tutorial
Welcome to today's lesson! I'm going to record some of my vocals. I'm not going to sing for you because, you know, let's not embarrass myself here.
Equipment Setup
- Microphone
- Pop Shield: It's a good idea to use a pop shield when you are working with vocalists at this point in time.
Signal Flow
Remember when we talked about signal flow? The signal goes from me to the microphone, down the cable into the interface.
- Interface Adjustments: This is the first place where you'll essentially set your gain to give you an acceptable level of input.
Pre Fader Metering
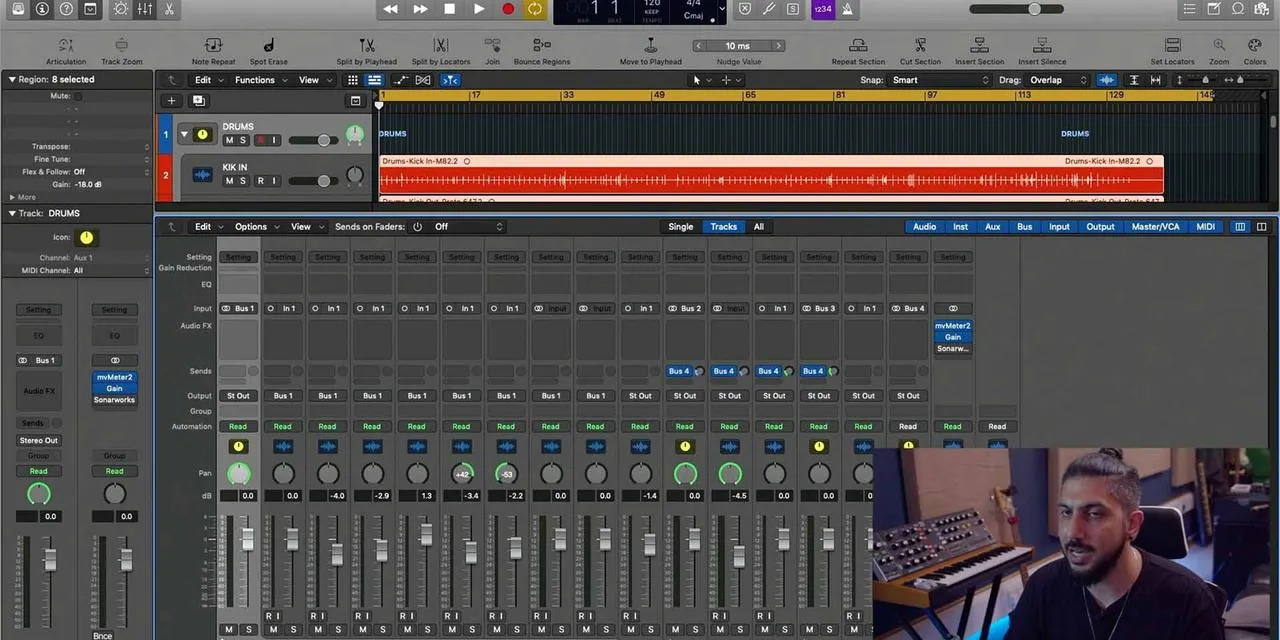
Now, what I tend to do when I'm working is use pre-fader metering. With pre-fader metering, you will see the actual levels coming into your audio interface.
- Objective: Make sure you're not overloading your audio interface at all.
To set up pre-fader metering:
- Go to the mix menu.
- Select pre-fader metering.
You can see it's already on in this session here. This means that whenever I am ready to record and have set everything, the meter will show me the exact amount of signal coming in.
Channel Strip Configuration
Make sure that the input going into my audio interface is being received on my audio track in the same way. This is picking up the signal from input 1, which is where this is in my audio interface.
- Set Input: Go to the top of your channel strip on your audio track and select input 1.
Now these two are talking to each other.
Monitoring Your Input
You can't see anything that's going on until you activate either:
- Input Monitoring (the I button), or
- Record Enable.
Click on Record Enable or Input Monitoring to see your signal coming through.
- Check Signal: "Check, check, check." I can see that my signal is coming in at a level which is more than respectable. Minus 16 is pretty good.
Headphone Usage
I won't be able to hear myself here until I turn on input monitoring. It's a good idea for you to use headphones because:
- If you're recording an instrument through a microphone, you don't want your speakers to spill into your microphone.
- Prevent feedback, which can be a horrendous sound.
So, I've plugged my headphones into the headphone output of my interface, and now I can hear myself. I've muted my speakers because I don't want to hear that sound back.
Naming Your Track
One suggestion before you start recording is to name your track.
- We'll call this Amir Vocals.
- When the audio file records, it will use that name.
This helps locate files more easily since the audio file saved on your hard drive will be called Amir Vocals in this instance.
Recording Process
Once again, the process of recording is very easy:
- Press the R button to start recording.
Now, I will record a short vocal performance:
"Hello, my name's Amir. Here we are on a tutorial for Logic Pro X. I hope you're enjoying the course so far."
Playback and Re-recording
Let's hear that back to verify:
"Hello, my name's Amir. Here we are on a tutorial for Logic Pro X. I hope you're enjoying the course so far."
If I feel like I didn't do a good job, I can easily try again, similar to when we were recording software instruments:
"Hi there, my name's Amir. I hope you're enjoying your Logic Pro X course so far."
Take Folders in Audio Recordings
Now, I have what we had before. If you remember, when we were doing software instruments, we had take folders. This is what I have here.
Let's take a look at what will happen when we start working with take folders in audio recordings.
14 lecciones
1h 22m de lecciones en vídeo estructuradas
Funciones de vídeo avanzadas
Ralentiza, repite un pasaje, sigue la partitura
Móvil, tablet y ordenador
Practica donde quieras
Garantía de satisfacción 100%
30 días de garantía de devolución
Conoce a tu gurú
Conoce a tu gurú
Aamir Yaqub es un productor e ingeniero musical afincado en Londres. Ha trabajado con algunos de los nombres más grandes de la música, entre ellos Alicia Keys, David Guetta, Rihanna, Sia y will.i.am, además de desarrollar a artistas independientes.
A lo largo de sus cursos enseña su flujo de trabajo completo en Logic Pro: desde la interfaz y la grabación, pasando por la creación de ritmos, la síntesis y los efectos MIDI, hasta la mezcla y el acabado de un tema.







