



Cómo usar Flex Time
Con
Aamir YaqubAamir Yaqub explica el Flex Time de Logic Pro: cuándo usarlo, cómo activarlo y cómo estirar, cuantizar y corregir el timing de las notas con los marcadores flex.
Qué incluye el curso
14 lecciones (1h 22m) · 1 gratis
01. Bienvenido a la grabación de audio
0:58
02. Introducción a la grabación de audio
4:47
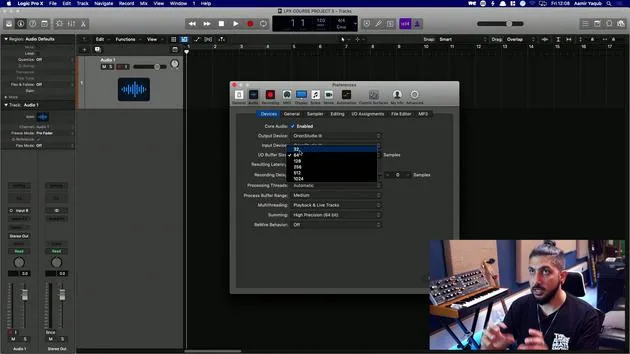
03. Usar el metrónomo
5:00
04. Hacer tu primera grabación
Lección gratis5:32
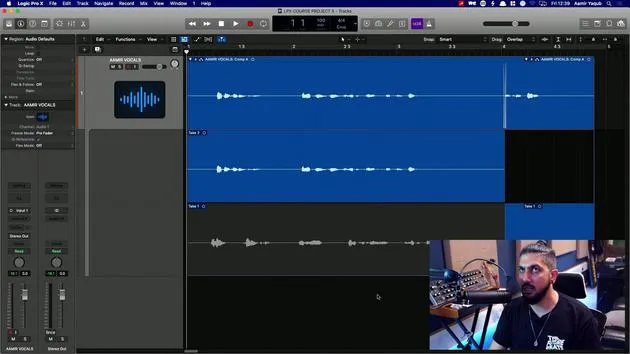
05. Comping
13:03
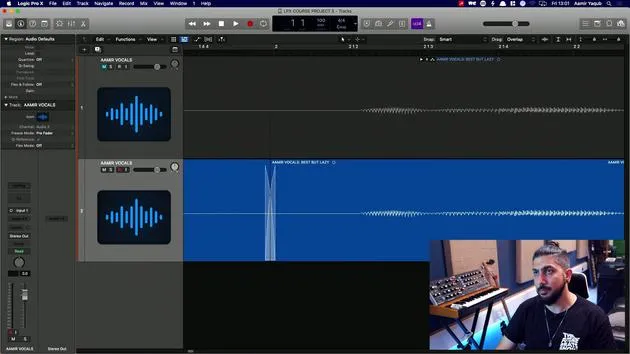
06. Editar audio
9:41
07. Gestionar los archivos del proyecto
3:46
08. Grabar una pista de instrumento
2:06
09. Cómo usar Flex Time
Estás aquí10:58
10. Cómo usar Flex Pitch
11:12
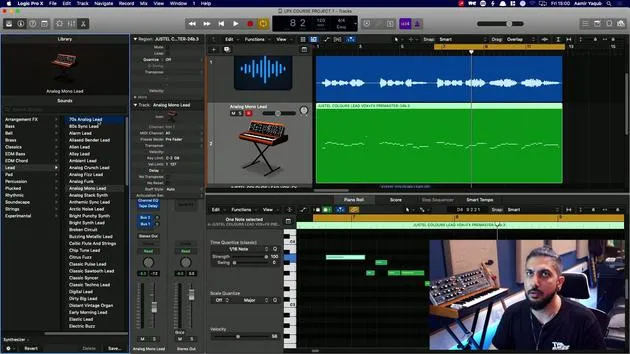
11. Convertir el tono en datos MIDI
3:11
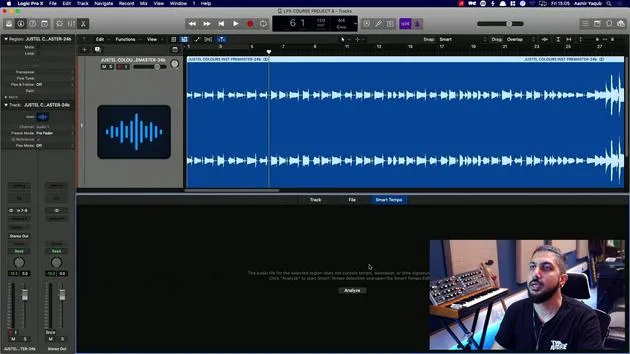
12. Smart Tempo
3:04
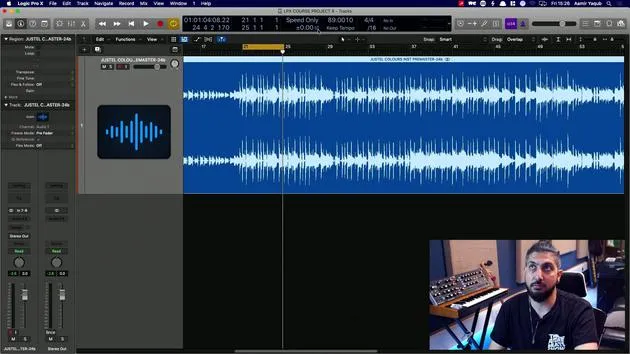
13. Parámetros y usos de Varispeed
4:08
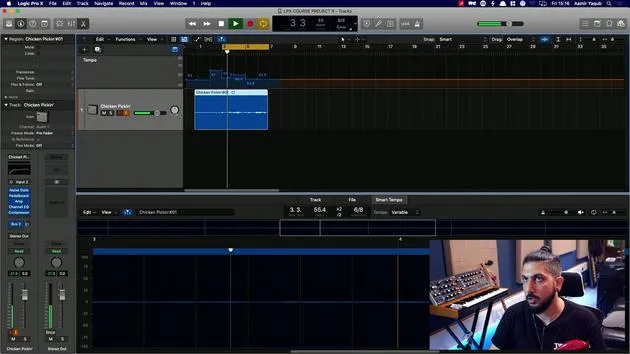
14. Tempo de proyecto adaptativo
5:00
Transcripción de la lección
Guitar Lesson: Improving Timing with Flex Time
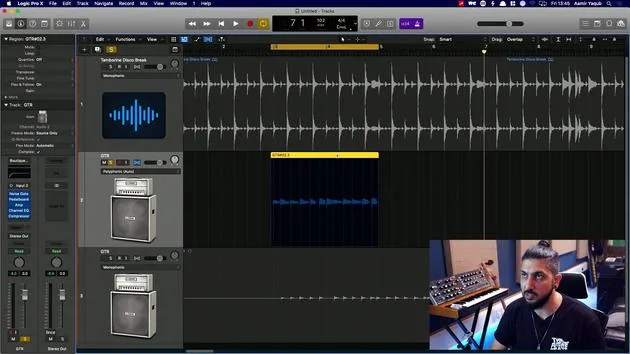
Let's go in and focus on that first guitar part that I put down. We want to see if we can make it sound a little bit better and a little more in time.
Step 1: Selecting and Tidying Up the Region
- First, select that part and go into solo mode.
- Tidy up the region to avoid clipping off the very beginning.
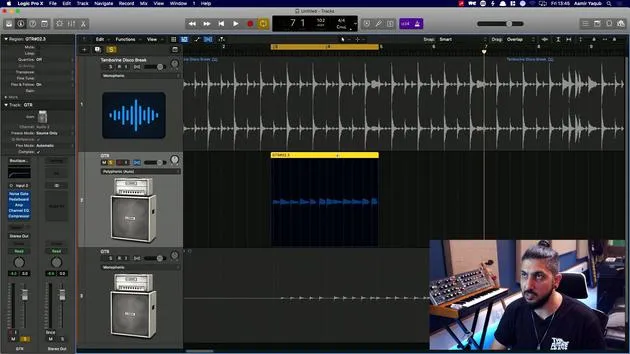
- Ensure that Flex Time is turned on.
Tip: To turn on Flex Time, hover over the button and note that the shortcut is Command + F.
Step 2: Understanding Flex Time View
Now that we are in Flex Time view, we can:
- Set markers on individual notes.
- Adjust them to fit into the correct time space.
Adjusting Flex Time per Track
- Remember to turn it on for each track individually.
- Some tracks don't require Flex Time; for example, this one might not need it, but another track might.
Once you turn it on, it analyzes the transients, which will display a series of lines indicating where Flextime has determined that the notes land.
Step 3: Playback and Evaluation
- Play this back with the click on to observe how out of time it is.
- If you don't like the last two bars, remove them and work with a two-bar loop.
Step 4: Adjusting the Algorithm
- Currently, the selected algorithm is polyphonic. For this rhythmic part, that may not be optimal.
- Click on the algorithm header to explore options:
- Monophonic for single note instruments.
- Slicing for drums.
- Rhythmic for keyboard or guitar parts.
- Polyphonic for chordal parts.
Change the algorithm to rhythmic for better accuracy.
Step 5: Quantizing
- Select the region, enable quantize, and set it to 16th notes.
- This adjusts the timing to be precisely on the grid.
Fine-Tuning the Feel
- If the feel is too robotic, adjust the strength parameter to a percentage value for a more human touch (maybe around 60%).
Step 6: Individual Marker Adjustment
You can move markers individually. For instance:
- If a particular note needs adjustment, select the desired marker and shift it.
- Dragging one marker will move everything along with it. To avoid this, create markers on either side of the note you wish to adjust.
Creating Boundaries
- Create three markers: one on either side of the note you want to move.
- This ensures only the targeted note and its neighboring note are adjusted.
Step 7: Speeding Up the Part
With Flex Time, you can also speed up the part:
- Make sure Flex and Follow is on.
- Adjust the session tempo (e.g., increase to 110 BPM).
Observation: The region changes accordingly if Flex and Follow is enabled.
Conclusion
This overview of Flex Time demonstrates its utility in manipulating the timing of individual notes or whole recorded parts. You gain significant flexibility in your productions.
Final Note: Although this example focused on guitar, you can apply these techniques to samples or loops from outside sources.
Feel free to experiment with the settings and have fun with your music!
14 lecciones
1h 22m de lecciones en vídeo estructuradas
Funciones de vídeo avanzadas
Ralentiza, repite un pasaje, sigue la partitura
Móvil, tablet y ordenador
Practica donde quieras
Garantía de satisfacción 100%
30 días de garantía de devolución
Conoce a tu gurú
Conoce a tu gurú
Aamir Yaqub es un productor e ingeniero musical afincado en Londres. Ha trabajado con algunos de los nombres más grandes de la música, entre ellos Alicia Keys, David Guetta, Rihanna, Sia y will.i.am, además de desarrollar a artistas independientes.
A lo largo de sus cursos enseña su flujo de trabajo completo en Logic Pro: desde la interfaz y la grabación, pasando por la creación de ritmos, la síntesis y los efectos MIDI, hasta la mezcla y el acabado de un tema.







