



Usar samples en tu track (recortar, estirar, afinar, ecualizar)

Con
John Watson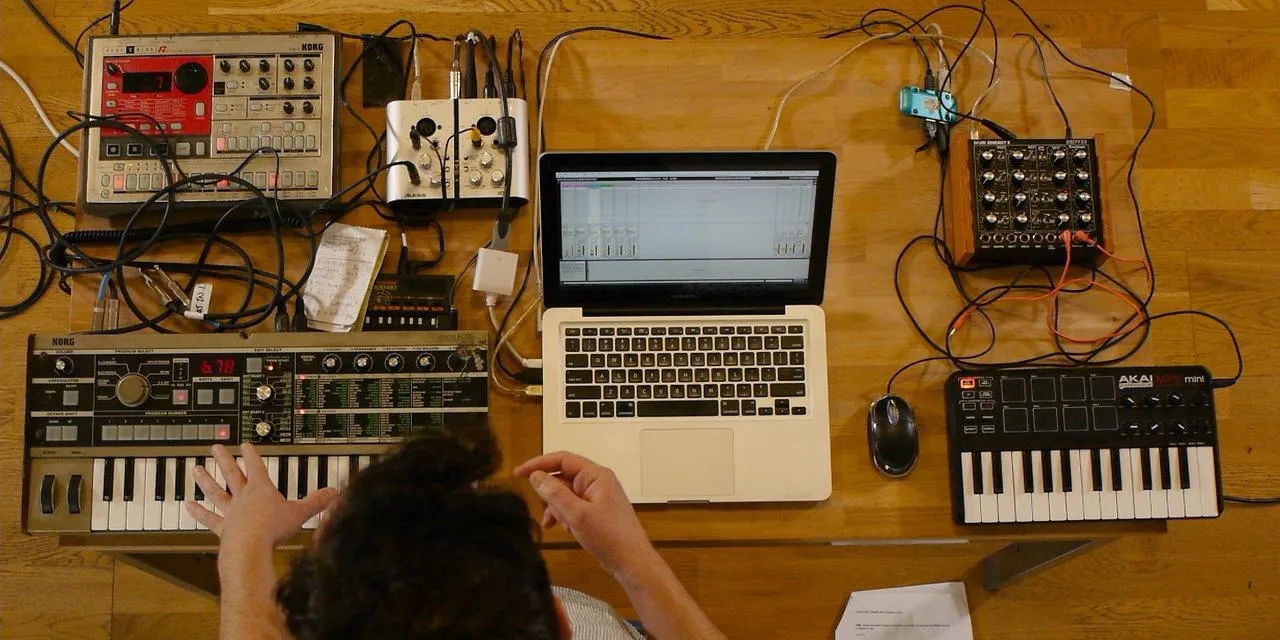
Qué incluye el curso
14 lecciones (2h 26m) · 2 gratis
01. Primeros pasos y configuración
3:21
02. Gestionar una biblioteca de samples
Lección gratis4:34
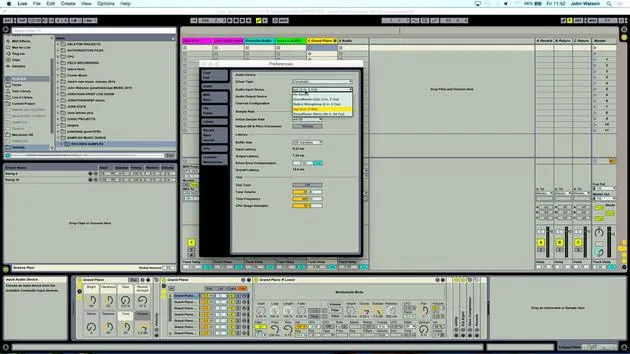
03. Preferencias de Ableton
1:14
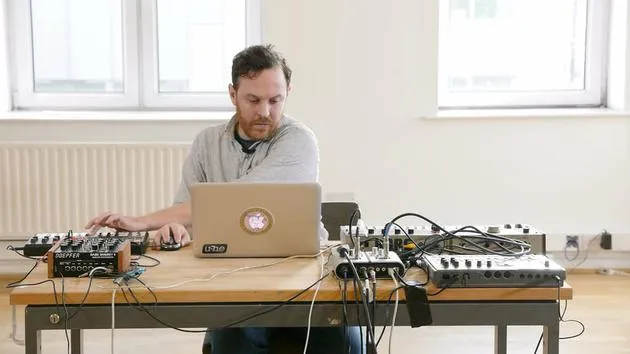
04. Usar samples: los dispositivos Simpler y Sampler
7:04
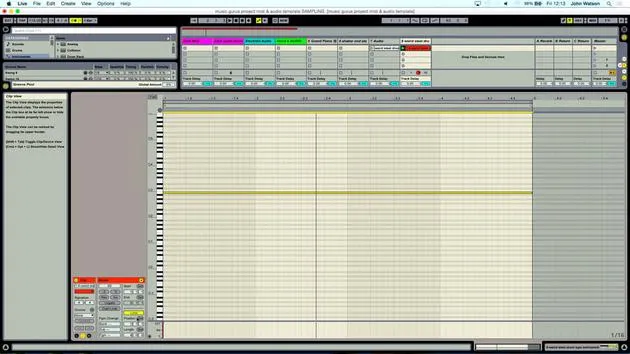
05. Usar samples en tu track (recortar, estirar, afinar, ecualizar)
Estás aquí12:56
06. Añadir cuerdas y flautas sampleadas
7:28
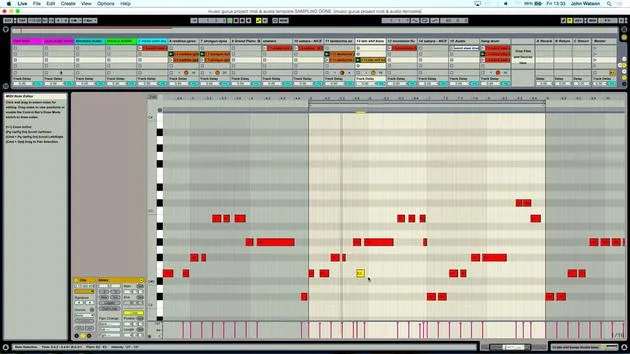
07. Añadir ritmo sampleado: bombos y cajas
25:07
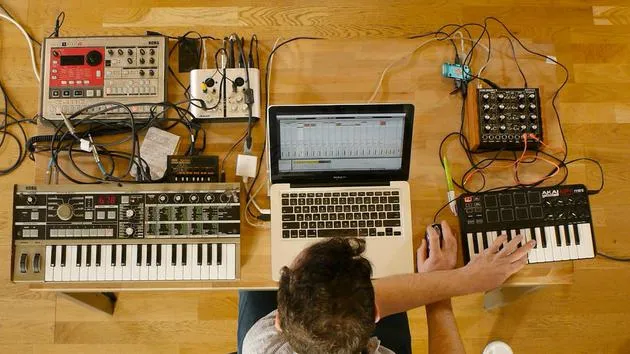
08. Samplear instrumentos externos - caja de ritmos y sintetizador
12:28
09. Crear las partes en la vista Session
13:55
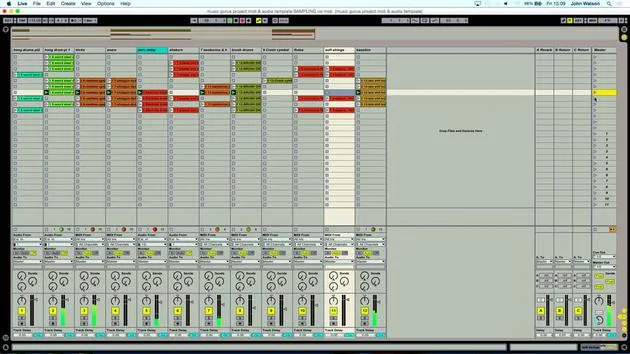
10. Grabar la canción en la vista Arrange
4:34
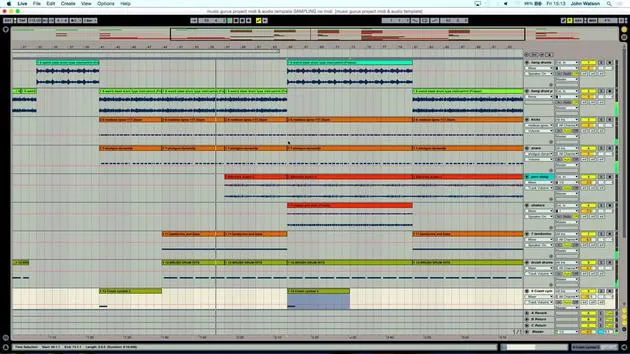
11. Ajustar la estructura del tema
5:35
12. Mezclar el tema: efectos
21:24
13. Ajustes finales
13:14
14. EXTRA: Masterizar tu tema y subirlo a Soundcloud
Lección gratis13:31
Transcripción de la lección
Music Production Lesson: Working with Samples and Recording
Starting the Process
So the first note can be quite hard sometimes to really get that definition. As I zoom in, this slightly larger portion is going to be the first hit point, if you like, of the sample.
- Step 1: Move the sample in to catch the dead space before the larger section of audio.
- This ensures the note is as close as possible to the beat when triggered.
Cleaning Up the Sound
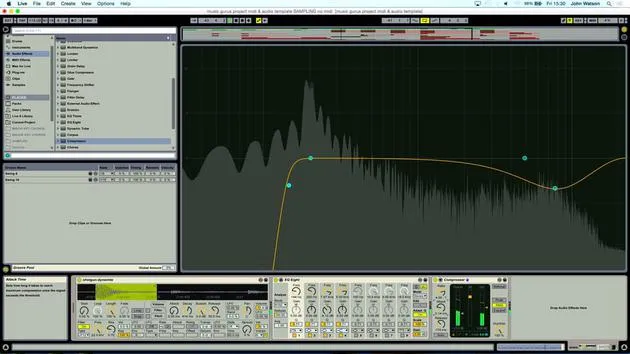
Next, the sound is a little muddy due to unwanted low-frequency rumble from the field recording.
- Step 2: Turn on a filter.
- I'll use a high pass filter to remove low frequencies, starting from around 200 Hz.
- The rumble is now fading, allowing me to hear the instrument better.
Setting the Tempo
I will loop the sample, keeping in mind that the original tempo is at C3, which plays the sample back at its original pitch. However, I don't necessarily have to stick to that.
- Choosing the tempo:
- Is the track going to be fast, slow, or fairly chilled?
- A nice tempo to start experimenting with might be around 115 BPM.
Recording the Sample
With the sample in tune, it's time to use the piano track I set up, which is also in perfect tuning.
- Step 3: Arm the sample track.
- The pitch sounds quite good, but if necessary, I can fine-tune it using the detune option.
Important Considerations:
- Check the sample's tuning: This is crucial! If the sample is out of tune when I add other elements, it will make the overall mix difficult.
Playing Along
Let's put on the metronome to find a good tempo.
- I'll play it in on the beat after 8 beeps from the metronome, recording for two bars.
Looping and Quantizing
After playing, I'll make sure to:
- Quickly trim the end of the sample.
- Quantize the track: Set this slightly higher than 1/16 to ensure it aligns perfectly with the first beat of the bar.
Listening for Loops
- Verify the loop with the metronome still on.
- Adjust the tempo slightly if necessary.
Finalizing the Audio
Now, let's create a piece of audio from the MIDI performance:
- Step 4: Right-click to freeze the track.
- Create a new audio track and copy over the sample.
Adjusting the Audio
Some bits may still be slightly out of place.
- Use Warp Markers to pull the audio into better alignment:
- Utilize Complex Pro mode to avoid slurring and stuttering.
Moving to Percussion
Next, I want to work on the percussive track.
- Play the sound and determine if an octave up sounds more interesting.
Recording and Fine-Tuning Shakers
- I can play the shaker in, recording it to ensure it syncs well.
- Once recorded, I'll quantize it to lock it to the grid.
Final Touches
Let's finalize the shaker track.
- I will freeze the shaker track again and create an audio track to copy over the loop.
- Finally, delete the mixer track as the audio loops perfectly.
Now, with the music synced, I can start thinking about the next elements to incorporate into the mix!
14 lecciones
2h 26m de lecciones en vídeo estructuradas
Funciones de vídeo avanzadas
Ralentiza, repite un pasaje, sigue la partitura
Móvil, tablet y ordenador
Practica donde quieras
Garantía de satisfacción 100%
30 días de garantía de devolución
Conoce a tu gurú
Conoce a tu gurú
Tras hacer prácticas con Dave Allen, productor de Depeche Mode y The Cure, John se sintió inspirado para estudiar Tecnología Musical en Londres. Su carrera musical despegó tras un exitoso fichaje por CookShop Records, con el que publicó 9 sencillos y un álbum en 2007 que recibió críticas entusiastas de Q, Uncut y Lowdown Magazine, además de sonar en XFM y Radio One.
John empezó a formarse como ingeniero de sonido en el estudio Bonafide en 2005, donde perfeccionó su talento, y ese mismo año fundó Jackdaw Recordings. Ha colaborado con numerosos artistas de éxito y, en 2007, comenzó a tocar para el músico pop Patrick Wolf, actuando en salas de primer nivel tanto en el Reino Unido como a nivel internacional, incluidos The Astoria y el Shepherds Bush Empire.
Desde su estudio londinense, John ahora compone música, con dos lanzamientos más en CookShop, se ocupa de la ingeniería de sonido para artistas destacados y crea diseño sonoro para anuncios de televisión, cine, teatro y vídeo corporativo.
Esa infrecuente combinación de compositor, productor e ingeniero de estudio en activo es justo lo que John aporta a su enseñanza. En Creative Composition & Production in Ableton Live y Creative Sampling & Production in Ableton Live, te muestra cómo transforma ideas en bruto en temas terminados y listos para publicar: la composición, el sampleo, el diseño sonoro y el saber hacer práctico de la ingeniería que hay detrás de un disco profesional.







