



EXTRA: Masterizar tu tema y subirlo a Soundcloud

Con
John WatsonJohn Watson le da a tu tema terminado una masterización rápida en Ableton Live y luego lo sube a SoundCloud.
Qué incluye el curso
14 lecciones (2h 26m) · 2 gratis
01. Primeros pasos y configuración
3:21
02. Gestionar una biblioteca de samples
Lección gratis4:34
03. Preferencias de Ableton
1:14
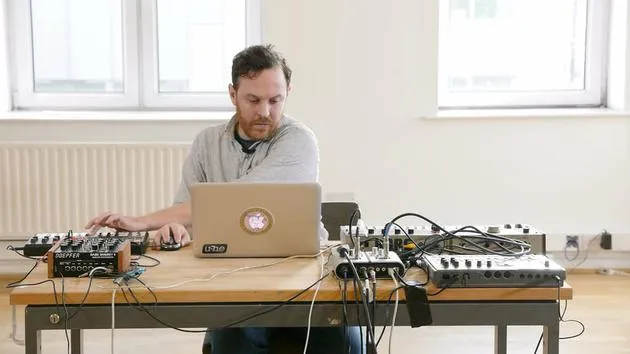
04. Usar samples: los dispositivos Simpler y Sampler
7:04
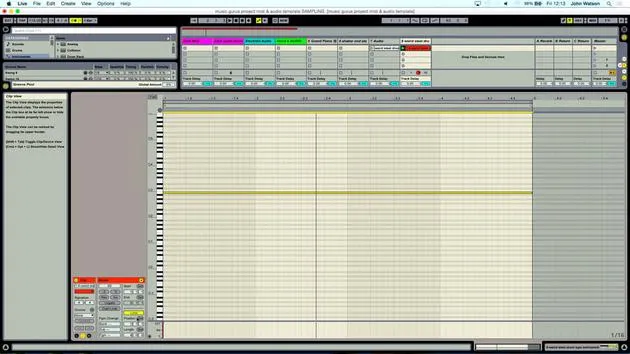
05. Usar samples en tu track (recortar, estirar, afinar, ecualizar)
12:56
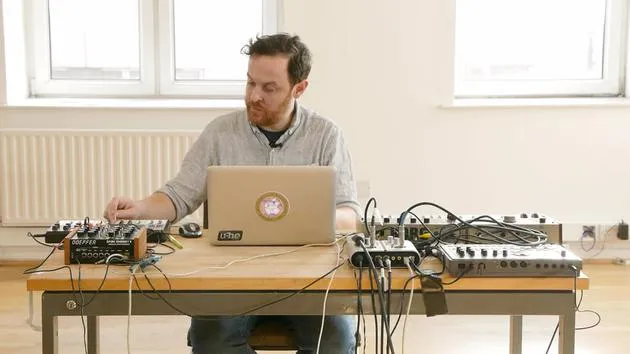
06. Añadir cuerdas y flautas sampleadas
7:28
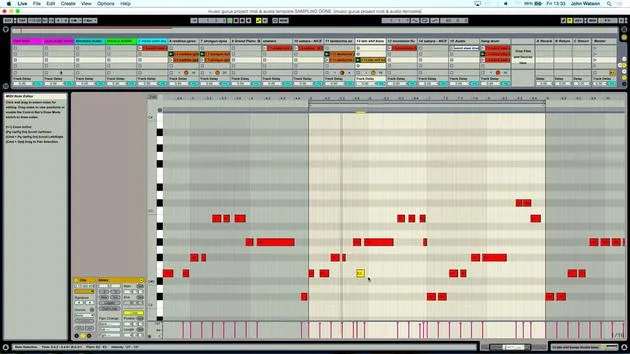
07. Añadir ritmo sampleado: bombos y cajas
25:07
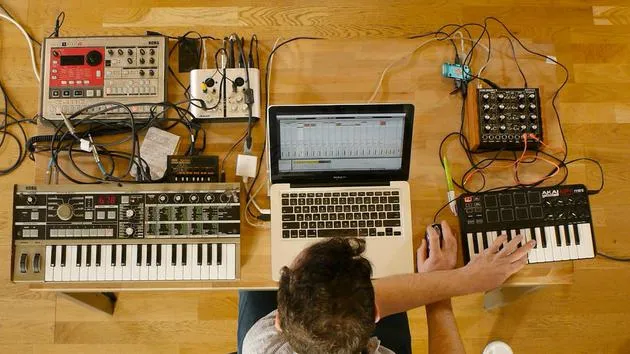
08. Samplear instrumentos externos - caja de ritmos y sintetizador
12:28
09. Crear las partes en la vista Session
13:55
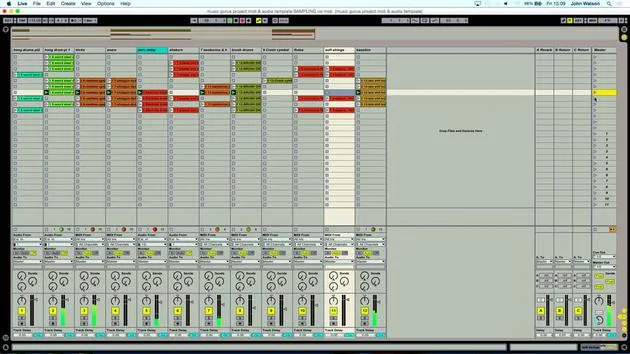
10. Grabar la canción en la vista Arrange
4:34
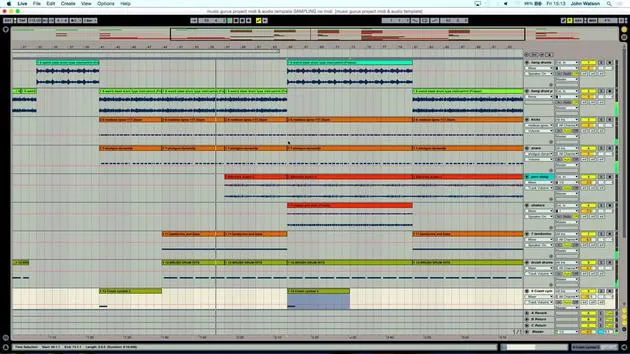
11. Ajustar la estructura del tema
5:35
12. Mezclar el tema: efectos
21:24
13. Ajustes finales
13:14
14. EXTRA: Masterizar tu tema y subirlo a Soundcloud
Estás aquí13:31
Transcripción de la lección
Mixing and Mastering Process
Okay, so welcome back! I'm happy with the mix now, and I think it's time to commit to mixing it down and giving it a rough master.
Finding the Right Section
First off, I'm coming to the busiest section in the track. Having created this myself, I know that it's going to be this section here. Visually, I can tell there's the most amount of things happening, so this is going to be the densest part and thus the loudest part of the track.
I'm going to loop this section up, and the first thing I want to look at is the master output:
- Current Level: -4 dB below zero
- Headroom: Fair amount present
At this stage, I don't want to see levels really high or experiencing digital clipping. Throughout the mixing process, I've kept the volume levels low because the mastering will make everything sound louder, polish the track, and enhance professionalism.
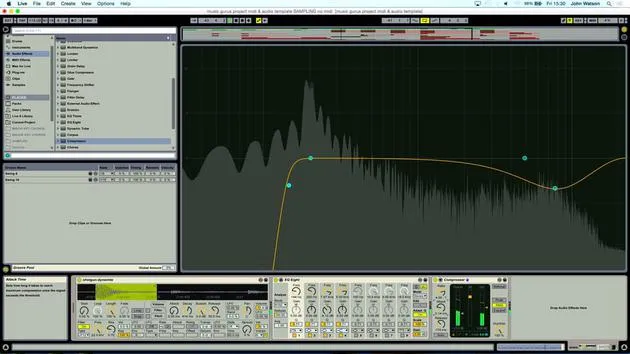
Using the EQ8
Let's go to this section and load up the EQ8. This is essentially a rough mastering session, good enough for SoundCloud, social media, and playing in bars and clubs.
-
Engage Oversampling: This allows for precise frequency analysis.
-
Frequency Content Overview:
- Low frequency energy is down low.
- Highs are up top.
-
Low Cut Filter:
- Cuts off frequencies below 30 Hz to avoid unwanted sub-frequencies that can sound muddy when played loudly.
-
Adjusting Bell Curve:
- Set a bell curve and tighten the Q.
- Raise the gain level and sweep through to find problem areas.
- Scale adjustment to 200% reveals a resonant area.
- Drop back to 100% and widen the Q to manage the ringy frequencies.
-
Boosting Mid-range Frequency:
- Add a little more mid-range frequency and widen the Q to brighten up the track.
Adding Compression
Now, let's bring up a compressor. I'll use the glue compressor, which works well on buses and mix-downs.
-
Set Ratio:
- Keep it low at 2 for gentle processing.
-
Adjust Release and Attack Times:
- Set release time fairly fast.
- Fast attack to compress a little of the music, but not heavy-handed.
-
Second EQ Stage:
- Add a second EQ after the compression, now in mid-sides mode, to sort stereo information.
Mid-Sides EQ Adjustment
-
Monitor Mono and Stereo:
- Focus on removing low frequency stereo information.
- Apply a low cut at about 140-150 Hz.
-
Adjust High Frequency Mono Information:
- Calm and dip the mono information in the high frequency end.
- Add a bit of air in the stereo (left and right sides).
This helps the track's overall perception when played out, giving control over low frequency energy.
Employing the Limiter
The next stage is using the limiter to reduce the dynamic range of the track and to amplify the overall volume.
-
Set Ceiling:
- Around -0.09 dB, ensuring we don't exceed a certain level.
-
Gain Adjustment:
- Increase the gain while maintaining sound dynamics, effectively squashing the track a bit.
-
Utility Volume Control:
- Give a touch of volume boost before reintroducing the limiter to prevent overuse.
Final Check and Export
Let's take a few steps back and listen to the other elements, particularly the strings. I'm confident this mix is good enough for SoundCloud and live play.
Reverb and Effects Monitoring
As we wrap up, it's important to watch for reverb tails and other effects that could extend the track's length:
- Adding Nodes on Master Volume Track:
- Create a fade to ensure smoothness.
Exporting the Mix
Now, we're ready to export the final piece:
-
Go to File:
- Select Export Audio/Video.
-
Bit Depth:
- Change it to 16 bits for CD standard (44.1 kHz).
-
Dithering Process:
- This helps smoothen artifacts when downsizing from higher bit depth to CD standard.
-
Finalizing Export Settings:
- Check "Upload to SoundCloud."
- Name: John Mix
- Save to the correct folder (desktop, in this case).
Ableton will render this mix down into one stereo audio track and upload it to SoundCloud.
For a deeper dive into how I created this track, check out my courses at musicgurus.com. You can also contact me for further feedback on your music or any questions about the courses. Best of luck!
14 lecciones
2h 26m de lecciones en vídeo estructuradas
Funciones de vídeo avanzadas
Ralentiza, repite un pasaje, sigue la partitura
Móvil, tablet y ordenador
Practica donde quieras
Garantía de satisfacción 100%
30 días de garantía de devolución
Conoce a tu gurú
Conoce a tu gurú
Tras hacer prácticas con Dave Allen, productor de Depeche Mode y The Cure, John se sintió inspirado para estudiar Tecnología Musical en Londres. Su carrera musical despegó tras un exitoso fichaje por CookShop Records, con el que publicó 9 sencillos y un álbum en 2007 que recibió críticas entusiastas de Q, Uncut y Lowdown Magazine, además de sonar en XFM y Radio One.
John empezó a formarse como ingeniero de sonido en el estudio Bonafide en 2005, donde perfeccionó su talento, y ese mismo año fundó Jackdaw Recordings. Ha colaborado con numerosos artistas de éxito y, en 2007, comenzó a tocar para el músico pop Patrick Wolf, actuando en salas de primer nivel tanto en el Reino Unido como a nivel internacional, incluidos The Astoria y el Shepherds Bush Empire.
Desde su estudio londinense, John ahora compone música, con dos lanzamientos más en CookShop, se ocupa de la ingeniería de sonido para artistas destacados y crea diseño sonoro para anuncios de televisión, cine, teatro y vídeo corporativo.
Esa infrecuente combinación de compositor, productor e ingeniero de estudio en activo es justo lo que John aporta a su enseñanza. En Creative Composition & Production in Ableton Live y Creative Sampling & Production in Ableton Live, te muestra cómo transforma ideas en bruto en temas terminados y listos para publicar: la composición, el sampleo, el diseño sonoro y el saber hacer práctico de la ingeniería que hay detrás de un disco profesional.







