



Stick and Foot Technique
With
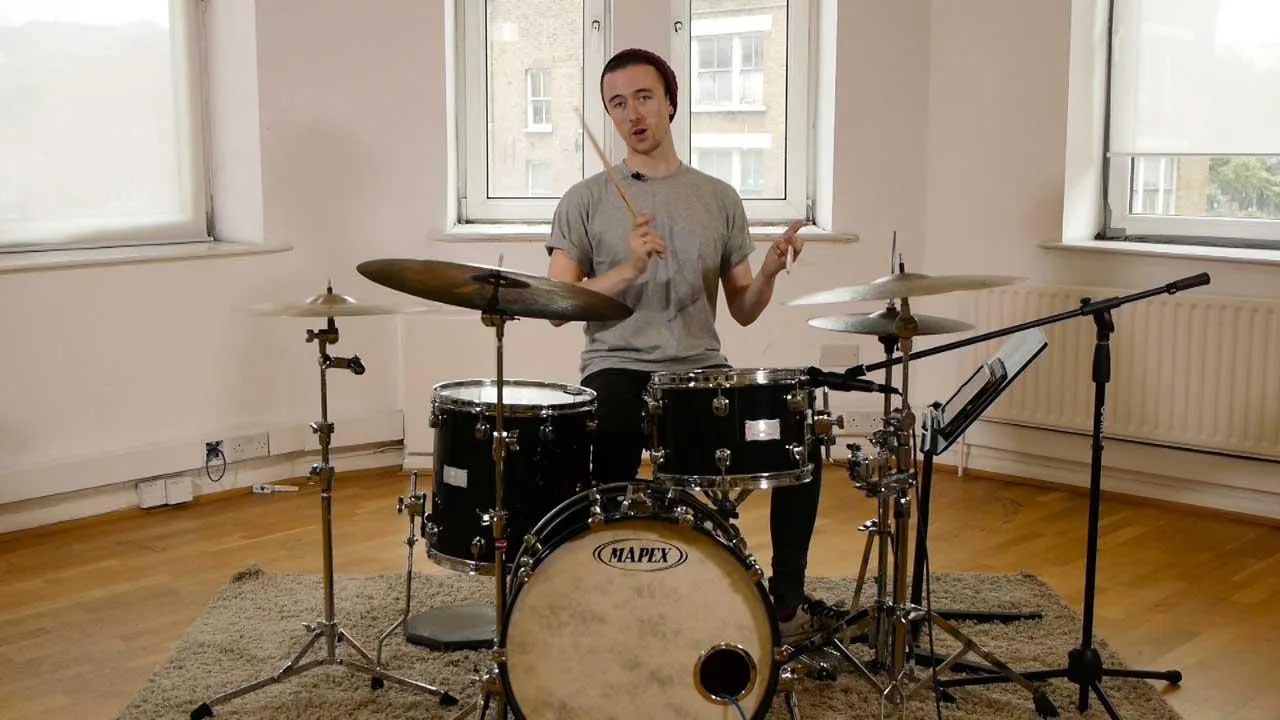
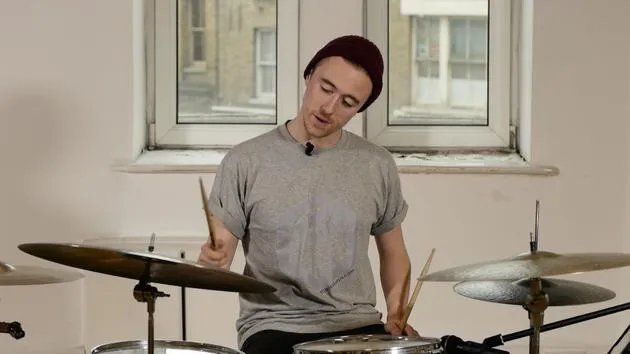
Harry PopeHow to hold your drumsticks for speed and accuracy, and the grip choices that let you play comfortably without hurting yourself.
What's in the course
15 lessons (1h 43m) · 3 free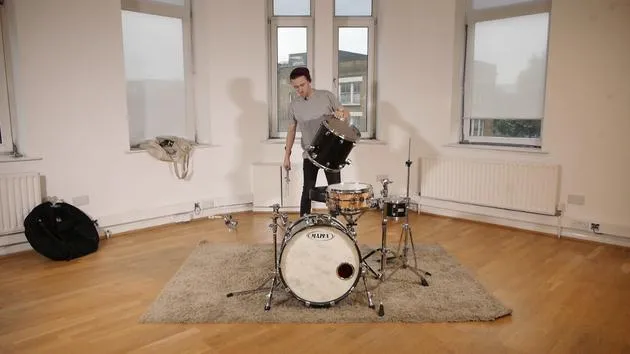
01. BONUS: Setting up the drum kit
Free lesson2:36
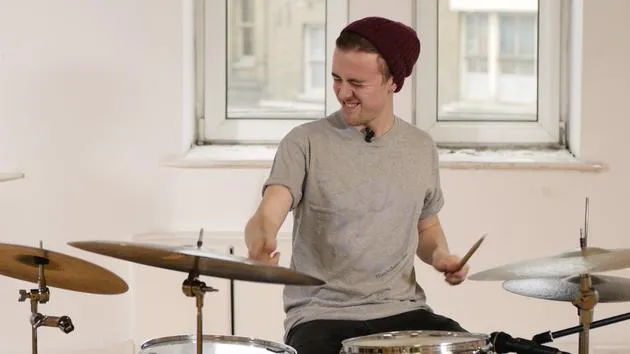
02. Meet Harry
Free lesson2:01
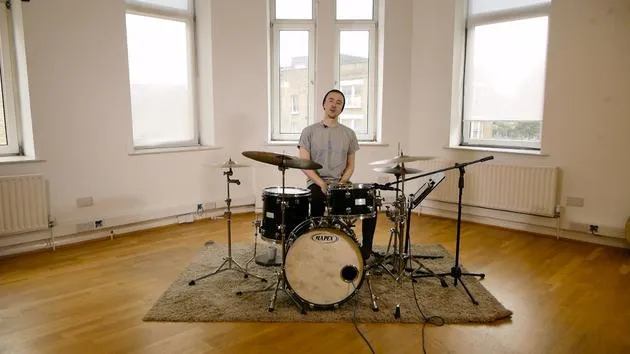
03. Getting Familiar With Your Kit
Free lesson13:15
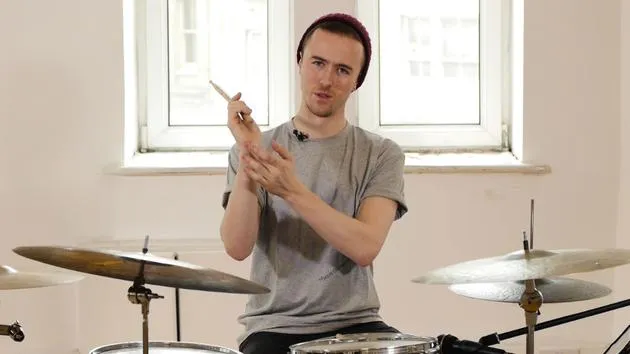
04. Stick and Foot Technique
You are here10:18
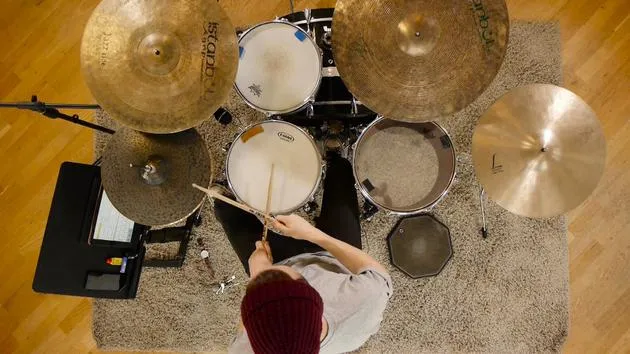
05. The Basic Beat
7:26
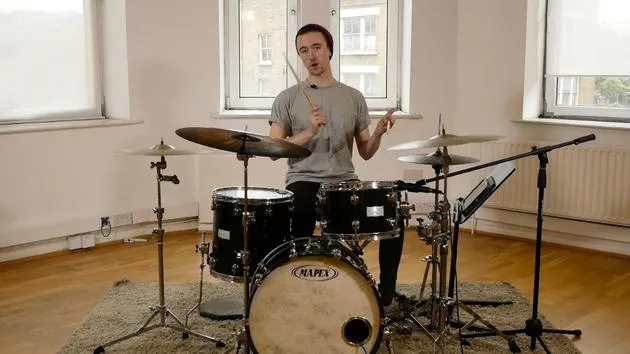
06. Crotchets and Quavers
6:05
07. Varying the Beat
8:06
08. Rudiment #1 - Single Stroke Roll
9:39
09. BONUS: Fills using the single stroke roll
5:06
10. Rudiment #2 - Double Stroke Roll
7:11
11. BONUS: Fills using the Double Stroke Roll
4:14
12. Rudiment #3 - Paradiddles
5:53
13. Grooving With Paradiddles
7:03
14. Adding Semi-Quavers and Ornaments
7:28
15. Adding the Ride Cymbal and Open Hi-Hat
7:08
Lesson transcript
Lesson Two: Stick Technique
Hello. Welcome back. This is lesson two. In lesson one, we covered the basic history of the drum set, what everything is and what everything does. So now you know all that. Great!
Overview of Lesson Two
In lesson two, we are going to talk about:
- Stick technique
- How to hold the sticks
- Why we hold the sticks the way we do
- Different possibilities for holding
- Ensuring that you don't hurt yourself when you play
Getting Started
So, what I'm going to get you to do first is pick up your sticks. I'm assuming you have some. If you don't, grab a set of 5A drumsticks. They are the industry standard, not too heavy, not too light.
Now, pick up your sticks and put the fleshy bit of your thumb right on top of the stick. If you have a set of Vic Firth sticks, you can put it straight on top of the American flag, which I find quite helpful.
The Fulcrum
- Place the fleshy part of your thumb on top of the sticks.
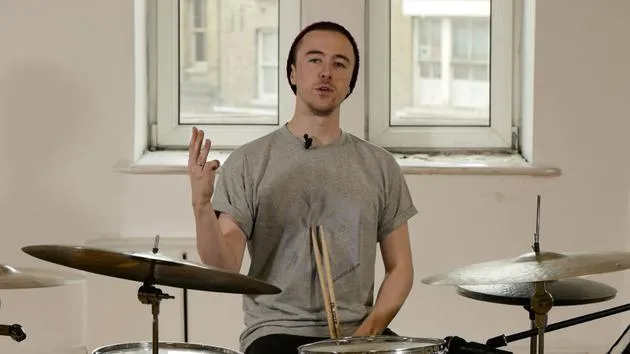
- Grip it with this knuckle here and hold it like that. This is called your fulcrum; it's where the stick can move back and forth.
I like to see all the fingers on the stick. Not all the time, but in general because if I play like this, it's going to be really easy to drop the stick. So, wrap all your fingers around.
- The end of your stick should be near the bony part of your palm.
- Avoid gripping too tightly, as this will restrict movement and create a choked sound from the drums.
Stick Holding 101
There are a few different types of stick technique:
-
German Technique:
- Palms up, very rigid holding.
-
French Technique:
- Thumbs on top, fingers underneath, use your fingers quite a lot.
-
American Technique:
- A mix of the two, with thumbs on top but a more relaxed grip.
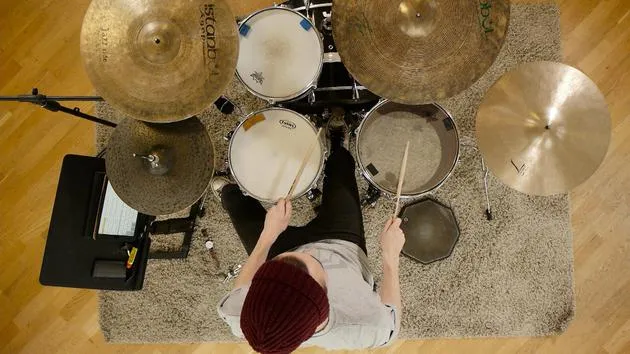
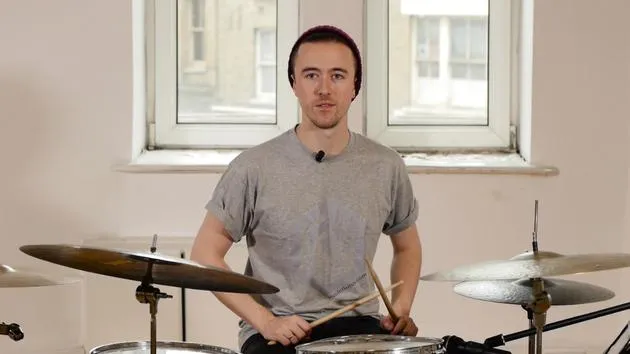
For now, let's stick with the American grip. Imagine there's something written on the back of your hand; you need to be able to see the backs of your hands at all times.
Stick Positioning
- The sticks should be positioned over the snare drum, forming the shape of a decent-sized slice of pizza.
- Avoid incorrect positioning: None of this (pointing too high) and definitely none of that (pointing too low).
Foot Technique
Now, we're going to talk a little about foot technique. Foot technique is generally simpler. The hi-hat has two basic sounds with the foot:
- Chick Sound: A nice, defined sound.
- Open, Washy Splash Sound:
The bass drum typically has one sound, which you can play louder or quieter, depending on the style of music.
Resting Positions
With both feet, we can have two resting positions:
-
Heel Up:
- The ball of your foot rests on the pedal, allowing you to use the weight of your leg to play louder.
-
Heel Down:
- Heels stay on the footplate, allowing you to play quieter with less effort.
The Basketball Principle
This is by no means my concept, but it's how I refer to it.
- When you throw a basketball down, it bounces back to you without having to pick it up again.
- Similarly, with a drumstick, throw the stick down and let it bounce back into your hand as far as possible.
This demonstrates the importance of rebound; if you don't allow the stick to rebound, you'll tire out your arms quickly.
Practical Exercise
Now, play one stroke with your right hand and let the stick bounce back up. Repeat this with your left hand.
- Focus on the rebound, as it can significantly improve your playing technique.
Summary
To sum up today's lesson, we've covered:
- Where to hold the stick (thumb on top).
- What a fulcrum is.
- Where to position our fingers.
- The concept of rebound and the Basketball Principle.
- Heel up and heel down positioning on the bass drum pedal and the hi-hat pedal.
Thank you very much for watching, and I'll see you in lesson three!
15 lessons
1h 43m of structured video lessons
Advanced video features
Slow down, loop a passage, follow along
Mobile, tablet & desktop
Practise wherever you are
100% satisfaction guarantee
30-day money-back guarantee
Meet your guru
Meet your guru
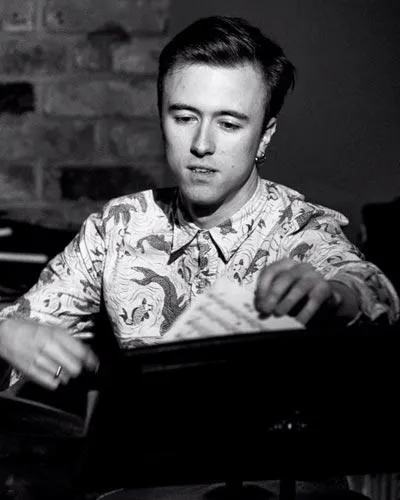
Harry Pope is a London drummer and a graduate of the jazz programme at Trinity College of Music. He has played with Brit Award winner Eddi Reader, guitarist Jim Mullen, Graeme Duffin of Wet Wet Wet, and the Royal Scottish National Orchestra Big Band. His beginner course starts from the kit up - posture, grip, timekeeping and your first grooves - at a pace that suits anyone picking up sticks for the first time.







