



Configurer une piste de microphone dans Ableton Live
Lesson time: (6min 9sec)
Course preview
This lesson is part of the course Comment créer un live d'enfer avec Ableton Live et des instruments externes
Watch a preview of the full course below.
Lesson transcript:
Music Lesson Overview
Now, there's obviously quite a lot of other stuff going on in this set. I'm going to talk you through the remaining tracks and provide a bit of an oversight of what else is happening here. As necessary, I'll go into more detail.
Track Navigation
It makes the most sense to move from left to right to go through these tracks, although that might not necessarily be the way that the signal path moves.
Microphone Track
The next track is labeled Microphone, and that is, unsurprisingly, connected to a microphone. In the introduction video, where you see me doing a bit of live performance, you may or may not notice that right at the very beginning I'm using the microphone to record a really simple bit of vocal audio that I'm then manipulating to create a unique background texture.
- Usage: I don't tend to use it a lot during sets because it's quite challenging to manage everything while working with a microphone. However, when possible and suitable, I do like to capture:
- Vocal sounds
- Percussion
- Any other sounds that I find on hand
Demonstration
What's happening here? If I turn the microphone on and speak into it, you'll be able to hear. If you look at the microphone channel itself, I'll open it up. Here again, I'm using one of these external instrument devices.
- Note: I'm not sending MIDI information to this microphone, but I can use the external instrument device to receive the audio from a particular audio input.
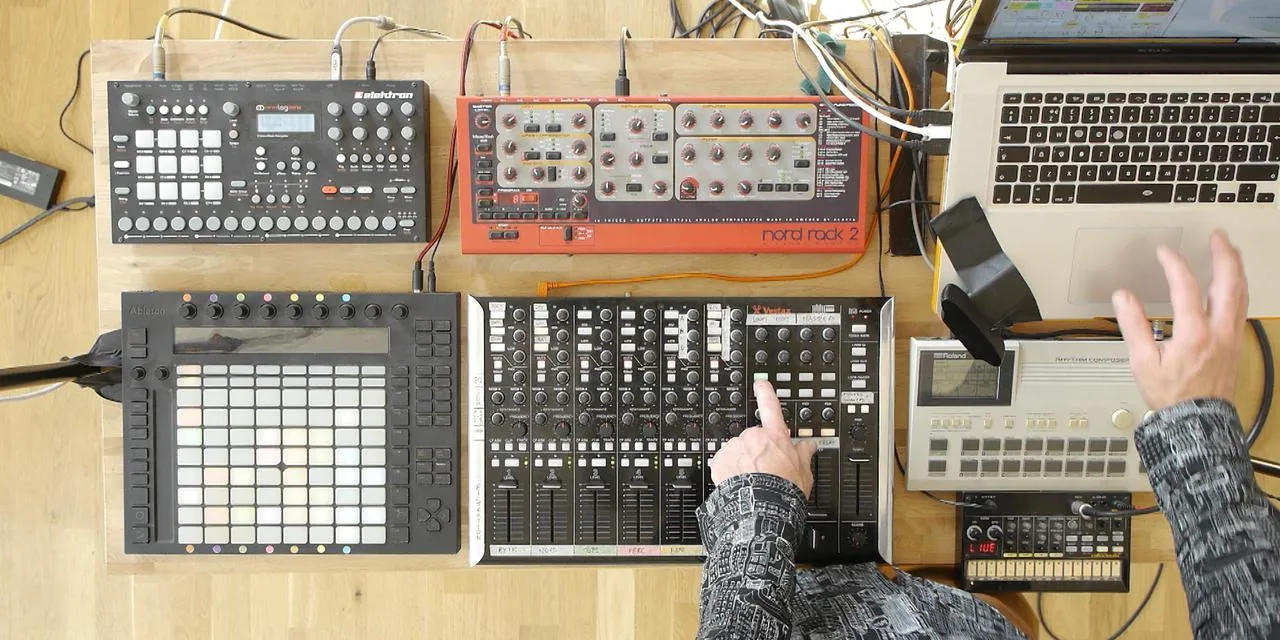
The microphone is plugged into an audio input on the front of the sound card. This is not an extra input; it's a duplicated input that also exists on the back. This presents a limitation: I can't have the drum machine and the microphone working at the same time.
Switching Inputs
I have a switch on the sound card that allows me to toggle between the two inputs. If I want to put sounds through the microphone, I have to disable the audio from:
- The drum machine
- The analog rhythm
- The 505
This limitation is another reason I don't use the microphone often during sets. If I had more inputs on the sound card, I could have everything running simultaneously.
Current Configuration
- The external instrument device, located in the bottom left, receives audio from Audio One.
- When I speak into the microphone, the little green indicator shows that I have sound coming in.
Looping Feature
On this track, I am using Ableton Live's Looper. The looper allows me to capture a loop from any incoming signal, in this case, the microphone. It also allows me to set how long the loop will be. Once recorded, I can manipulate the loop in several ways.
Brief Example
Let's demonstrate:
- Turn the Microphone On: "One, two, three."
- Looper Activation: The looper isn't active yet, but I have some buttons mapped on the VCM to control various looper parameters.
- Button Functions:
- One button starts recording audio into the looper.
- Another button activates Reverse, which reverses the recorded sound.
Currently, I've turned off the microphone, and you can hear that the loop is playing backwards repeatedly.
Playback Speed
I have also assigned a knob to control the speed of playback of that loop:
- Speed Adjustments:
- Slow it down or speed it up significantly.
- Produces various textures, from high frequency to low frequency.
Layering Sounds
I can layer more sounds by:
- Hitting the Overdub button to record additional parts.
- Noticing that the reverse part will have the forward part overdubbed on top.
By changing the speed, the juxtaposition of different speeds creates an interesting effect.
Effects and Mix
I can also add effects like:
- Reverb
- Delay
- Volume adjustments
- Pumping effect: Creates a pulsation in the audio
Typically, I use this low in the mix, in the background, adding a quirky, spontaneous bit of background noise.
Unique Performance
One of the features I enjoy about this setup is that whenever I save the set and perform again, that piece of audio isn't saved with it. This allows me to always record something new or inject new elements into the performance each time.
About the instructor
Mark Burnett est un Ableton Certified Trainer qui travaille avec les produits Ableton depuis plus de 14 ans. En tant que producteur et DJ chez Funk'n Deep Records, ses morceaux ont été joués dans de grands festivals ainsi que dans les sets et podcasts d'artistes comme Carl Cox et Richie Hawtin, et il s'est produit devant des foules de plusieurs milliers de personnes. Il organise également des événements de grande envergure comme le Workhouse Project, et a étudié à l'Imperial College London. Son cours porte sur l'utilisation d'Ableton Live pour construire des performances en direct, et convient aux producteurs et interprètes de musique électronique qui souhaitent faire passer leur spectacle du studio à la scène. read more