



Routage de sortie et FX master
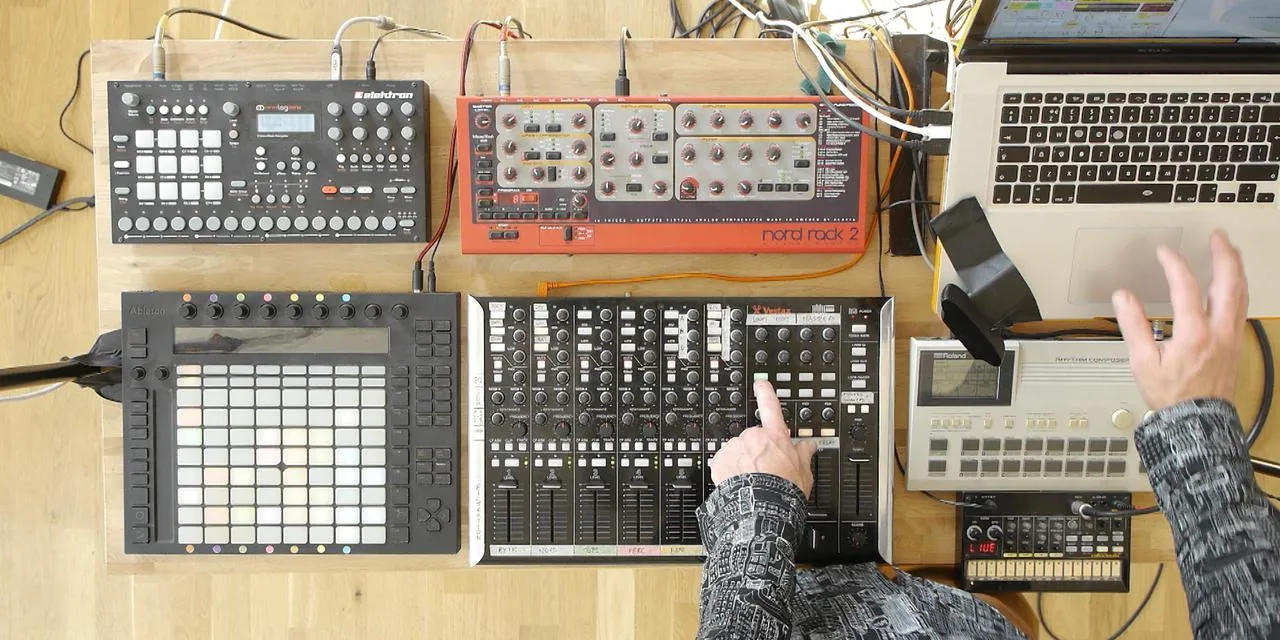
Lesson time: (13min 36sec)
Course preview
This lesson is part of the course Comment créer un live d'enfer avec Ableton Live et des instruments externes
Watch a preview of the full course below.
Lesson transcript:
Overview of Tracks in the Music Lesson
Now the final three tracks here on the right of the moves and shakes are all essential to our setup. I'm just going to shrink these ones back down to their original sizes so that I can see everything clearly.
Trigger Track
- The last three tracks here include one that I've shrunk down; this is a trigger track.
- At the very top of this track, I've got a tiny audio clip.
- This clip is likely a closed hi-hat, providing a regular click.
- I'm using this trigger occasionally to activate sidechain effects.
"I can be completely honest, I don't even remember which tracks I've used that trigger for. I may not even be using it."
- It's common to need something on the 44 or the time signature to create a trigger signal for activating gates, filters, and compression.
- For now, we'll ignore this track as it's muted and just playing in the background.
Pre and Main Tracks
The last two tracks are quite important, labeled Pre and Main.
Routing
The routing for these tracks goes as follows:
- Some tracks are assigned to the Main output.
- For example, the rhythm track goes to the Main.
- Other tracks are assigned to the Pre output.
"These two drum machines, the Volker and the 505, are going to sends only because I'm pulling the sound from those into these three through and loop tracks."
Purpose of the Pre Track
The purpose of the Pre track is twofold:
- Apply a Global Pumping Effect
- The pumping effect is essentially a volume envelope.
- It automates the volume to decrease at the beginning of every beat.
- This allows me to cut out energy from all non-drum parts where the kick drums hit.
"This is a common technique used in production, and I'm adapting it for a live environment."
- Apply Effects
- I've got a controllable effect from the VCM that affects all non-drum related sounds.
- Here's a quick demonstration of the Mad Hatter effect I created.
Demonstration
- I'll press play and activate the effect using the assigned button on the VCM.
- Then I'll change the parameters on screen using the assigned one knob.
"Let's see what that sounds like."
Main Track Overview
Everything, including the Pre, goes through the Main track.
- The Main track is where I place master effects or effects that affect all the audio coming through live.
- This setup helps with routing audio as well.
Collection of Effects
At the bottom of the Main track, I have a small collection of effects:
-
Warp Device
- Activated through the toggle on-off button.
- Adjust settings with a macro knob.
-
Wash Effect
- Provides a washout parameter.
-
Pitch Drop Effect
- This Max for Live device gives a nice vinyl stop effect.
"To restart the track, I just turn it off again."
-
Effect Strix
- A multi-effect unit used to reverse live audio, controlled with the crossfader on the VCM.
-
EQ3
- Controls the master volume and emulates a high-pass filter.
- It helps in making effective transitions.
Additional Notes
All these effects on the Main track provide key tools typically found in DJ setups, making mixing more interesting and manageable.
Master Track
Finally, everything goes to the Master track. Here, I have a limiter to prevent exceeding 0 decibels on output.
- Important Reminder: Always avoid playing with the master volume during a live performance.
"It just goes to show that it's easily possible to make mistakes that are quite serious, even if you know what you're doing."
Last Device
The last device on the Master track is the MYR Sound Clip Recorder.
- This streams audio output to a file on my disc.
- It simplifies recording during jams, rehearsals, or performances.
Summary of Tracks
To wrap up, here's a quick recap of all the tracks:
- Audio Tracks: Four internal audio clips from Live.
- External Instrument Tracks: Four instruments including the Analog Rhythm, the Nord Rack, the TR505, and the Volker Beats.
- Microphone Track: Receives and loops microphone audio.
- Drum Kit Track: Not yet active, but will facilitate a drum pad.
- Through Tracks: Help capture audio for looping.
- Loopers: Capture and manipulate small audio parts.
- Atmosphere Tracks: Group tracks representing incidental sounds and structure.
- Trigger Track: Sends a click signal, previously used for a vocoder effect.
- Pre Track: Applies volume envelopes to non-drum parts.
- Main Track: Applies master effects collectively.
- Master Track: Contains a limiter and the MYR Sound Clip Recorder.
This concludes our overview of the tracks and their roles in the lesson.
About the instructor
Mark Burnett est un Ableton Certified Trainer qui travaille avec les produits Ableton depuis plus de 14 ans. En tant que producteur et DJ chez Funk'n Deep Records, ses morceaux ont été joués dans de grands festivals ainsi que dans les sets et podcasts d'artistes comme Carl Cox et Richie Hawtin, et il s'est produit devant des foules de plusieurs milliers de personnes. Il organise également des événements de grande envergure comme le Workhouse Project, et a étudié à l'Imperial College London. Son cours porte sur l'utilisation d'Ableton Live pour construire des performances en direct, et convient aux producteurs et interprètes de musique électronique qui souhaitent faire passer leur spectacle du studio à la scène. read more