



Piste de delay et temps de delay

Lesson time: (3min 33sec)
Mark Burnett assigne les potentiomètres du contrôleur à une piste de retour de delay dans Ableton Live, en synchronisant les temps de delay au tempo et en dosant le feedback pour un set live.
Course preview
This lesson is part of the course Comment créer un live d'enfer avec Ableton Live et des instruments externes
Watch a preview of the full course below.
Lesson transcript:
Final Note on Mapping
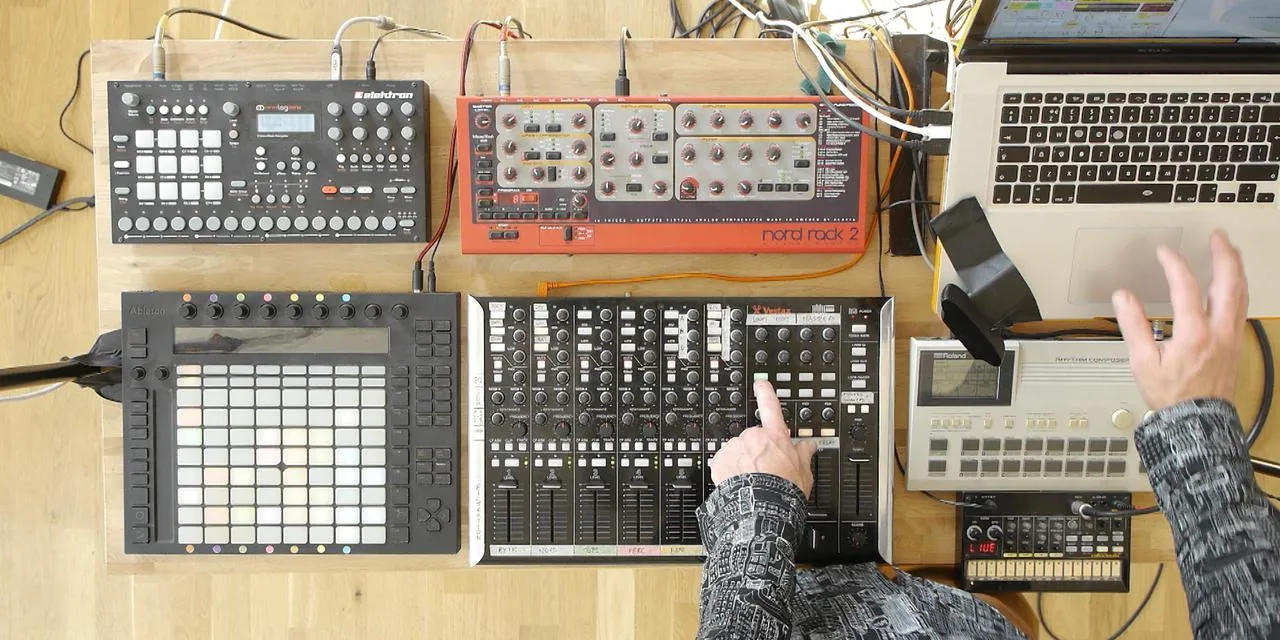
Okay, and just as a final note on mapping, I want to show you one of the things that I've set up that facilitates interaction between myself, the controller, and what's shown on screen.
Purpose of Mapping
The primary purpose of most of this mapping and assignment is to enable me to interact with these devices without having to spend a lot of time looking at the screen and working out what's going on.
Setting Up Delay Times
Importance of Screen Interaction
One thing that I do need to look at the screen for is when I'm setting up the delay times for things. The delay time changes depending on the tempos. If I want to synchronize particular delay times with the current tempo and time signature, then I need to:
- Listen (which means I have to actually be playing the delay while I'm doing it, introducing potential errors)
- Visually confirm the specific delay time for that track before applying it
Adjusting Delay Parameters
To manage this, I have two knobs on the device that control parameters from within my delay track.
- The delay track on screen is my second return track.
- The max for live device called "delay time calculator" is used, followed by a delay unit (in this case, the ping pong delay).
Knob Assignments:
- Knob 1: Controls feedback (within the useful range of 53 to 92%)
- Knob 2: Controls the delay time itself
Automatic View Adjustment
Now, if I switch to another track and want to adjust the delay time:
- As soon as I turn the delay time knob, it automatically jumps to the clip view of the delay track.
The way I've done that is by assigning the same MIDI controller to both the delay time knob and the view of that particular delay time device.
Quick Synchronization
This allows me to see:
- What delay time I'm at in the delay unit.
- The values for various synchronized delays.
For instance, if I wanted a quarter note or a dotted or a quarter triplet note delay time, I can see immediately that it would be:
- 315 milliseconds
Since I can see the milliseconds I've applied, I can easily set it to 315 milliseconds. Then, when I apply that delay, it will synchronize correctly.
Conclusion
This is another way you can use MIDI mappings to not only control things but also to bring up the correct information on screen. This approach helps you make the right decisions when preempting a specific transition or performing a particular technique.
About the instructor
Mark Burnett est un Ableton Certified Trainer qui travaille avec les produits Ableton depuis plus de 14 ans. En tant que producteur et DJ chez Funk'n Deep Records, ses morceaux ont été joués dans de grands festivals ainsi que dans les sets et podcasts d'artistes comme Carl Cox et Richie Hawtin, et il s'est produit devant des foules de plusieurs milliers de personnes. Il organise également des événements de grande envergure comme le Workhouse Project, et a étudié à l'Imperial College London. Son cours porte sur l'utilisation d'Ableton Live pour construire des performances en direct, et convient aux producteurs et interprètes de musique électronique qui souhaitent faire passer leur spectacle du studio à la scène. read more