



Zoom et hauteur des pistes

Lesson time: (11min 0sec)
Ciaran Robinson aborde le zoom et le réglage de la hauteur des pistes dans Pro Tools, y compris le zoom par cliquer-glisser et les raccourcis clavier qui accélèrent le montage.
Course preview
This lesson is part of the course Enregistrement et mixage dans Pro Tools
Watch a preview of the full course below.
Lesson transcript:
Zooming and Changing Track Heights in Pro Tools
In this video, we're going to look at zooming and changing your track heights. There's actually quite a few extra things we'll look at along the way, so pay attention!
Horizontal Zooming
Zoom Tools
Let's start with simple horizontal zooming. We can do this in several different ways.
- Zoom In: Located at the top left-hand side, click the horizontal zoom in button.
- Zoom Out: On the other side, unsurprisingly, is the horizontal zoom out button.
To tell you the truth, I don't think anyone's ever bothered going between the two buttons because you can just pick one of these, click and drag right or left to zoom in and out accordingly. Awesome!
Using Shortcuts
We can also zoom using shortcuts. Here are some options:
- Use the Command key (Control on a PC) combined with the square brackets to zoom out and in.
However, this takes two hands. There's a better way to manage this using Key Focus in Pro Tools.
- Set your QWERTY keyboard to Edit Key Focus, which is indicated when the A to Z button is turned on in yellow on the right-hand side.
- Every QWERTY key is a shortcut on its own:
- Press Z to undo.
- Press C to copy.
- Press V to paste.
You've managed to save a thumb! We also have additional controls:
- Press R to zoom out
- Press T to zoom in
Magnifying Glass Tool
I've already got the magnifying glass tool selected, available at the top left. Click with this to zoom in; click again to zoom in again. To zoom out:
- Hold the Option key (Alt for PC) and click with the magnifying glass tool to zoom out.
We can also use this tool to zoom by making a selection:
- If I make a selection and drag marquee over it, it performs a horizontal zoom to match.
Simultaneous horizontal and vertical zooming can be done with the command key while clicking and dragging, if you prefer.
Resetting Zoom
To reset zoom:
- Double-click on the magnifying glass.
- Or, for those who prefer shortcuts, pressing Option + A will zoom out to the same extent as double-clicking on the magnifying glass.
Zoom Presets
Now let's discuss zoom presets. In between the two zoom buttons, you will find memory buttons 1 to 5:
- Zoom to memory four and back to memory two with ease.
To save a custom zoom setting:
- Choose your desired zoom setting.
- Right-click or Command-click on one of the memory buttons.
- It will flash a few times to confirm it's overwritten with your new zoom preset.
To quickly zoom back to a preset, press the corresponding number on the alphanumeric keypad.
Vertical Zoom
Vertical zoom without changing track heights is often less frequently used, but it can be helpful with poor recording levels. This feature is also up in the zoom settings:
- Click and drag up or down. Note that this doesn't change the level of the signal; it just adjusts zoom options as indicated by the scale markers on the left-hand side of the tracks.
Power Claw
To reset vertical zoom, we can use a hidden shortcut called Power Claw:
- On Mac, hold Control, Option, and Command together, then press the open square bracket to reset horizontal zoom.
Track Heights
Let's now tackle track heights. You can change track heights in several ways:
- Click on the scale marker and set the track to large.
- To change all track heights simultaneously, hold the Option key (Alt for PC) and change the height.
- For a quick view, use Fit to Window to adjust heights dynamically.
To reset everything quickly, use:
- Power Claw combined with the up arrow.
Adjusting Heights
You can also adjust heights by hovering between two tracks until the icon changes:
- Click and drag to change heights.
- Holding the Command key allows for custom heights.
To adjust all tracks at once, hold the Option, then Command before clicking.
Toggle Zoom
Finally, let's discuss the toggle zoom feature, previously known as Explode:
- Make a selection and either click the zoom toggle button or press E with Edit Key Focus turned on.
- Press E again to return to your previous zoom setting.
Preferences
It's important to note that your preferences can affect how toggle zoom behaves:
- Adjust settings in Pro Tools Preferences under editing to choose how zoom behaves.
Conclusion
This should give you enough knowledge to navigate and zoom effectively to see your waveforms properly when editing. In the next video, we'll explore the different track types available.
Head back to your original Pro Tools session, and I'll see you there!
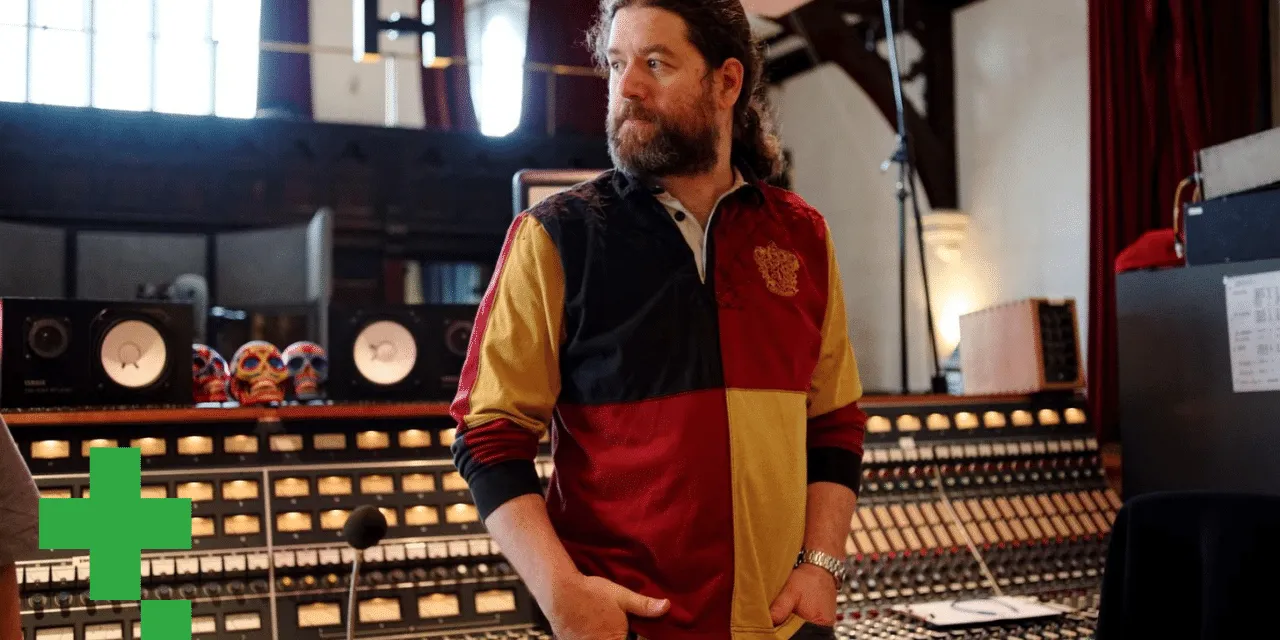
About the instructor
Ciarán Robinson est un ingénieur du son fort de plus de 25 ans d'expérience dans l'ingénierie live, le mixage, l'enregistrement, la conception de studios et le son pour le cinéma, la télévision et les jeux vidéo. Il dirige actuellement le master Music Producer de Tileyard Education à Londres et a enseigné dans des écoles de musique contemporaine telles que BIMM, SSR et SAE.Il enseigne la production audio depuis plus de 20 ans et a conçu des cours sur Pro Tools, le son pour jeux vidéo, l'ingénierie de studio et la postproduction ; certains de ses anciens élèves travaillent aujourd'hui avec des artistes comme Coldplay et Biffy Clyro. read more