



Le bouncing
Avec
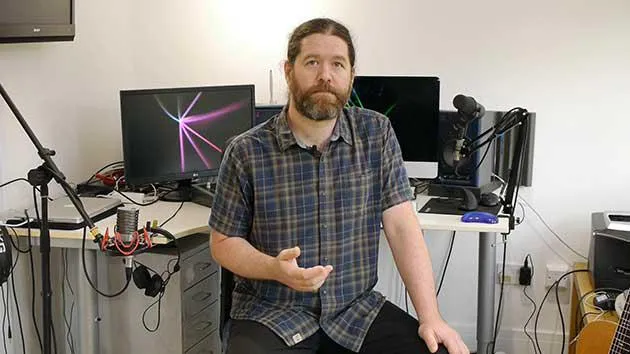
Ciaran RobinsonCiaran Robinson montre comment faire le bounce de ta session Pro Tools vers un mix stéréo final, y compris la mise en place d'un master fader pour que le bus ne sature pas.
Le contenu du cours
31 leçons (2h 41min) · 1 gratuites
01. Aperçu de la section 1
0:25
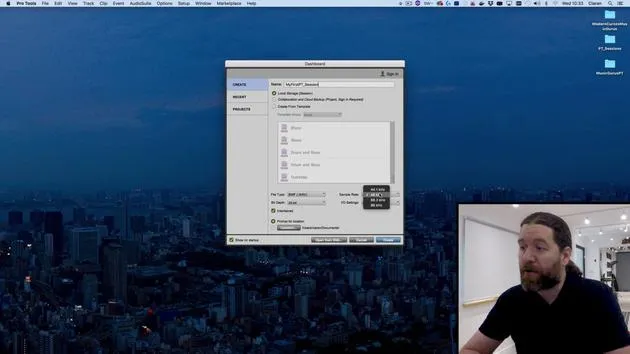
02. Ouvrir une session Pro Tools et réglages
Leçon gratuite4:37
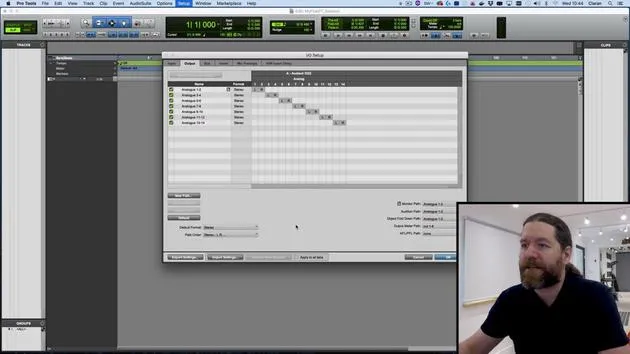
03. Configuration des E/S et interface audio
8:12
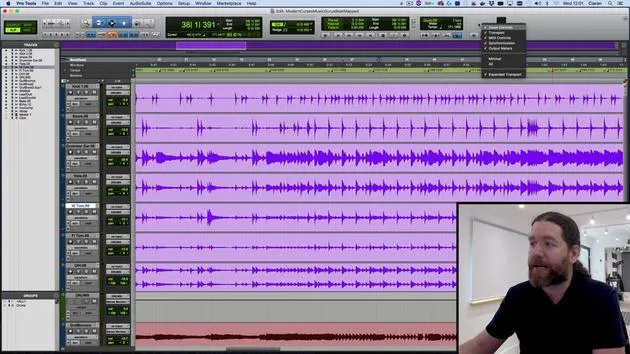
04. Aperçu de la fenêtre d'édition
9:35
05. Zoom et hauteur des pistes
11:00
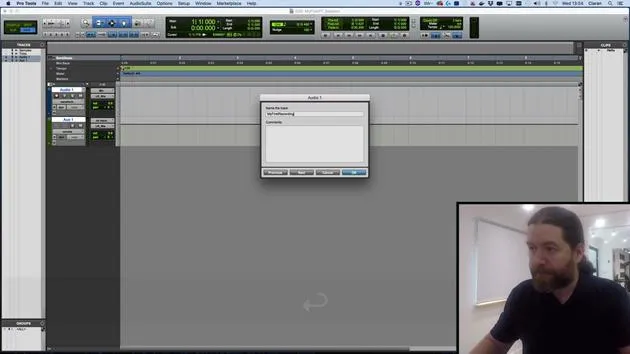
06. Types de pistes et création de pistes
9:47
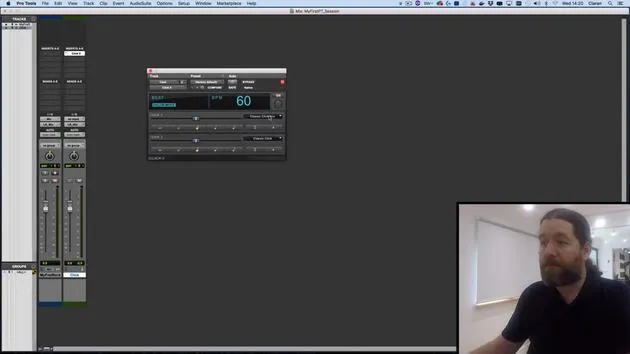
07. Configurer une piste de clic
5:11
08. Réaliser ton premier enregistrement
4:01
09. Configuration d'enregistrement
6:11
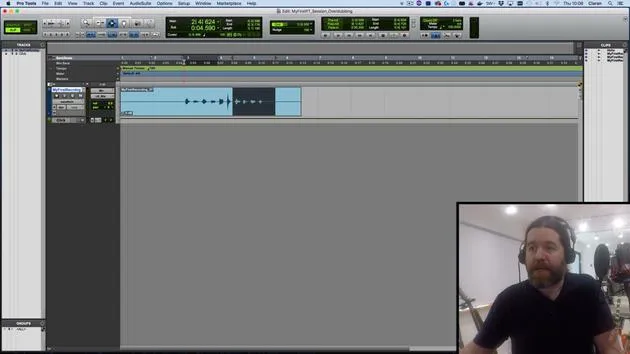
10. Punch in & punch out
9:10
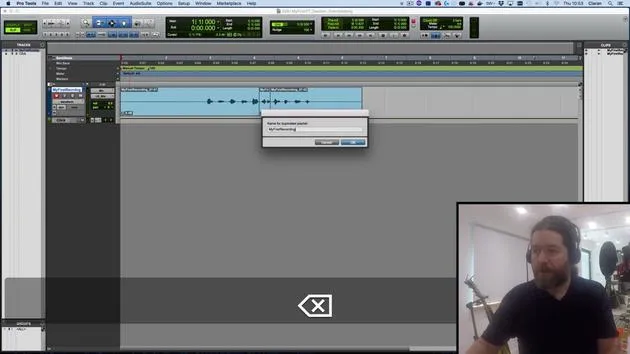
11. Playlists et enregistrement en boucle
4:28
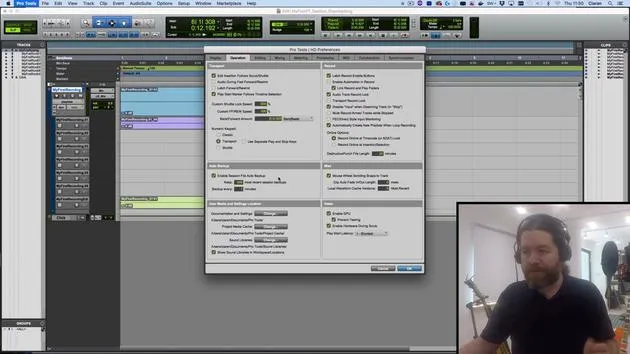
12. Enregistrer et sauvegarder ton travail
5:04
13. CHALLENGE #1 : RÉALISE TON PREMIER ENREGISTREMENT
0:27
01. Vue d'ensemble de la section 3
0:24
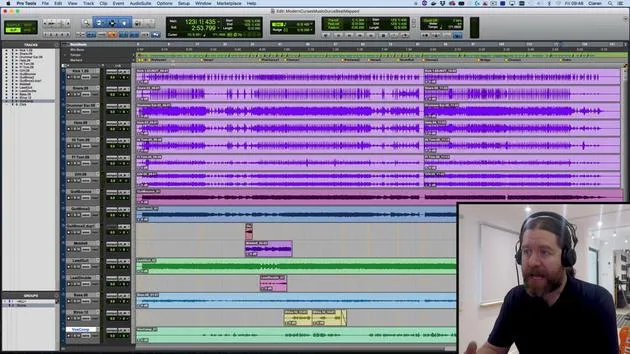
02. La fenêtre de mixage
6:17
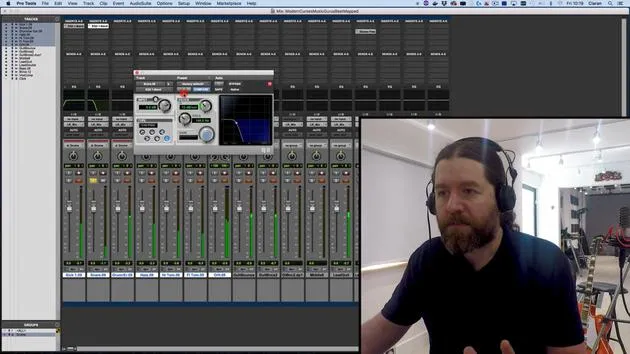
03. Commencer ton mixage : nettoyer le bas du spectre
5:17
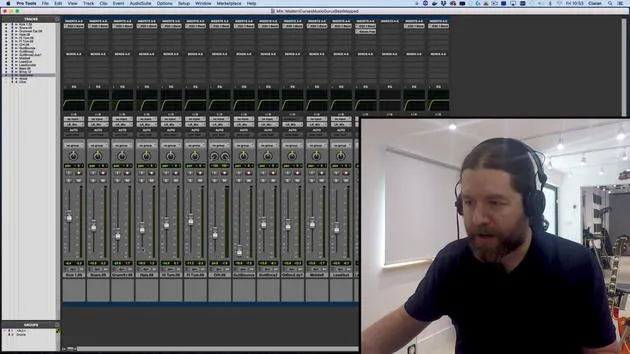
04. Démarrer ton mix : équilibrage des niveaux
8:51
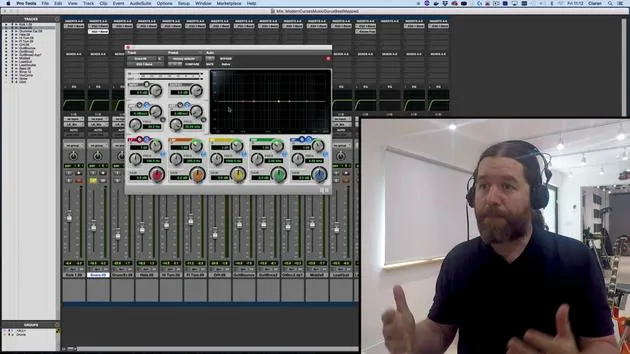
05. EQ soustractif
6:53
06. Traitement de la dynamique
9:46
07. Routage AUX
6:41
08. Le bouncing
Tu es ici4:58
09. Félicitations, mais ce n'est que le début !
0:23
Transcription de la leçon
Bouncing Down Your Track: A Step-by-Step Guide
Okay, so in this final video, we're going to look at how to bounce down your track as a well-finished mix that you can play for someone else.
Creating a Master Fader
-
Create a Master Fader
- Go to Track > New and select Stereo Master Fader.
- Hit Create.
- It should be placed at the bottom and is set to be the master fader for the left-right mix.
This master fader allows you to control the levels of all individual signals.
Understanding Floating Point Processing
- Pro Tools uses floating point processing. In simple terms, this means:
- Buses have an almost infinite dynamic range (thousands of dB).
- You can send as many signals as you like to a bus without clipping.
Master Fader Purpose
- The master fader prevents the combined level of signals from clipping the bus output.
- If you see any clip indicators (red lines), you need to turn down your master fader.
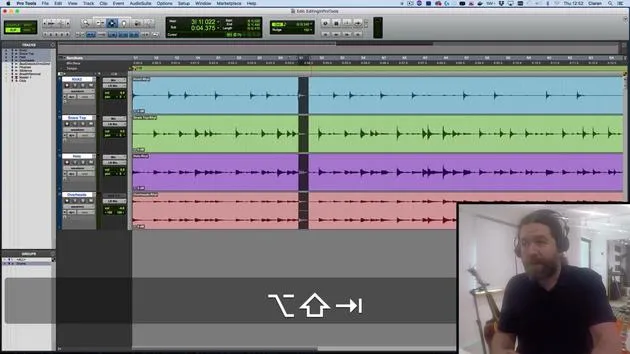
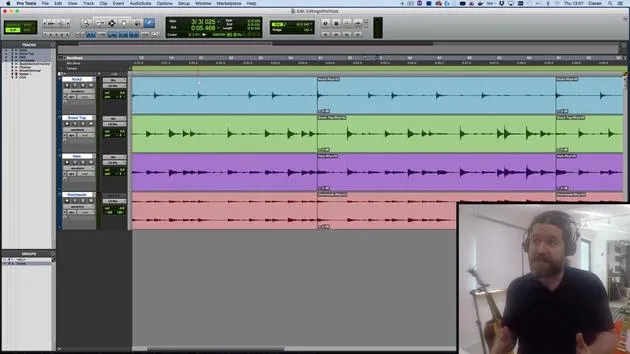
Making a Timeline Selection
- Select the Timeline: Ensure your selection covers all of the track plus a little extra.
- This includes reverb tails; even if the snare reverb finishes early, a bit of extra length is fine.
"Suddenly truncating the reverb will sound very odd and will be difficult to fix perfectly."
Bouncing Down in Pro Tools
-
Access the Bounce Option
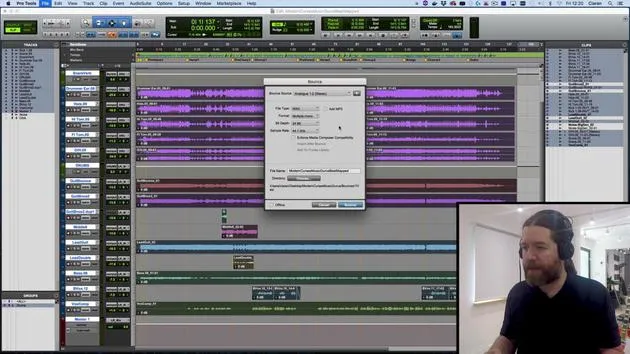
- Go to File > Bounce to Disk.
-
Choose Your Bounce Source
- You can bounce the physical output (analog 1-2) or buses (e.g., bouncing just your drums).
-
Default Settings
- File Type: Use WAV. MP3 might be useful for emailing but isn't recommended for mastering.
- Format: Select Interleaved to avoid separate left and right files.
-
Audio Quality Settings
- Bit Depth: 24-bit.
- Sample Rate: 48 kHz is standard.
-
Additional Options
- Don't import into iTunes after bounce.
- Ignore enforced Media Composer compatibility as it's for video editing software.
-
Naming Your File
- Name your submission with your name followed by Modern Curses. This helps identify whose track is which for marking.
-
Directory and Offline Bouncing
- By default, it goes into the Bounced Files folder.
- Choose Offline to bounce faster than real-time.
"As you can see, it's doing it at about 20-30 times normal speed!"
Final Steps
- After bouncing, right-click to navigate to your Pro Tools session folder and find the Bounced Files folder.
- There, you'll find your WAV file ready for submission.
Hopefully, that all makes sense!
Feel free to reach out if you have questions or need more help.
In the meantime, get mixing, and I hope you enjoyed the course! I'll see you for the next one, with any luck.
Bye!
31 leçons
2h 41m de leçons vidéo structurées
Fonctions vidéo avancées
Ralentissez, bouclez un passage, suivez la partition
Mobile, tablette et ordinateur
Pratiquez où vous voulez
Satisfaction garantie à 100 %
Garantie remboursement 30 jours
Rencontrez votre guru
Rencontrez votre guru
Ciarán Robinson est un ingénieur du son fort de plus de 25 ans d'expérience dans l'ingénierie live, le mixage, l'enregistrement, la conception de studios et le son pour le cinéma, la télévision et les jeux vidéo. Il dirige actuellement le master Music Producer de Tileyard Education à Londres et a enseigné dans des écoles de musique contemporaine telles que BIMM, SSR et SAE.
Il enseigne la production audio depuis plus de 20 ans et a conçu des cours sur Pro Tools, le son pour jeux vidéo, l'ingénierie de studio et la postproduction ; certains de ses anciens élèves travaillent aujourd'hui avec des artistes comme Coldplay et Biffy Clyro.







