



Créer un modèle

Avec
Isaac CotecJoue les triades majeures et mineures en trois inversions pour le Groupe C de tes exercices Rockschool Guitar Grade 5 : des voicings compacts qui fonctionnent bien dans le funk.
Le contenu du cours
19 leçons (2h 54min) · 1 gratuites
Transcription de la leçon
Creating a Template in Ableton Live
Next, we're going to be looking at creating a template.
What is a Template?
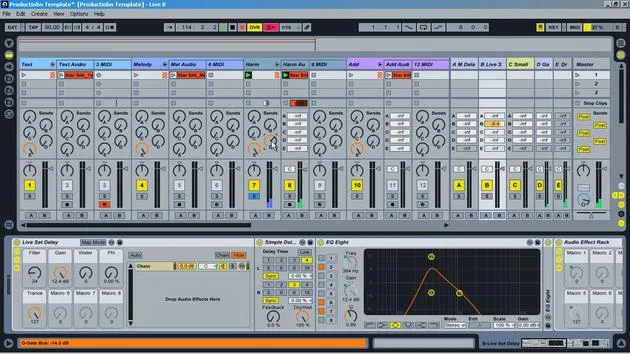
A template is basically an Ableton Live set that you can open each time. It will have similar sounds or qualities to it, making it a lot easier to produce from that point on. This is particularly beneficial:
- For an album: When I was starting my Emerge album from Subaqueous, I spent a week creating a template first to get the types of sounds and organization ready. This ensured that when I wrote songs, they were all organized and kept the same way, which sped up my process immensely.
You get so much faster when you use templates, and we'll explore that within Ableton Live.
Tools for Making Our Template
Here are a few tools we'll use for making our template:
- Color coding: Color coding the different clips or tracks.
- Groups
- Return tracks
- Routing
- Resampling track
These tools are all really important and make production much easier.
Advice for Templates
A few words of advice for templates:
- Only add elements you can use all the time: Don't clutter your template with things you won't be using in the future.
- Feel free to evolve your template: A template is a starting point, and elements can change.
- Different templates for different projects can be really helpful.
Hands-On Template Creation
Now, let's open up Live and make a template from scratch.
-
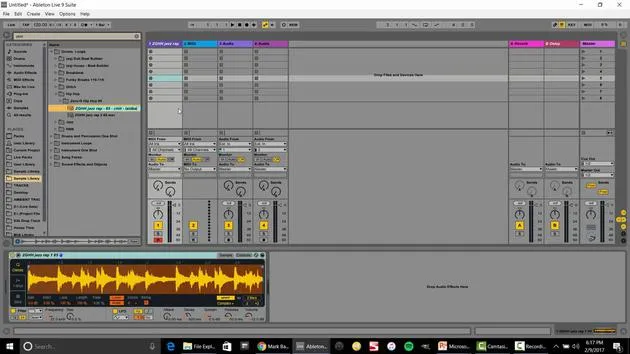
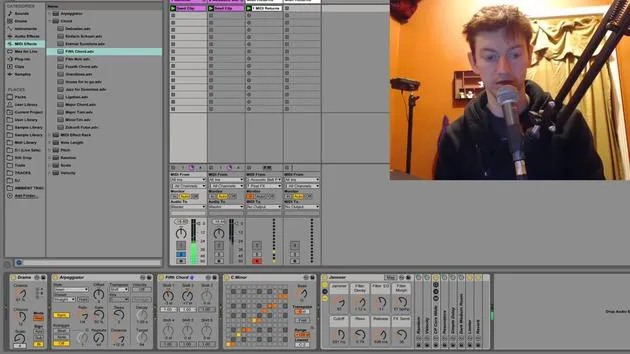
Start with a Blank Set: We have a blank set. Let's turn it into a usable template.
-
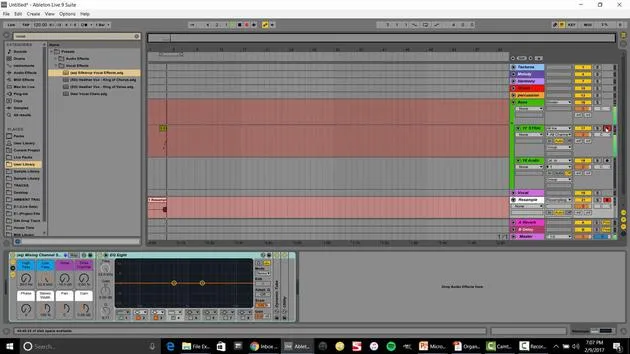
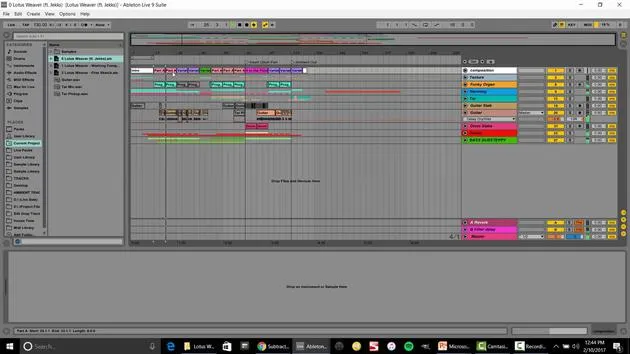
Group Tracks: I often group MIDI and audio tracks together. I usually separate them by eight groups:
- Drums
- Bass
- Melody
- Harmony
- Percussion
- Vocals
For this example, I named one track Textures for background sounds or ambient noises.
-
Color Coding: Everything sounds better when you color it, believe me! I have a personal color coding system where:
- Green = Bass
- Orange = Percussion
You can create your own system based on your preference.
-
Common Effects: Consider what effects you use regularly. For instance, I always place an EQ on every channel, even if it's just to adjust the mids or highs.
-
Compressors: I might also have a compressor, but it shouldn't affect the base sound until I adjust the threshold settings.
-
Consistent Elements: Think about consistent elements you use across projects. For example, I always include a sub bass and certain vocal effects that I prefer.
Setting Up Additional Tracks
-
Return Tracks: If there's a specific effect you use a lot, include that in your template.
-
Resample Track:
- Right-click and insert an audio track. I call this Resample and like to color it white.
- Set the input to Resampling, which records anything playing from the master out.
This feature can be very handy when you want to capture a sound quickly while working.
Saving Your Template
- After setting everything up, go to File > Options Preferences (or Live Preferences on Mac).
- Head over to File/Folder, and select Save Current Set as Default.
- Hit Save.
Now, every time you open a new Live set, it will come up with all the parameters you saved, including the EQs and organization setup.
Final Thoughts
The idea here is: If there's something you do repeatedly, set it up as part of your template. This will save time and enhance your workflow.
For example, if you frequently use the Serum VST for your bass, add it to your template.
And there you have it! That's how to create and use a template in Ableton Live.
19 leçons
2h 54m de leçons vidéo structurées
Fonctions vidéo avancées
Ralentissez, bouclez un passage, suivez la partition
Mobile, tablette et ordinateur
Pratiquez où vous voulez
Satisfaction garantie à 100 %
Garantie remboursement 30 jours
Rencontrez votre guru
Rencontrez votre guru
Isaac Cotec est, sans doute, l'un des meilleurs formateurs Ableton au monde ! Tout en travaillant sur sa propre musique, il a commencé à enseigner les techniques d'enregistrement, le design sonore et Ableton Live à des élèves particuliers et, depuis qu'il a obtenu sa certification d'Ableton Certified Trainer officiel, il a aidé des milliers de producteurs à passer un cap et à réussir comme musiciens.
Isaac a commencé à produire de la musique électronique en 2005 avec Psyche Sonics, un groupe expérimental travaillant sur la science et la recherche des binaural beats et la modification de la conscience par le son. Après avoir tourné, il a continué à écrire de la musique sous l'alias Cotec puis a émergé comme l'artiste Subaqueous, mêlant son passé électronique à des techniques de production à la fois futuristes et organiques. À ce jour, il a sorti 3 albums et 4 EPs.
Isaac est aussi le fondateur et le gérant du label Invibe Music, qui représente certains des meilleurs artistes de musique électronique du Pacific Northwest et se spécialise dans la dance midtempo.
Dans ses cours Ableton Live, Isaac partage les techniques de production, de design sonore et d'écriture qu'il a passé des années à affiner — les compétences mêmes qu'il utilise pour transformer l'étincelle d'une idée en un morceau fini.







