



Chaos Pad
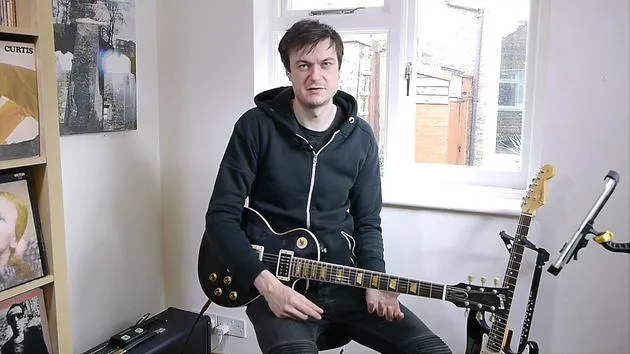
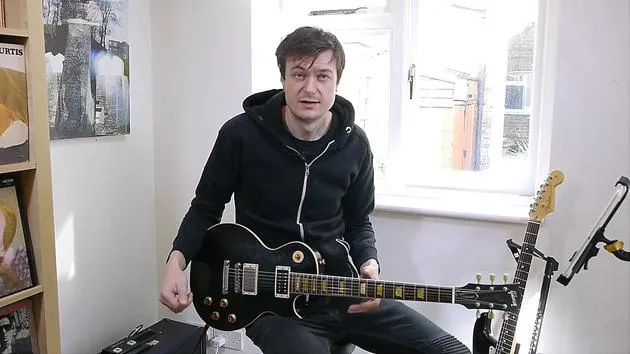
James Barratt desglosa la pieza de Rockschool inspirada en Muse 'Chaos Pad', abarcando el potente tono con overdrive y el arpegio inicial con su púa en string-skipping.

Qué incluye el curso
44 lecciones (3h 49m) · 1 gratis
01. Introducción a los enfoques de la improvisación
1:00
02. Adornar una melodía
5:36
03. Reto: Envía tu melodía
0:26
04. Acordes de séptima
6:38
05. Componer tu solo
8:53
06. Más extensiones y acordes sus
4:19
07. Acompañar en dos estilos musicales diferentes
Lección gratis8:36
08. Combinar el comping rítmico y melódico
4:24
09. Improvisación rítmica y comping
9:55
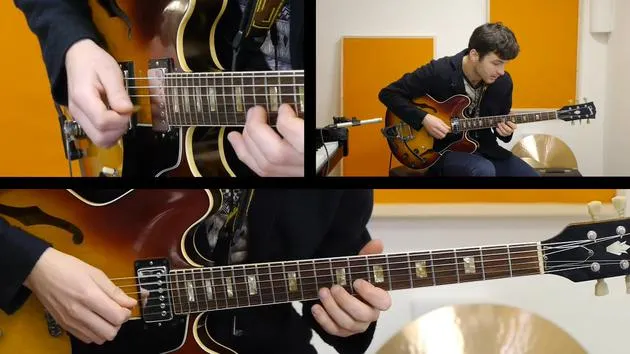
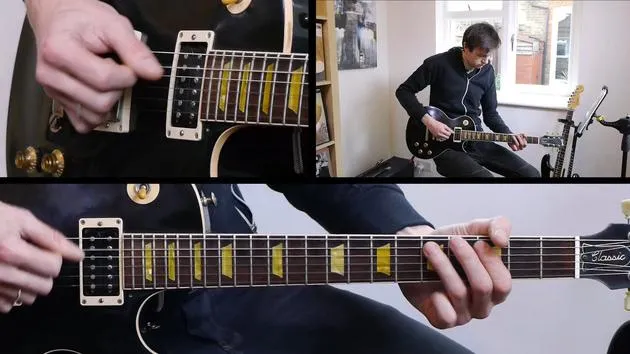
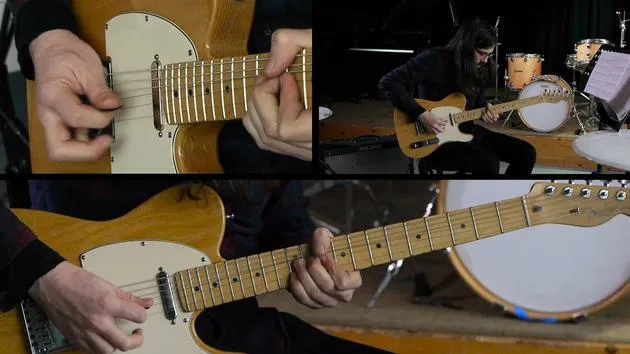
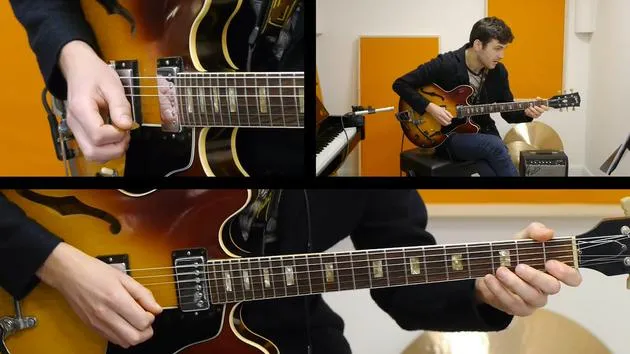
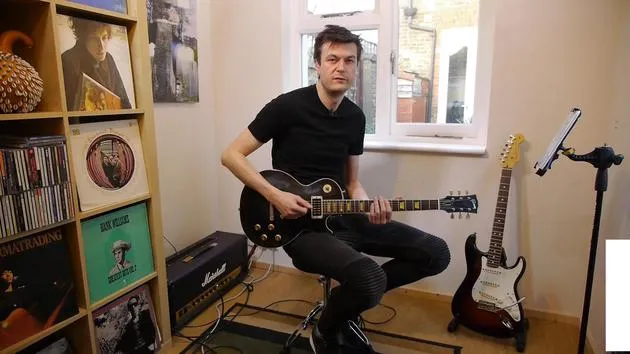
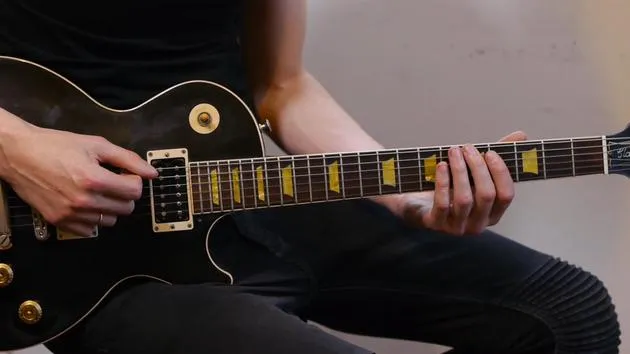
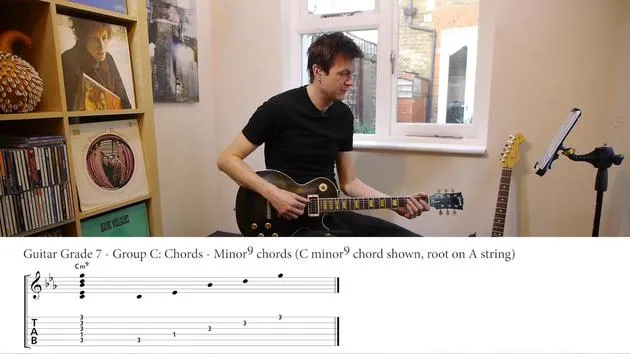
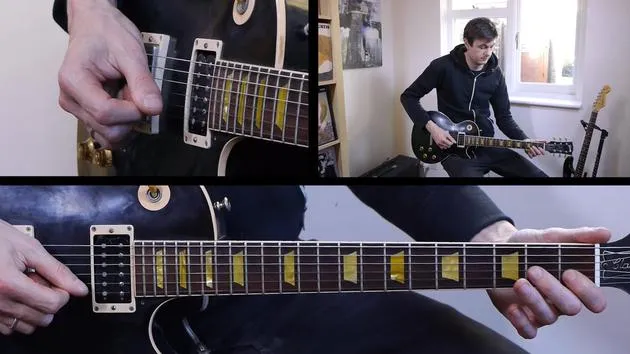
Transcripción de la lección
Music Lesson: Exploring the Chaos Pad Track
Hey, guys!
Introduction
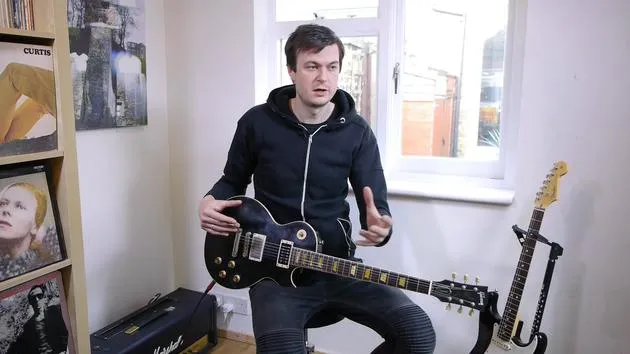
So we're going to take a look at Chaos Pad here. I'm sure if you've listened through this song, you can tell who has inspired it. It's pretty obvious, definitely. Muse have been a huge influence on the guys that compose this track. I think they've done a great job as well. It sounds really, really authentic. This does sound like it could just be a Muse track without vocals on it.
Guitar Setup
Sound Characteristics
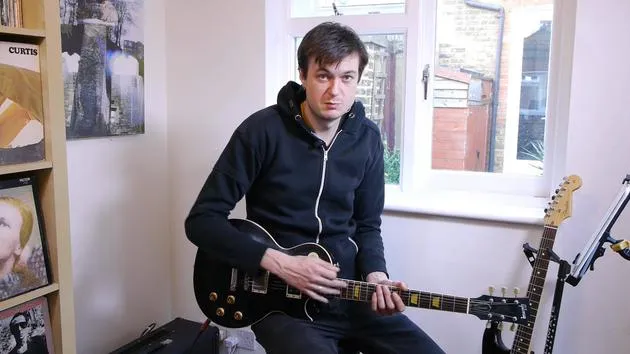
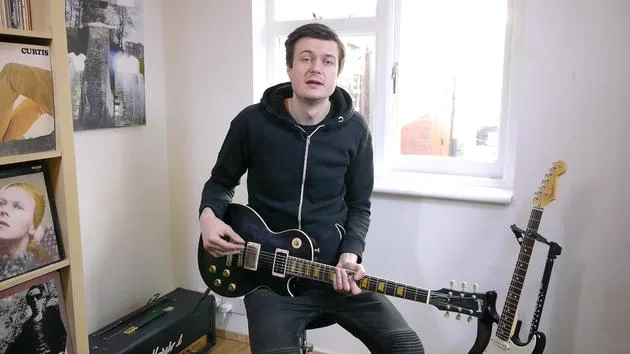
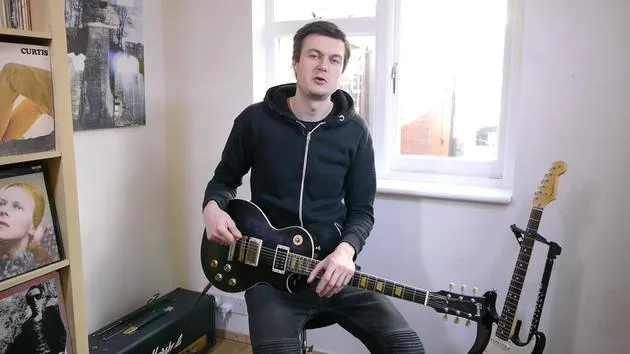
You're just going to want a really meaty rock sound, basically. So whatever overdrive or second channel on your amp you've got, we're going to want to be using that and getting some really meaty sounds out of your guitars.
- Humbucker pickups are going to be great for this, nice and powerful high output, if possible.
- You can get some really cool sounds out of the Strat or something like that as well; it will just have a kind of different vibe to it.
Riff Breakdown
Opening Arpeggio
Let's take a look through the score. Some really cool moments in this. I absolutely love it!
- We're opening with this kind of arpeggio-ish idea.
- A few string skipping things to just be aware of.
Picking Technique
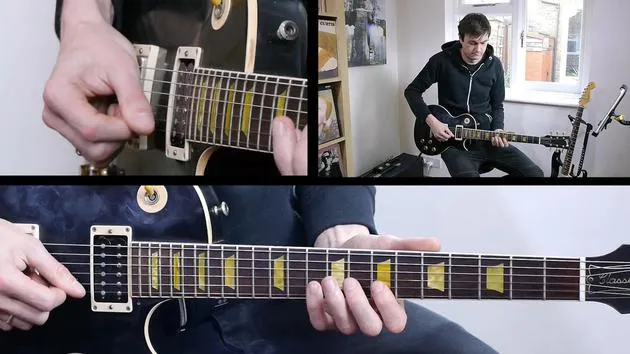
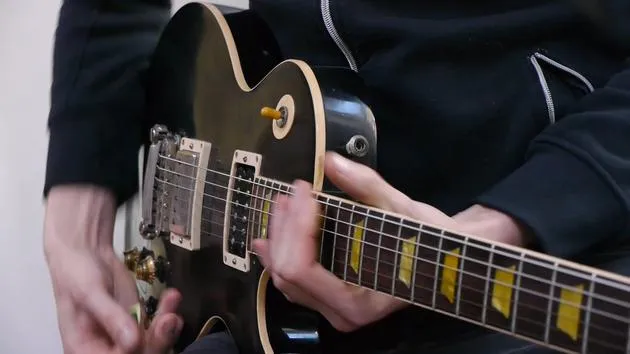
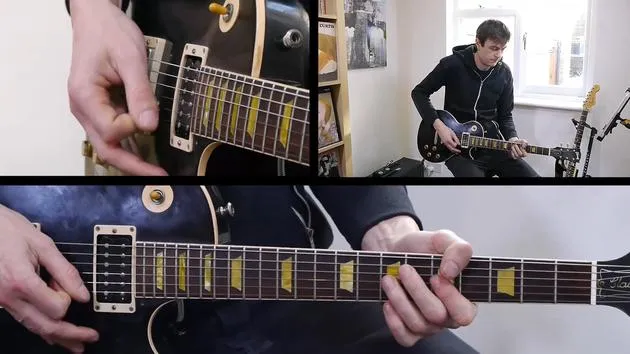
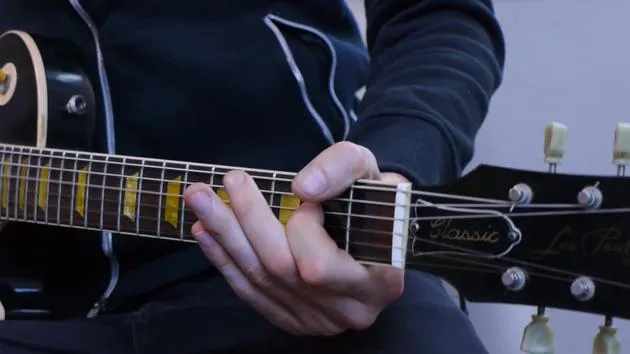
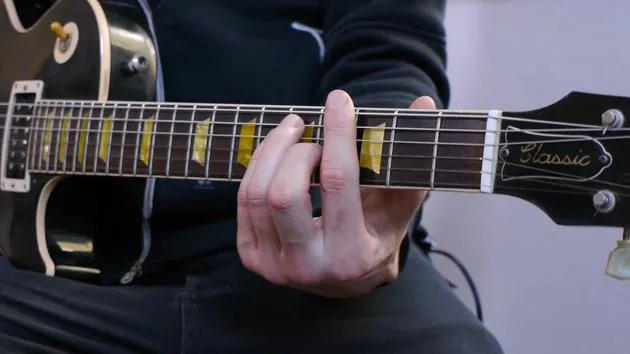
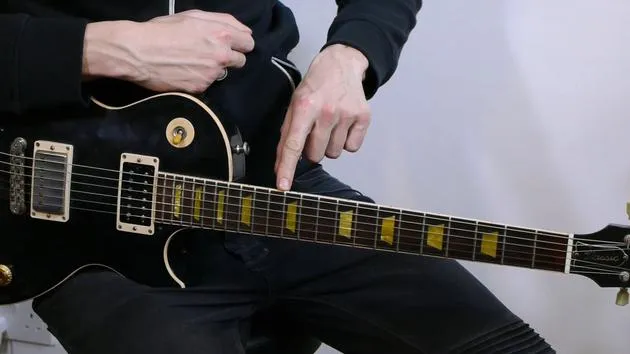
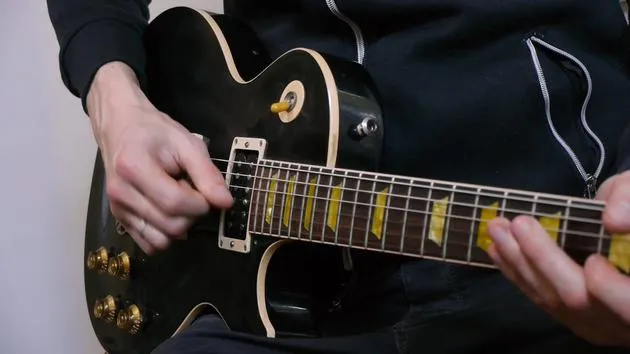
So what you're picking here, you've got to make sure you're confident skipping over that D string in that opening riff. It does that a lot:
- You're going from the A string, skipping out the D, and then jumping onto the G, then moving back again.
Your picking hand has got to be reasonably confident there. And I think that's something you want to practice without looking as well.
- Experiment with the picking: whether it's alternate, inside picking, or all downs, whatever it is, experiment!
But I think it's really important you're not glued to your right hand because, as soon as we get into B, your left hand is moving all over the place. So you need your right hand to be confidently navigating the strings on its own.
Riff Summary
Other than that little string skipping, picking bit in A, I don't think there's anything else too challenging there. It's just a really cool riff. We've got our first and second repeat bars to navigate through, and then we're into B, which is really one of the standout riffs in this track.
Standout Riff
That moment when you hear that and you go, "Yeah, this is Muse inspired." So we're on the A string for this whole section.
- What we've got to make sure is that our right hand is really consistent in placing these 16th notes.
- The sync between your hands is really strong because this riff can sound really messy.
Practicing the Sync
If you end up fretting a note before you're going to play it with your right hand, it's really hard to demonstrate that. What we need to ensure is this:
- Make sure you practice it nice and slow.
Every time you fret those fretted notes, it's banging time with when you're going to play or strike the string with your picking hand. As you speed up, be aware of what can go wrong with that, and really listen to ensure your hands are in sync.
- Listen to the quality of the sounds.
Practicing at lower speeds will allow that to transfer through. If you're careful with how you speed up, that will just come across naturally.
Adding Dynamic
What I quite like to do with this riff, it's not a written thing, but just the lightest bit of muting. Palm muting with your right hand, I think, goes a long way. You can open that out as well as you repeat this because it's an eight-bar or four-bar repeated phrase for eight bars.
- Instead of having it completely open, just mute it ever so slightly.
- You can open it out on the repeat if you want to.
It's quite a nice way of controlling the dynamics and giving it a bit of a lift when you want to as well.
Riff at C
At C, we've got another really fun riff to play. This one's quite challenging actually. Again, lots of 16th notes.
Right Hand Precision
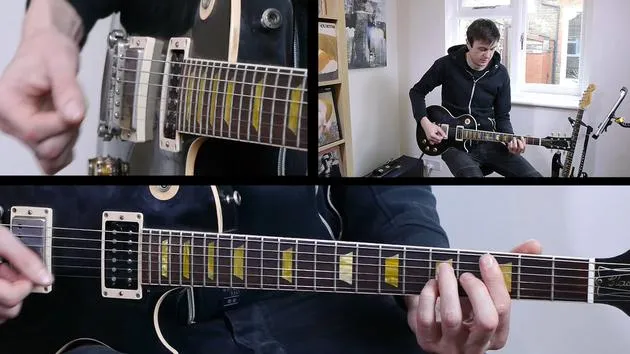
Your right hand just needs to be basically like a metronome, just smashing out these sixteenths.
- Here we have got some notated muting. We want the D string notes to be muted, and then we're essentially accenting these pull-offs on the G string.
String Skipping Challenge
That's something to practice bar by bar, getting that distinction between palm muted and non-palm muted.
- Again, string skipping creeps in here with the right hand.
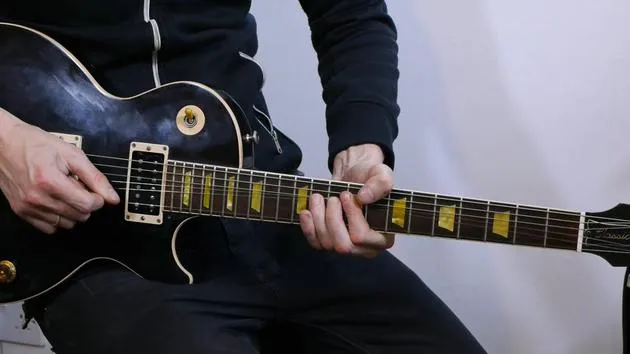
- We're fretting the F note with our little finger and then skipping over the D string.
This might take a bit of time to get used to, so keep that nice and slow. Gradually build up the speed and you'll gain confidence in that, again occurring in the second repeat bar.
- The string skipping element adds cool, wide intervals, but it can sound messy if you've not got the technique down.
Repeat at D
At D, we've got a straight-up repeat of the riff at B. If you muted it earlier, now is the time to not mute it and let it kind of breathe a bit. This gives you that variation, that sense the piece is progressing toward a big solo and a strong finish.
Transition to F
At F, we've got a change of pace, which is a welcome relief for your right hand.
Notated Techniques
We've got a lot of techniques to deal with here. If we just glance through, we've got:
- Hammer-ons
- Bends
- Vibrato
- Grace notes
- Natural harmonics
- Slides
All in the space of a little eight-bar melody that's notated. So much detail there! It's worth taking your time working through that section. Don't just jump in head first trying to play it. Tackle it bar by bar to get all the little nuances down.
Personal Interpretation
I looked at the chord progression outlined above the stave and made sure that my melody just outlined all those chord changes. I tried to keep it similar to what was written and then put my own slant on it.
- The first thing I did was mirror that opening phrase to some extent, taking rhythms and phrases from before but tweaking them around a bit to make them work.
Chord Progression
So we've got:
- A Minor
- G sharp 5 to G
- F2, 3 to E
Scale Suggestions
If you want to stick with a particular scale, an A natural minor works great for all of that. Outlining the chords with each phrase as you move through that section is beneficial.
The Fun Guitar Solo
Then we're on to the really fun bit, the guitar solo!
Solo Tips
You're going to have the transcription of my solo that I performed available to you if you want to steal some ideas or just take inspiration from it. I started with kind of an octave idea.
- It's quite a long solo, 16 bars.
Be careful and mindful when creating a solo. Don't jump in straight away with your flashiest, fastest licks; we've got to stretch the solo out over 16 bars.
Building the Solo
Using octave chords is a cool way to play a melody while maintaining a rhythmic and driving feel.
- The first four bars were all octave chords.
You could say that's a solo; I think it is. It set the pace to be really driving and aggressive, those chords are cutting and sound great!
Rhythmic Variation
After that, I went into some natural minor phrases, using repeated phrases. This is a really cool trick you can do:
- Play the same phrase; the change in chords makes it sound different while essentially doing the same thing.
Change in Groupings
I changed up the groupings rhythmically.
- To start with, it was heavily 16th note based with the octave chords.
- Then we transitioned to a single-note idea, taking the scalic approach.
Flashy Licks and Tension
Now, the next lick sounds flashy but is easy to do. Fret a note, pull off to the open string, and then pick the open string again.
- It sounds fast, but it's simple. Just sync up your hands and you can move that idea around with ease.
Unison Bends
Lastly, I focused on unison bends for tension and aggression.
- A fretted note on a higher string, bending the string beneath it to match the pitch creates a great effect.
Conclusion of the Solo
To finish, I ended with a Paul Gilbert sequence, a really simple phrase.
- In the A minor position, little finger leading it; pull off from the 20th to 17th fret, then to the 19th and back to the 20th fret, finishing with a pull-off.
It's a repeated phrase, but sounds impressive in a track like this.
Final Thoughts
Take my ideas, adapt them, make them your own, and I think you'll have great fun with this piece. It's so authentic, and it feels like you're jamming with the band, great fun to play along.
Practice Tips
So best of luck with it!
- Take it nice and slow and practice those tricky transitions.
- From that open string riff into that muted riff can be quite a tricky, quick change.
Always worth practicing things like that nice and slow, then ramping up the speed as you feel more confident.
See you for the next one!
44 lecciones
3h 49m de lecciones en vídeo estructuradas
Funciones de vídeo avanzadas
Ralentiza, repite un pasaje, sigue la partitura
Móvil, tablet y ordenador
Practica donde quieras
Garantía de satisfacción 100%
30 días de garantía de devolución







