



How to use both film footage and audio in Pro Tools
Goetz Botzenhardt sets up a Pro Tools film-mix session - loading the picture, syncing piano and string recordings, and making a first pass at panning and effects.
What's in the course
16 lessons (1h 36m) · 1 free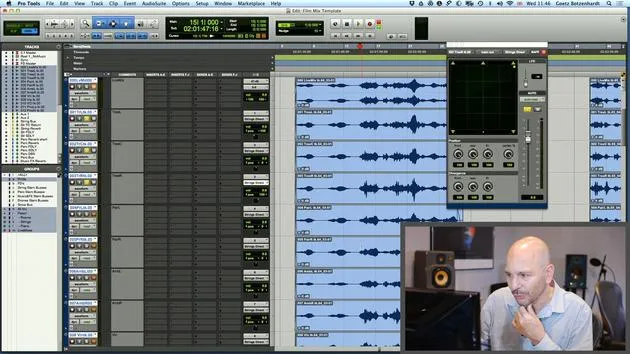
01. How to use both film footage and audio in Pro Tools
You are here19:52
02. Importing an orchestral recording - key concepts
8:10
03. Stemming & Reverb
8:51
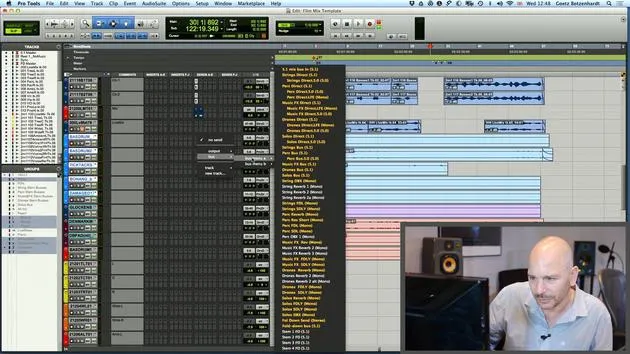
04. Adding more parts to the mix - percussive elements
4:33
05. The mixing process
6:35
06. Dynamics & rides
3:08
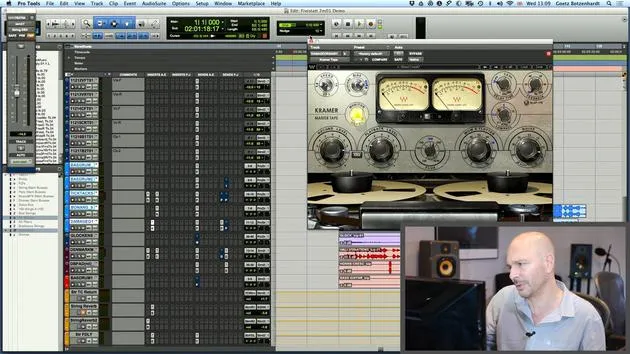
07. Walk-through of all Goetz's mixing on this score
5:02
08. ASSIGNMENT #2: CREATE A MIX
0:40
09. CHALLENGE #1: MIX TO FILM
0:55
Lesson transcript
Mixing Process: A Step-by-Step Guide
Welcome back to our next chapter where I'm going to talk about the actual process of mixing. This is when it happens.
Overview of the Mixing Session
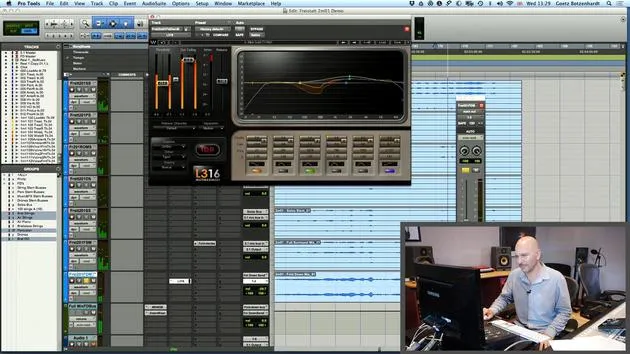
Let's have a quick look at the screen. We're still on the template that I made earlier. I'm just going to load in an example now, which is from a German film I worked on a couple of years ago with a great composer called Ann Nikitin, whom I like working with a lot. That's why I've chosen this example.
I'm just going to load in some of the material that we had and quickly demonstrate how I go about mixing it.
Setting Up the Pro Tools Session
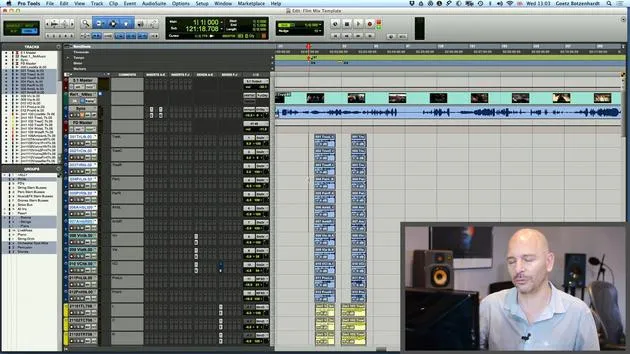
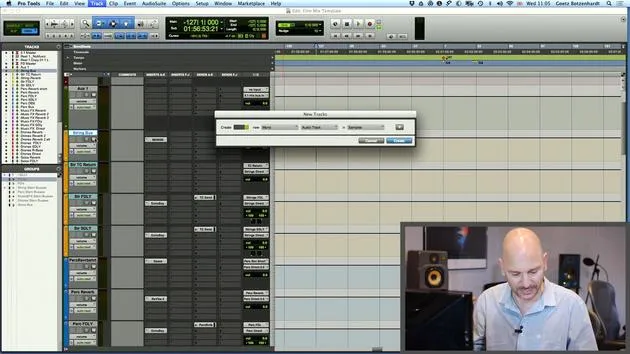
The first thing you're going to need in your Pro Tools session is the actual movie so you can watch it while you mix.
- I usually put that up at the top somewhere.
- Here, I've loaded that in already. We're on reel number two.
Underneath, it's also very important to see our sync, which basically contains the rough cut of the dialogue and the sound effects generated in the editing suite. It typically doesn't sound very good because it's not finished.
To improve this, I like to put a compressor over it because sometimes it really jumps out. So, don't be shy, just compress it! That'll make your life a bit easier when you have to listen to it.
Listening to the Material
I'll quickly play a little bit.
Okay, I'll do that again.
So, combined with our picture, which is normally up on a big screen, but I'm just going to show it here, we can see the film and the sync sound.
- We can also listen to "Forced Evil."
- So, we see a nice German film.
Loading in Recordings
The next thing we need to do is load in our recordings.
- I'm just going to look for the particular cue I'm going to work on.
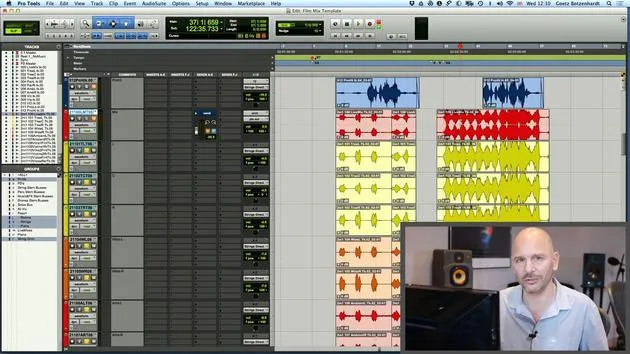
- We had two sets of recordings: one is a string and piano session done at AIR Studios, and another has orchestral material recorded in Bratislava, along with some sequenced and synthetic sounds from Ann's studio at home.
Let's find our AIR Studio recordings first. You should have these assembled on your hard disk before you start mixing.
- I'll look now into our mix folder.
- We've got one folder called "AirRecord."
- We're going to be mixing our cue (2M1), so I'll open that up and find the latest version.
Importing Session Data
This brings us to the import session data, which is quite an important page because it helps you import your mixing material into your template session.
- Up here, you can see all sorts of video and audio tracks that we're not really interested in.
- What we need to get are the nicely numbered and labeled tracks from AIR Studios. They are thorough about labeling and everything, which makes my job easier.
You'll see they've named every track they've made. We have a microphone tree (left, right, and center) and down here are all our individual microphones (spot mics).
I'm just going to grab all of these and import the tempo map, chord map, key signatures, and markers for my session.
Important Note on Import Process
It's important to make sure you're not stuck on "copy" or "consolidate." You don't want to create a whole bunch of new audio files.
- Just go "link to source," which will link to the audio files you already have on your hard drive.
Checking the Import
This all looks pretty good now, so I'm just going to hit OK.
And hopefully, it's going to load the recording into my template session.
There we go! That worked pretty well.
Now we can see these recordings just appeared in my session. Let's take a quick look at what they are.
Understanding the Mic Setup
A normal way of recording any string session or orchestra is with something called a "decatry," which is basically an array of three microphones (one pointing left, one pointing right, and one pointing into the middle).
- This is really useful because I can now send all this to our string bus.
- So, we select "Strings Direct" up here.
Now we can see our recording sends to the string bus. If I hit play, we can already hear it!
Yes, Mute the sync for the time being.
Panning and Balancing
Now, we need to quickly look at the panning to ensure it doesn't only come out of the center speaker.
- I'll open up my panel now with the decatry (left, center, right).
- This is the array I just explained.
All we have to do is pan the left microphone to the left, the center to the middle, and the right microphone to the right. This gives us quite a nicely balanced recording already.
Let's listen to it now.
Ambient Mics and Surround Sound
Next, we need to look at ambient mics set up in the studio, usually in the left and right corners of the room.
- This is great because I can put these into the surround speakers, giving the listener a good idea of what the music sounded like in the room.
- I'll just play that quickly.
We may need to drop the level slightly because it's quite loud, but it already sounds really nice.
Individual Mics Setup
Now, let's look down here at the individual mics.
- When a string section is recorded, engineers not only mic up the room with the decatry but also place individual mics on each desk.
- In this case, we had a trio and a piano, so each player gets their separate microphone, allowing for flexibility in the mix.
Mixing Decisions
Now, it's a decision about how much to mix them in. Sometimes, it's good to use the decatry or the room mics because they sound better with ambience.
- The spot mics can be dry and direct, which might not be as pleasing to the ear.
I'll play a little bit of each quickly.
Panning Each Instrument
We have:
- Violin - Sounds nice
- Viola
- Cello
Usually, musicians sit left to right, starting with the highest instrument and going to the lowest. Let's reflect that in our panning.
I'll also try adding some reverb to these, as they usually need it based on their dry direct signals.
To select these three channels, I hold Alt and Shift, which allows me to select the reverb for all three at once.
Using Reverb
I'm going to send them to my TC send. This means it'll go to the TC6000, which is my favorite reverb for strings.
I want the reverb to follow the main pan, so I usually select the button labeled "FM Pan" (follow main pan).
Let's see if my reverb works.
Final Adjustments
Let's add some reverb until I can hear it bounce around nicely in the 5.1 sound field.
Looking down here on our stem buses, we can see the reverb return routed to our string bus.
Last but not least, we have some spot mics on the piano.
Normally, the recording engineer should do a quick drawing or outline of where people were sitting while the piece was recorded. This helps replicate that in my panning for the mix.
Pan Piano and String Players
I know from memory that the piano player was off to the right.
- I'll pan him here and pan the string players a bit to the other side for balance.
Now, let's play that and have a listen.
I'll make a group for these piano spot mics, but there's one already, so I'll turn these down because there's already a lot of piano on the decatry.
Enhancing the Cello
Just a quick little trick here: We have a nice cello recording, and I really want to enhance its low end.
I'm going to use my string DBX (the DBX120). Let's send the signal to our string DBX and have a listen.
This is interfaced here with a hardware insert. For those who don't know how to do that, there's a page on the I/O where you can set up your inserts, which just mirrors the setup from the interfaces.
Testing the Low End
I'm using insert 3, meaning the signal comes out of Pro Tools output 3, then goes to the DBX120, and comes back into the system on Pro Tools input 3.
Let's see if it works.
- I'll solo the cello and start bringing the low end up on this nice low note.
I don't know if that comes across on your speakers, but I can hear a nice low rumble now accompanying my cello, which I really like.
Let's play that again. You can also put a little bit of that into the sub if you're feeling adventurous, but let's not overdo it.
There we go. We probably don't want quite as much as that, so I'll bring it back.
That summarizes the basics of the mixing process!
16 lessons
1h 36m of structured video lessons
Advanced video features
Slow down, loop a passage, follow along
Mobile, tablet & desktop
Practise wherever you are
100% satisfaction guarantee
30-day money-back guarantee
Meet your guru
Meet your guru
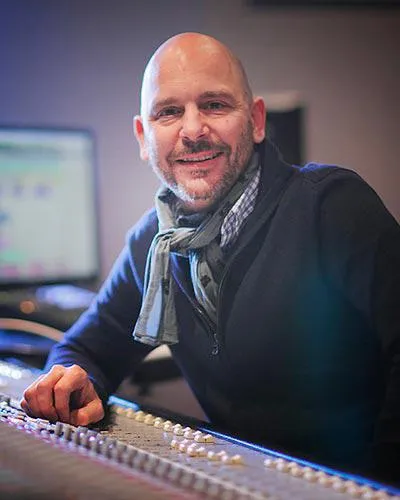
In the early nineties, Goetz Botzenhardt trained at Swanyard Recording Studios, assisting top producers like Flood, Alan Moulder and Tom Lord-Alge, and cut his teeth recording and mixing the dance and Acid Jazz bands of the 90s - Incognito, Galliano, Soul II Soul and many others.
At Swanyard he met Rollo Armstrong and the two quickly formed a creative partnership, leading to many big dance records and remixes and, soon after, to recording and mixing the first two acclaimed Faithless albums and Dido's multi-platinum 'No Angel'.
Ranging across genres, he recorded and mixed the Sugababes' debut album 'One Touch', including their first hit 'Overload', and has mixed for The Cardigans, Bjork, The Cinematic Orchestra, Craig David, the Pet Shop Boys and Hikaru Utada, one of Japan's most successful artists.
More recently he expanded into film and TV, working extensively with composers Christian Henson, Martin Phipps and Anne Nikitin, and mixing Daniel Pemberton's Golden Globe-nominated score for 'Steve Jobs', directed by Danny Boyle. Away from film he produced Tanita Tikaram's 'Closer to the People', mixed tracks for Sigala, Ella Eyre, Breton, Planet Funk and Tito Jackson, and in 2016 mixed Peabo Bryson's album with Jimmy Jam and Terry Lewis. A full list of his work is on his discography and filmography pages at goetz-botzenhardt.com.
Goetz works from his own studio and mix room, built around an SSL E4044 console, Adam 5.1 surround monitoring, a 48-channel Pro Tools HDX system and choice outboard gear. In his courses he takes you inside that room to show how he mixes across two very different worlds: in Mixing for Film & TV Score, how he balances and shapes orchestral and hybrid scores to serve the picture; and in Mixing Commercial Pop Music, how he builds punchy, radio-ready pop mixes from the multitrack up.







