



Setting up the project in your DAW, understanding busses, effects and plugins
Goetz Botzenhardt shares his free Pro Tools film-mixing template and walks through his go-to compressors, delays and reverbs, plus how he sets up busses for 5.1 and stereo stems.
What's in the course
16 lessons (1h 36m) · 1 free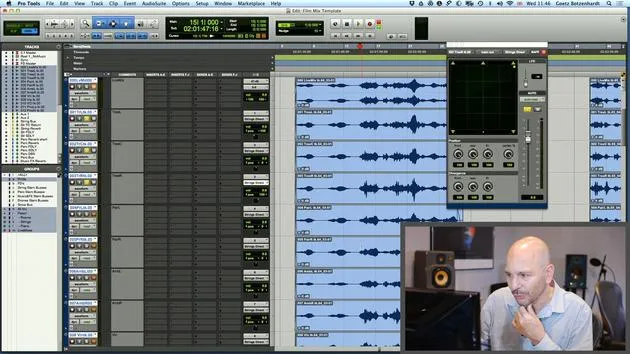
01. How to use both film footage and audio in Pro Tools
19:52
02. Importing an orchestral recording - key concepts
8:10
03. Stemming & Reverb
8:51
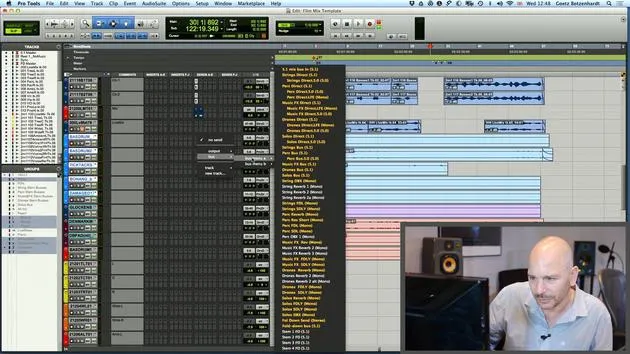
04. Adding more parts to the mix - percussive elements
4:33
05. The mixing process
6:35
06. Dynamics & rides
3:08
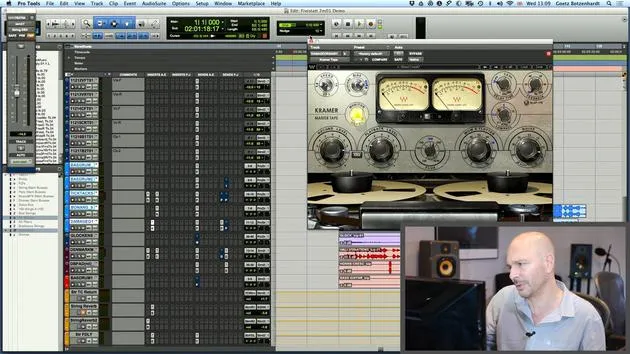
07. Walk-through of all Goetz's mixing on this score
5:02
08. ASSIGNMENT #2: CREATE A MIX
0:40
09. CHALLENGE #1: MIX TO FILM
0:55
Lesson transcript
Mixing Process Overview
So let's actually, let's move on now to the actual mix process, the nuts and bolts of our mixing.
Importance of a Good Template
First things first, someone like me, I mix a lot of films and film scores. I usually have a template ready to load the material into because it takes quite a lot of time to prepare a film mixing session in Pro Tools, and I don't really want to do it every time before I start a mix.
My Template
- I've made myself a nice template, and it's working pretty well for me.
- Having a good template saves you lots of time, allowing you to mix more quickly and efficiently.
Template Breakdown in Pro Tools
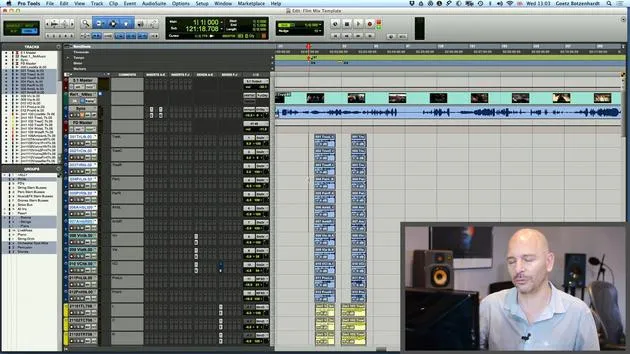
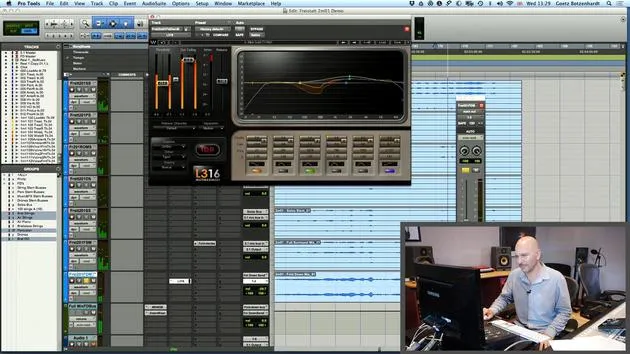
In Pro Tools, at the top, I have a master fader that controls my volume, which sends to the 5.1 speakers.
- Master Fader: General volume knob.
- Fold Down: Controls the stereo mix.
The Concept of Stems
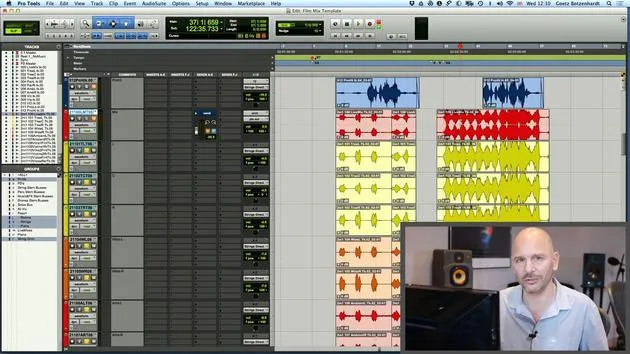
Now, as I've explained, film mixing must be made in groups or stems. In my template, I have different buses for every stem.
- Current Session Stems:
- Strings
- Percussion
- Music
- Effects
- Drones
- Solos
Each stem group is summed to my print tracks down here. Each group is bussed to a track in Pro Tools.
How to Create a Bus
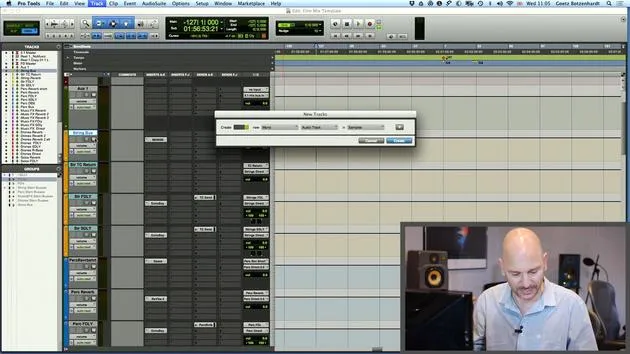
To explain how my string bus works, I'll show you how to create a bus quickly:
- Select New Track by hitting
Apple Shift N. - Select 5.1 and Aux Input then hit Create.
I have my buses nicely labeled in the IO page I've created for the film template. Each stem bus has an input and an output.
- Input: Strings Direct
- Output: Strings Bus
This setup allows me to send all the orchestra tracks to the bus by selecting their output to be Strings Direct.
Bus Functionality
- The bus collects all the signals sent to it, allowing for processing before sending to my track for recording.
- When mixing my strings, I want to add reverb, delays, and other effects. I have previously created:
- 1 Reverb
- 2 Delay Channels
- 1 for front speakers and 1 for back speakers.
These effect channels need their own designated input, like Strings Front Delay and Strings Surround Delay.
Additional Stem Processing
- For percussion, I have a short reverb and a long reverb, as percussive sounds often need short reverbs.
- Percussion dbx: This serves as a low-frequency generator, which we mentioned earlier, great for adding low-end frequencies to the score.
Record Tracks Setup
Now, let's look at my record tracks.
- Each audio track has its own input.
- Example:
- String Stem → Strings Bus
- Perc Stem → Perk Bus
- Example:
In order to record simultaneously, I create an audio track for each stem. This includes:
- A full mix track
- A fold down mix track
Summing Signals
To sum our signals into the full mix channel, I create another bus called Mix Bus In, where all five stem tracks can send their signals. This allows:
- The full mix channel to capture the sum of the five stems.
- Recording them all at the same time.
Creating a Stereo Mix
Since we're working in 5.1, we need to generate a stereo mix from the 5.1 signal.
Setting Up a Fold Down Bus
- I've made another bus that sums 5.1 channels back into stereo, known as the Fold Down. This is done using a plugin called Down Mixer within Pro Tools.
Steps to Create Fold Down Bus
- Hit
Apple Shift Nto make a new track. - Select Aux Input 5.1 and create.
I send my 5.1 signal to the fold down bus via a send on the full mix channel.
Configuring the Down Mixer Plugin
When opening the plugin, the configuration sends everything to the fold down bus at 0dB.
- Standard adjustments:
- Drop the center channel by 3dB
- Drop the surround channels by 6dB
- Mute the LFE channel
This configuration ensures a balanced stereo mix.
Final Steps
Finally, the fold down bus needs to be sent to a channel for recording.
Now, every time I finish mixing a cue, I hit record once, and it's going to record all tracks simultaneously, very efficient!
Conclusion
I know this seems complicated, but downloading the template and experimenting with it will help you understand its logical structure. You can use that template, make it your own, and start mixing.
That's the end of part one. We're going to move on now to our next chapter, which will be about surround sound and panning.
16 lessons
1h 36m of structured video lessons
Advanced video features
Slow down, loop a passage, follow along
Mobile, tablet & desktop
Practise wherever you are
100% satisfaction guarantee
30-day money-back guarantee
Meet your guru
Meet your guru
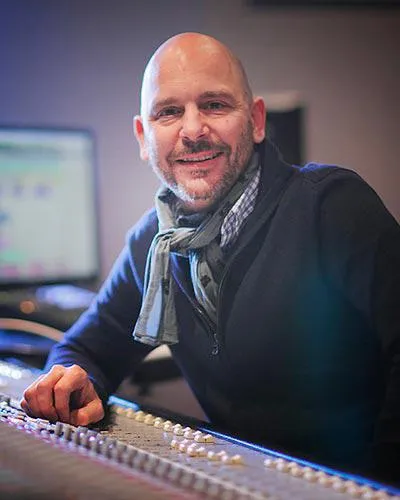
In the early nineties, Goetz Botzenhardt trained at Swanyard Recording Studios, assisting top producers like Flood, Alan Moulder and Tom Lord-Alge, and cut his teeth recording and mixing the dance and Acid Jazz bands of the 90s - Incognito, Galliano, Soul II Soul and many others.
At Swanyard he met Rollo Armstrong and the two quickly formed a creative partnership, leading to many big dance records and remixes and, soon after, to recording and mixing the first two acclaimed Faithless albums and Dido's multi-platinum 'No Angel'.
Ranging across genres, he recorded and mixed the Sugababes' debut album 'One Touch', including their first hit 'Overload', and has mixed for The Cardigans, Bjork, The Cinematic Orchestra, Craig David, the Pet Shop Boys and Hikaru Utada, one of Japan's most successful artists.
More recently he expanded into film and TV, working extensively with composers Christian Henson, Martin Phipps and Anne Nikitin, and mixing Daniel Pemberton's Golden Globe-nominated score for 'Steve Jobs', directed by Danny Boyle. Away from film he produced Tanita Tikaram's 'Closer to the People', mixed tracks for Sigala, Ella Eyre, Breton, Planet Funk and Tito Jackson, and in 2016 mixed Peabo Bryson's album with Jimmy Jam and Terry Lewis. A full list of his work is on his discography and filmography pages at goetz-botzenhardt.com.
Goetz works from his own studio and mix room, built around an SSL E4044 console, Adam 5.1 surround monitoring, a 48-channel Pro Tools HDX system and choice outboard gear. In his courses he takes you inside that room to show how he mixes across two very different worlds: in Mixing for Film & TV Score, how he balances and shapes orchestral and hybrid scores to serve the picture; and in Mixing Commercial Pop Music, how he builds punchy, radio-ready pop mixes from the multitrack up.







