



Mode Session et clips
Avec
Madeleine BloomMadeleine Bloom présente le mode Session sur Ableton Push : lancer des clips et basculer entre les modes Session et Note à la volée.
Le contenu du cours
16 leçons (3h 6min) · 1 gratuites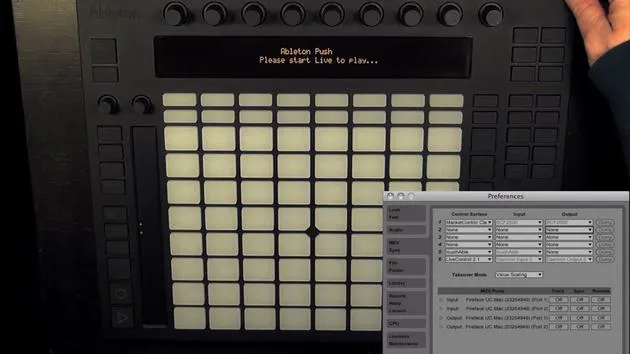
Transcription de la leçon
Session Mode Overview
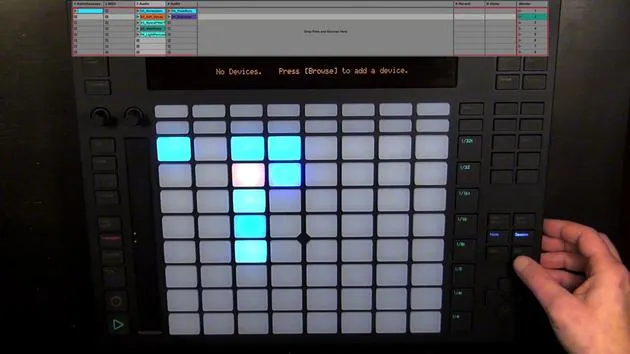
Now it's finally time to talk about the session mode, and we can simply switch to it by pressing Session.
Switching Between Modes
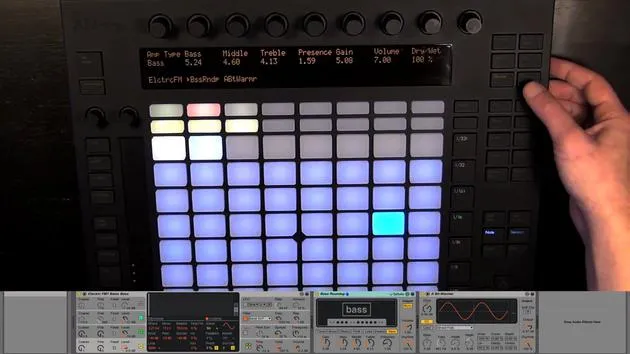
One thing to mention about the Session and Note buttons is that you can momentarily switch to the other mode by pressing that button.
- For example, I can:
- Press New and hold it.
- Play something, and once I let go, I'm back in Session mode.
The same works in the opposite direction:
- Hold Session to launch a clip and, once released, you're back in Note mode.
This is also possible with the buttons in the top right, apart from Browse, by the way.
Current Track Mode
Currently, I'm in Track mode.
- I could hold the Pan and Send buttons to change the panning of tracks, and once I let go, I'm back in Track mode.
- The same applies to Volume, Clip, and even Device.
- As I mentioned, the only button that doesn't work this way is Browse.
Grid Layout in Session Mode
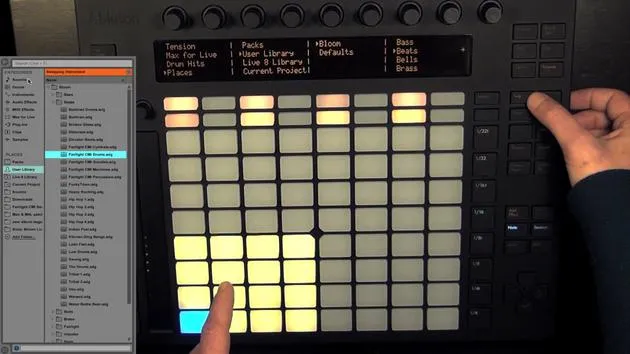
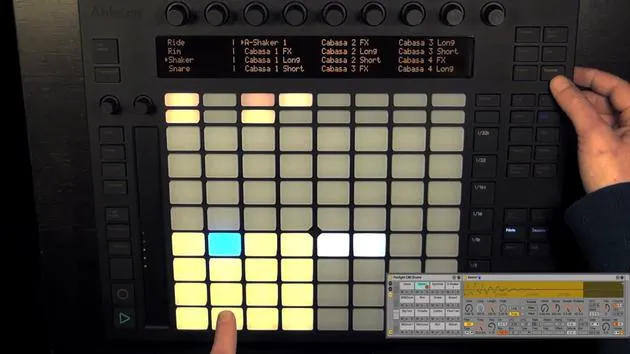
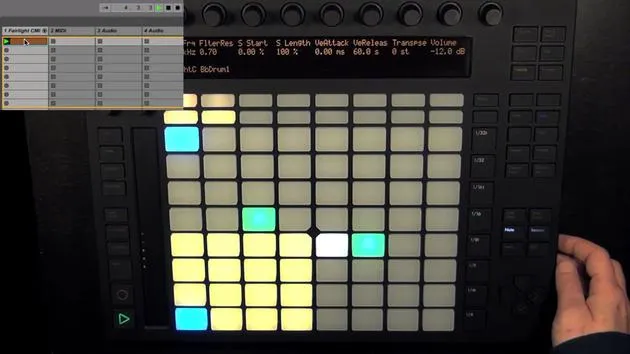
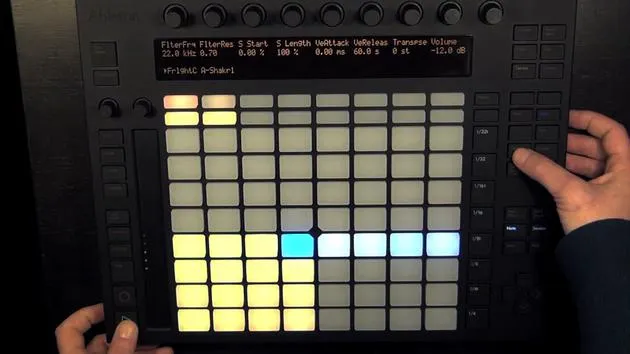
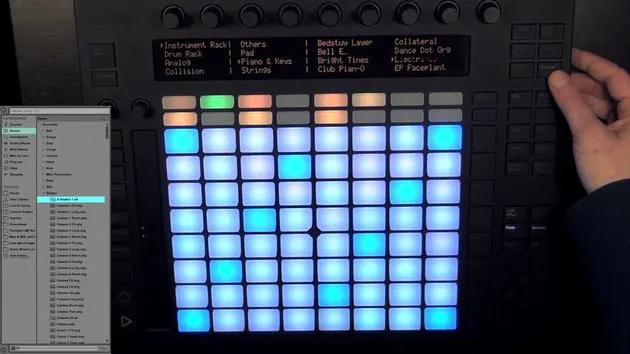
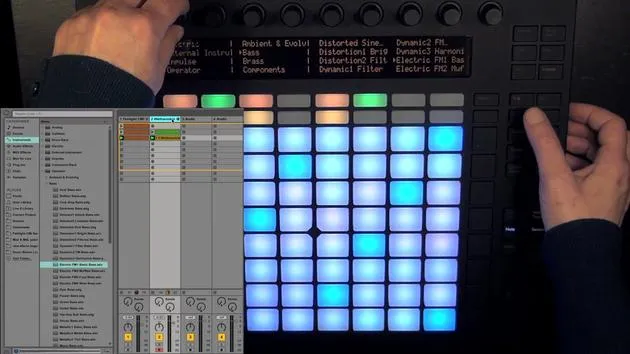
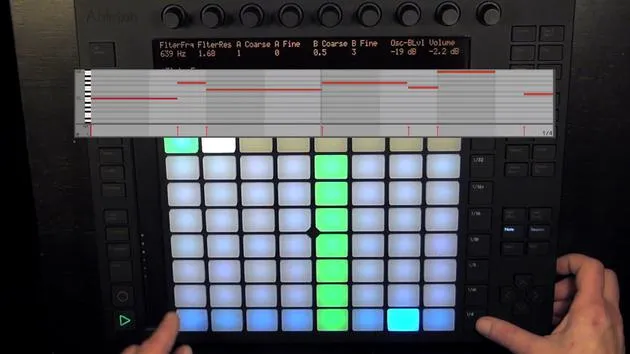
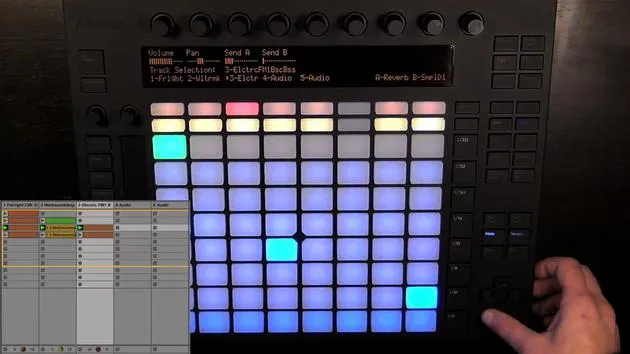
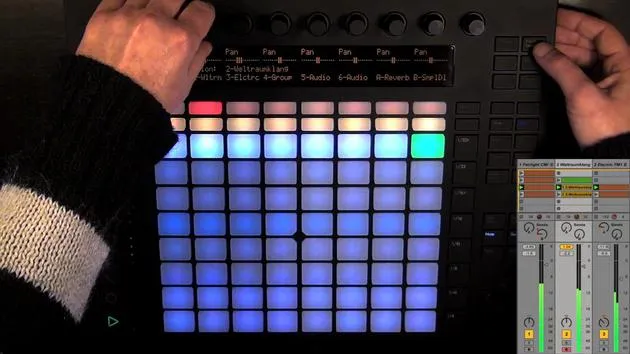
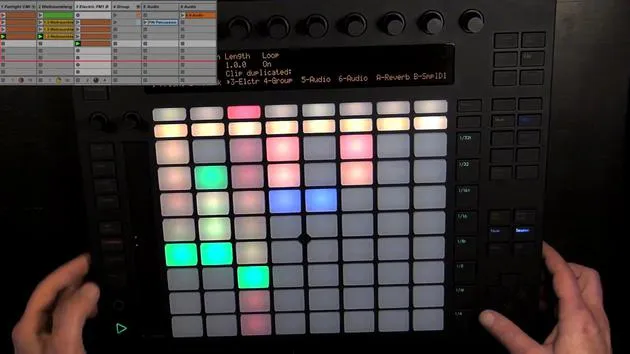
In Session mode, we have a grid of 8 by 8 pads (64 pads total).
- We already know this from the Launchpad or APC40, for example.
- Here we have eight tracks displayed horizontally, and then eight scenes vertically.
We can use this row of buttons to launch the scenes.
- If a scene or clip in that scene is pulsating green, it means that they are currently playing clips.
- The dull red in the track signifies that this track is armed, while the clips are shown in roughly the color they have in Live.
Stopping Clips
In Session mode, we can also hold Stop to stop individual clips in tracks.
- To stop all clips, simply hold Shift and then press Stop.
What can be accessed in this grid can be moved in focus using the arrow keys.
- We start with the leftmost track and the topmost scene, allowing access to the right and down arrows.
- If you move all the way to the right at the return tracks, there are no more clips.
Moving Through Tracks and Scenes
- Use the down arrow to move through scenes one at a time.
- To move by scenes more quickly, you can press Octave Up (moving by eight scenes at once) or Octave Down.
- For moving through eight tracks, hold Shift and use the left or right arrow.
Tip: You can also use Shift + up or down arrows to move by eight scenes.
Session Overview
To see the Session overview, hold Shift in Session mode.
- This shows us 64 tracks by 64 scenes total, each pad signifies 8 tracks by 8 scenes.
- An unlit pad indicates no tracks, scenes, or clips are present.
The Session overview is handy for quickly focusing on the eight tracks and scenes that you need access to.
- A red pad means there are no clips, a green pad indicates the currently playing clips, and an amber pad shows the currently focused 8 by 8 grid.
Working with Clips
Now that we've focused on clips, let's discuss them in more detail.
- You can use the unlit pads to stop clips playing on the same track, provided stop buttons haven't been deleted.
To launch clips:
- Simply use the corresponding pad to start them.
Clip Parameters
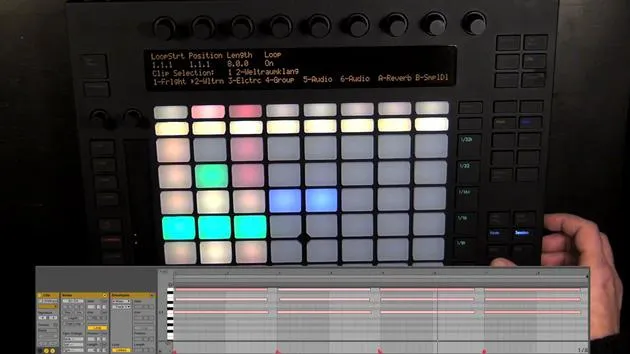
Within the Clip mode, you can change clip parameters of the selected clip.
- The display shows which clip is currently selected.
- It's possible to select clips without launching them by pressing Select and then the desired clip.
For a MIDI clip, you can adjust:
- Loop start position
- Loop length
- Enable or disable the loop function
Tip: When the loop is off, the clip parameters change to reflect clip start and end instead.
Changing Clip Parameters:
- You can adjust parameters via encoders, by default, changes occur in one bar.
- To change in smaller increments, hold Shift while adjusting, which changes in beats instead of bars.
Working with Audio Clips
- For audio clips, you can change settings such as warp mode, transpose, detune, and gain.
To record:
- Ensure your monitoring and routing settings are correct, set in Live.
- Arm the track by pressing the pad twice.
Recording Process
You can:
- Press Session Record to record into the selected clip slot.
- Press a clip directly in the track to record into that slot.
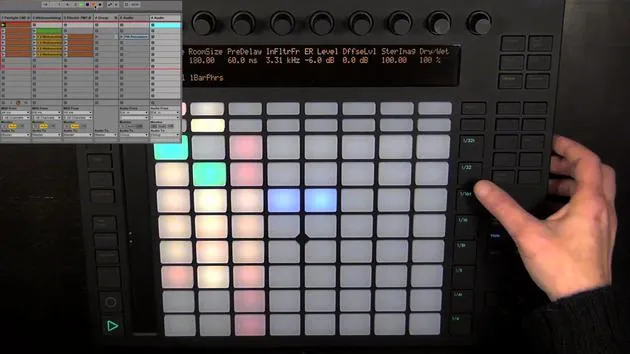
Add effects as needed (e.g., a reverb) and adjust monitoring to hear your input.
Final Notes:
- You can easily record vocals or any instrument connected to the setup.
- Remember, once you have more tracks and clips, there's so much more you can do, including jamming and eventually recording into the arrangement view, which requires pressing Global Record, not possible on Push, so do it in Live directly.
That's all there is to know about Session mode and clips!
16 leçons
3h 6m de leçons vidéo structurées
Fonctions vidéo avancées
Ralentissez, bouclez un passage, suivez la partition
Mobile, tablette et ordinateur
Pratiquez où vous voulez
Satisfaction garantie à 100 %
Garantie remboursement 30 jours
Rencontrez votre guru
Rencontrez votre guru
Madeleine Bloom est une musicienne de formation classique, productrice, multi-instrumentiste et chanteuse originaire de Berlin, et fondatrice du label Quixotica Records. Elle a étudié la musique électroacoustique au Conservatoire Franz Liszt auprès du Prof. Robin Minard et applique ces méthodes à son propre mélange de pop électronique. Sa musique a été saluée par les producteurs Guy Sigsworth et Rupert Hine, et lui a valu une invitation personnelle d'Imogen Heap, dont elle a assuré la première partie de la tournée.
Ancienne conseillère du support technique d'Ableton, elle a fondé en 2012 la plateforme en ligne Sonic Bloom, où elle enseigne Ableton Live et la production musicale à travers des cours, des ateliers et des séances individuelles. Elle a accompagné des personnes du monde entier avec Ableton Live, Push et Max for Live, mais aussi en ingénierie du son, théorie musicale, composition et sound design.







