



Key Layout I : enregistrement en temps réel

Avec
Madeleine Bloom
Le contenu du cours
16 leçons (3h 6min) · 1 gratuites
Transcription de la leçon
Drum and Key Layout Lesson
Okay, so now that you're familiar with the drum layout, we're gonna go and have a look at the key layout.
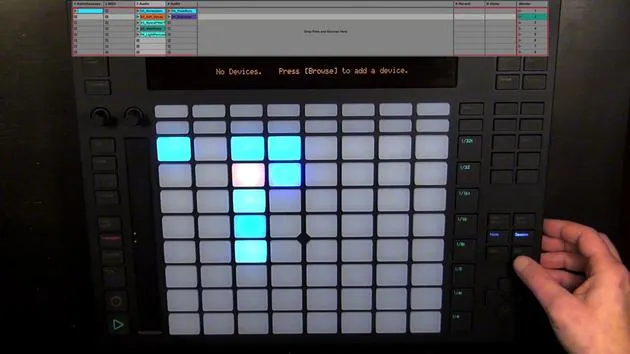
Navigating to MIDI Track
- We have another MIDI track that we can navigate to.
- It shows us that it doesn't contain an instrument yet.
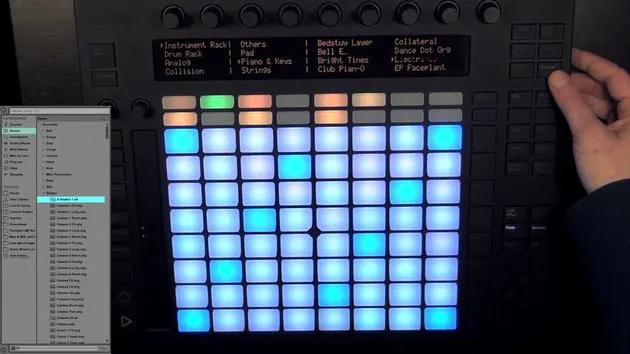
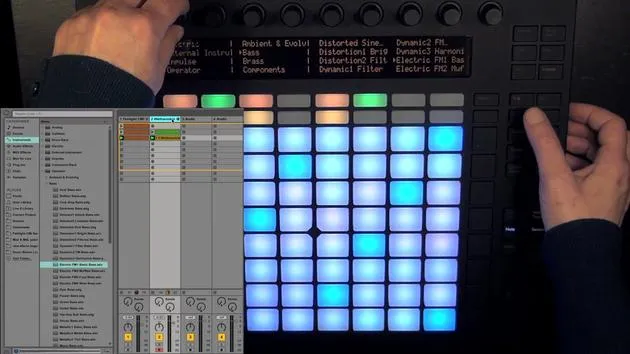
Loading a Sound
- Press Browse.
- For now, I'm going to load a piano sound, maybe the electric.
Key Layout and Octaves
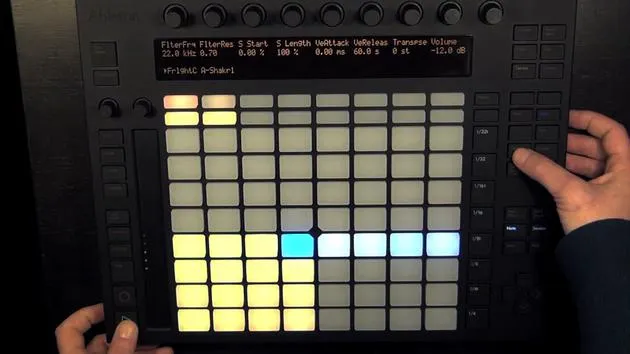
- By default, the key layout is always set to C major. This is the root note.
- The blue ones are all the root notes:
- C1, C2, C3, C4, C5.
- We can navigate octaves up and down with the octave down or octave up buttons.
- It indicates which octaves you can actually play.
Let's stick with this one. Now we can simply play.
Note Layout in C Major
- The note layout is set to C major:
- C, D, E, F, G, A, B, C.
- This is not really convenient for playing.
Playing with Both Hands
- Since everything is doubled, you can use three fingers.
- When I press a pad, others light up as well:
- Green means that it's the currently playing note.
- If you have it a couple of times, it indicates that they're all playing the same note.
We're currently in the in-key layout:
- The notes are doubled allowing you to play with both hands.
- White pads indicate notes that belong to the key set, but they're not the root note.
Chromatic Layout
- If you choose the chromatic layout, you'll see unlit pads indicating notes that belong to the key.
Pitch Bend
- The touch trip is not to change octaves, but it's mapped to the pitch bend.
Playing Simple Triads
I think I'm just going to show you how to play simple triads, the basic and most often used chords.
- The shape is the same for both major and minor triads in the in-key layout:
- It's a simple triangle shape.
- Count: 1, 2, 3, 4, 5.
- We have the first, the third, and the fifth.
Triads in C Major
- C Major: C, E, G
- Continuing with:
- D Minor: D, F, A
- E Minor: E, G, B
- F Major: F, A, C
- G Major: G, B, D
- A Minor: A, C, E
- Diminished: B, D, F
- C Major one octave up: C, E, G
Since we're in the in-key layout, we basically can't play anything wrong.
Adjusting Volume
- The easiest way would be to start with a chord that has the root note (C Major) and then play other chords.
- If the volume levels aren't that great:
- Press Volume and turn the volume of the beats down and the others up.
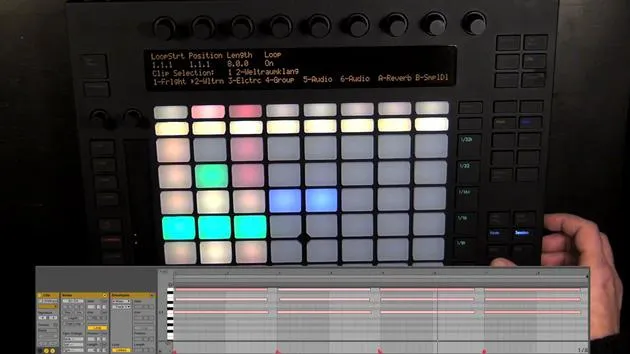
Recording Setup
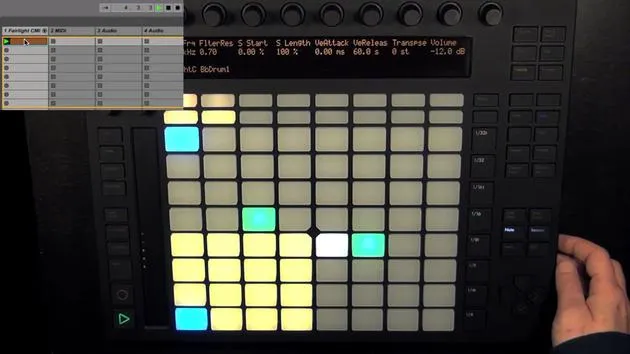
A simple run. Maybe I'll just record that.
- I want to have my hands free and not care about pressing record again, so I'm going to use fixed length.
- If I keep it pressed, it's set to two bars by default.
- We can set the recording length to one of the other choices as well, commonly, I prefer four bars.
Recording
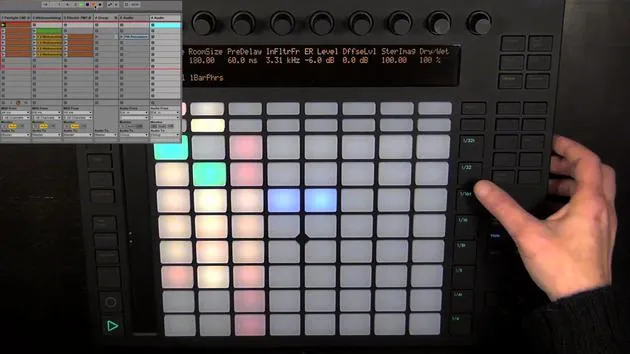
- Let's get to recording. Here I can quantize as well.
- Just press to see what I've set it to and take out this swing.
- Maybe better set quantize to 18 nodes.
Changing Instruments
Maybe I'd like to change the instrument as well:
- Press Browse to go to my own presets in the user library.
- Let's take this one and adjust the volume a bit down again.
Deleting Clips
One thing worth mentioning is that when you're in the node mode (this applies to both the node layout and the drum layout):
- Simply press Delete, and the currently selected clip is deleted, this is shown in the display.
- You can undo that if you'd like to keep it.
Using Delete:
- Hold Delete pressed while playing the nodes you want to delete; they turn red.
- The display says nodes deleted, for example, C2.
If I play that now, nope, got to launch the clip first. Now it's not playing.
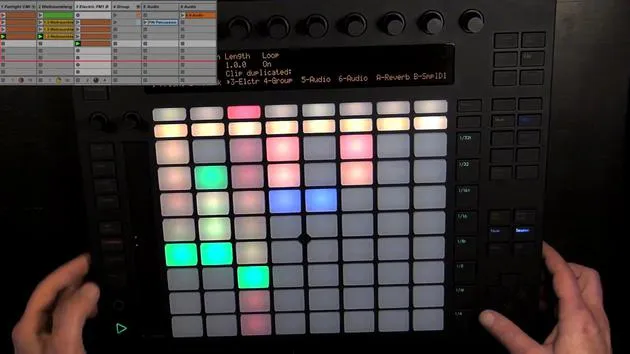
Creating New Scenes
While everything's still playing, you can simply press New.
- This creates a new scene (Scene 10).
- Any other tracks where clips were playing are duplicated, and playback continues seamlessly.
Final Adjustments
- In the selected track in the new scene, the clip slot is chosen, allowing you to play and rehearse for a new take, similar to duplicate, but for the selected track.
This time, I'm going to disable fixed length to demonstrate the workflow:
- You can see I didn't manage to stop the recording in time.
- This is why fixed length can be really helpful, but we can quickly correct that:
- Press on Clip, and you can see the loop length set to nine bars.
- Change that to eight bars long, just the way we want it!
16 leçons
3h 6m de leçons vidéo structurées
Fonctions vidéo avancées
Ralentissez, bouclez un passage, suivez la partition
Mobile, tablette et ordinateur
Pratiquez où vous voulez
Satisfaction garantie à 100 %
Garantie remboursement 30 jours
Rencontrez votre guru
Rencontrez votre guru
Madeleine Bloom est une musicienne de formation classique, productrice, multi-instrumentiste et chanteuse originaire de Berlin, et fondatrice du label Quixotica Records. Elle a étudié la musique électroacoustique au Conservatoire Franz Liszt auprès du Prof. Robin Minard et applique ces méthodes à son propre mélange de pop électronique. Sa musique a été saluée par les producteurs Guy Sigsworth et Rupert Hine, et lui a valu une invitation personnelle d'Imogen Heap, dont elle a assuré la première partie de la tournée.
Ancienne conseillère du support technique d'Ableton, elle a fondé en 2012 la plateforme en ligne Sonic Bloom, où elle enseigne Ableton Live et la production musicale à travers des cours, des ateliers et des séances individuelles. Elle a accompagné des personnes du monde entier avec Ableton Live, Push et Max for Live, mais aussi en ingénierie du son, théorie musicale, composition et sound design.







