



Impulse
Avec
Madeleine Bloom
Le contenu du cours
36 leçons (5h 28min) · 1 gratuites
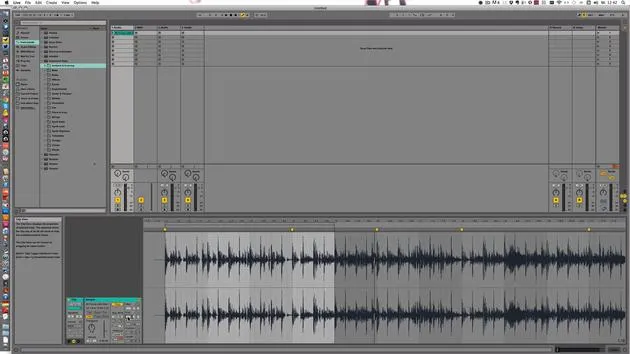
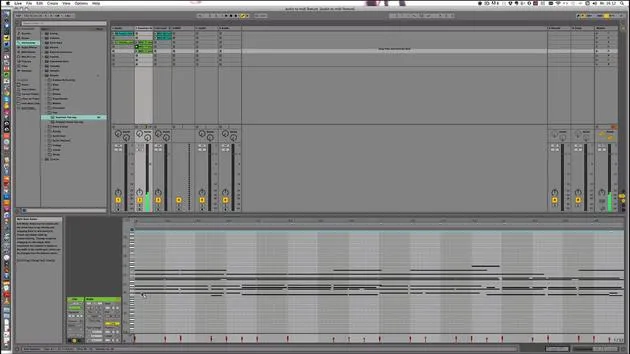
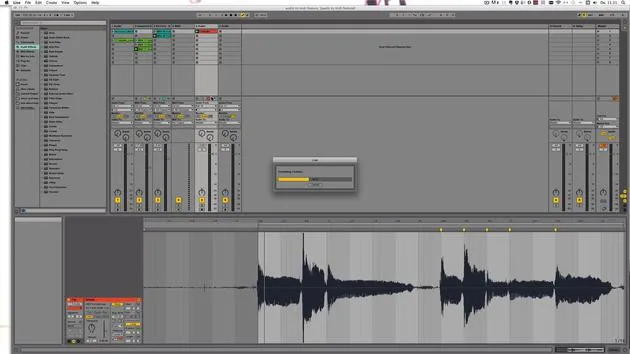
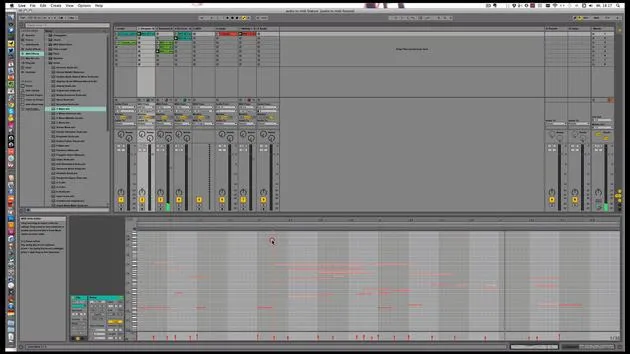
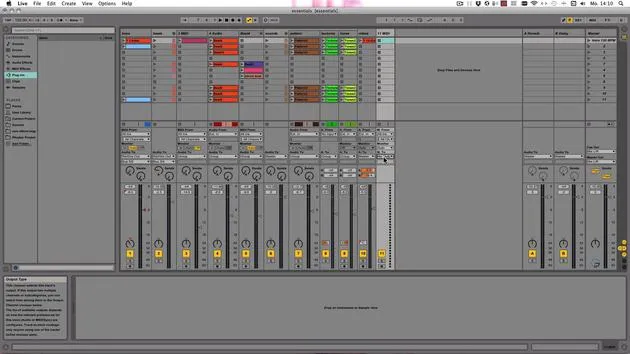
Transcription de la leçon
Understanding the Impulse in Ableton Live
Now that you know how the simpler works and have adjusted the bass sound with it, we will look at the other instrument that is available in all versions of Live:
The Impulse
The Impulse is a drum sampler with modulation options, time stretching, filtering, and more.
Getting Started
-
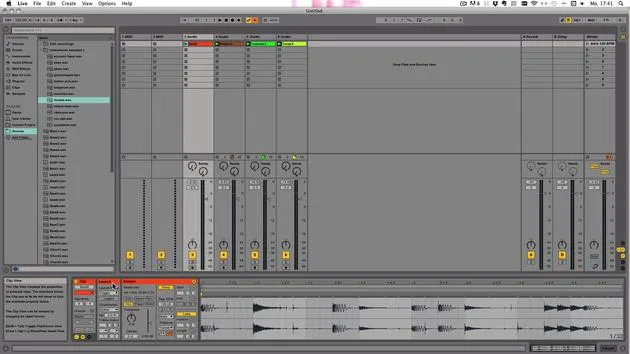
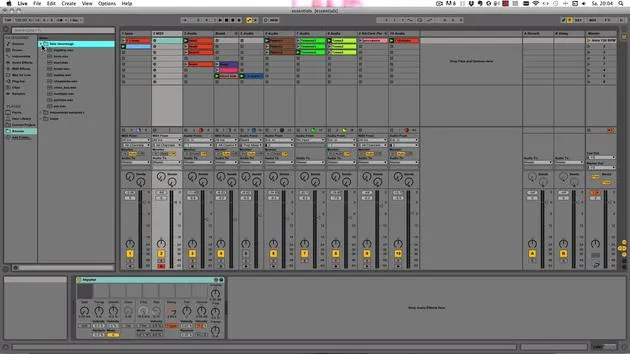
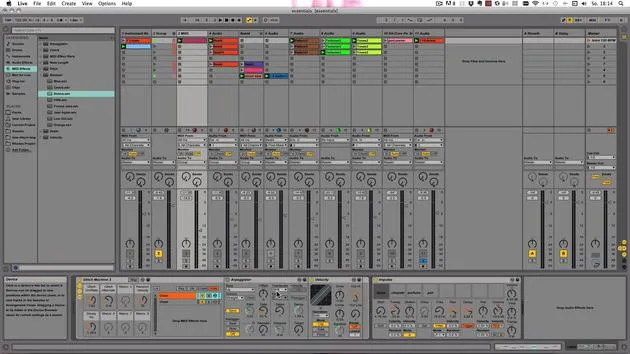
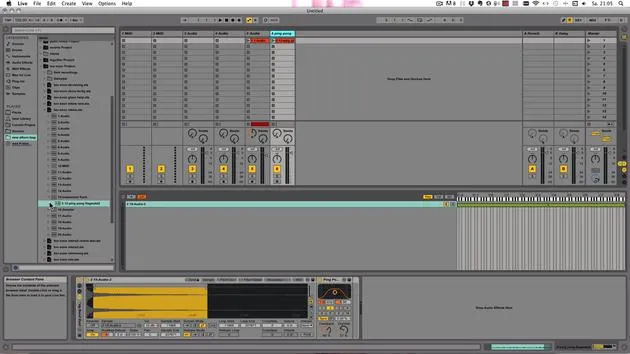
Drag in an Empty Impulse:
- Just drag it in here. This is still empty.
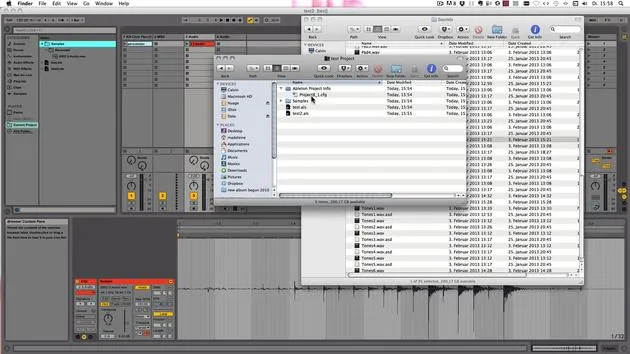
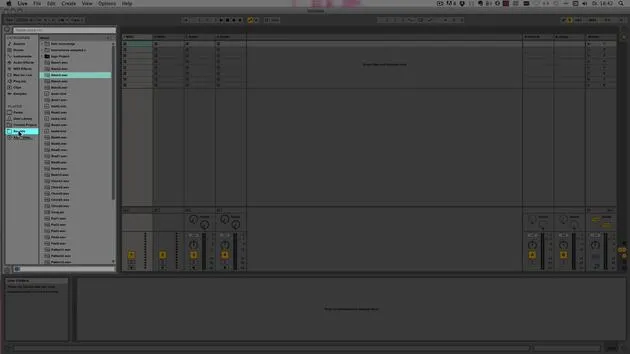
- I've added a folder to the sounds called Field Recordings, which contains quite a few different sounds.
-
Adding Sounds:
- We want to add sounds from this folder and adjust them in the Impulse to create a little drum sampler.
- Remember, you can use any kind of sound to make beats!
Listening and Adjusting
-
Sample Selection:
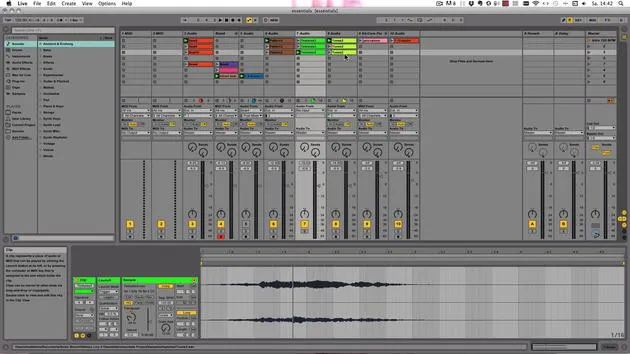
- Let's listen to a sound that might work as a bass drum.
- Simply drag it into the Impulse.
-
Playback Controls:
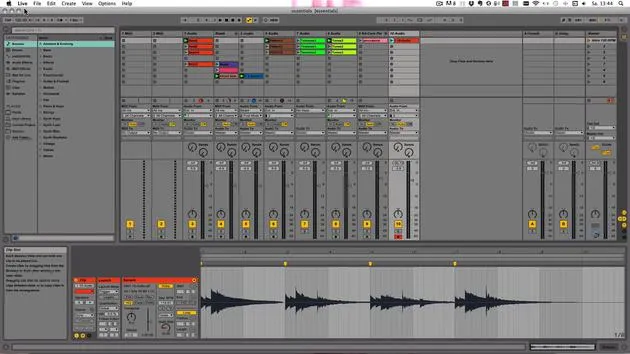
- Click on the sample to play it.
- To mute the sound, click the mute button; to solo, click the solo button.
Working with MIDI
-
Adding MIDI Clips:
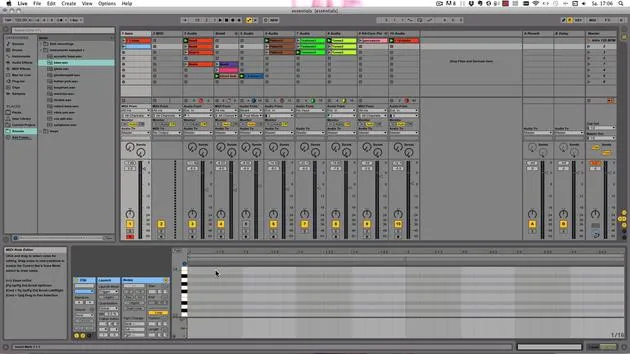
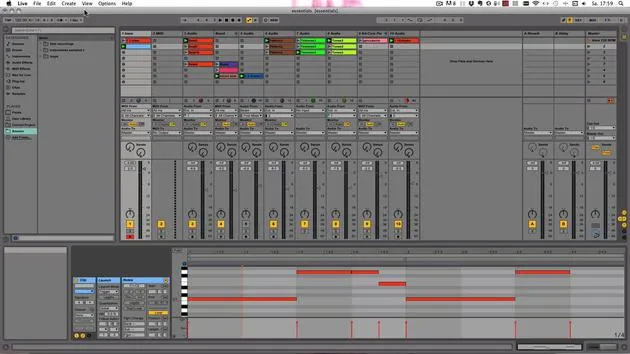
- Double-click to add a MIDI clip and insert one MIDI note.
- If the sound is too loud, adjust the volume in the Impulse.
-
Fine-tuning:
- You can type in a specific volume or adjust the start point to avoid clicking noises.
- Transposition: Change the pitch with a range from -48 to +48 semitones.
- Stretch Function: Adjust the sample's length by up to ±100%.
- Default setting is 0%.
Filtering and Effects
-
Using Filters:
- Turn on the frequency filter (low-pass, band-pass, high-pass, notch).
- For a bass drum, low-pass is probably the best choice.
- Adjust resonance to modify the sound to your liking.
-
Saturator:
- Turn on the saturator for a fatter, more analog sound.
- Adjust the drive to introduce distortion.
-
Decay Control:
- Adjust the decay; setting it lower will make the sound stop quicker.
- Choose between trigger or gate mode to control how the sound reacts to the MIDI note.
Panning and Modulation
-
Panning:
- You can pan sounds left or right in the stereo field.
-
Velocity Modulation:
- Transposition and panning can also be modulated by velocity percentages or random values.
Adding More Samples
-
Selecting Another Sample:
- Let's select a snare sound.
- Transform by transposing or adjusting the decay.
-
Stretch Modes:
- Two stretch modes:
- Mode A is for lower sounds.
- Mode B is for higher sounds.
- Two stretch modes:
-
Saturation and Volume:
- Check if you want to add saturation; adjust the volume if necessary.
Final Adjustments
-
Hot Swap:
- Each slot shows a hot swap button when hovered over to replace samples easily.
-
Saving Your Work:
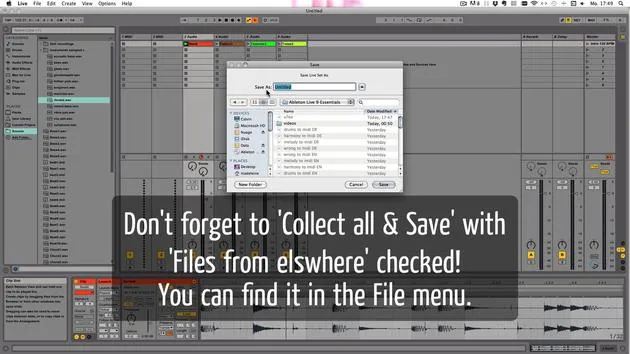
- Save your preset when you are happy with your settings for future use.
-
Linked Slots:
- Slots 7 and 8 are linked. When you click on slot 8 (even if it's empty), you'll see a link button.
- With linking, when one sounds plays, the other will stop, making it ideal for hi-hat sounds.
Conclusion
Now you know how the Impulse works! You can add more samples to the remaining slots, adjust to your liking, and build a little drum beat.
I'll see you in the next tutorial!
36 leçons
5h 28m de leçons vidéo structurées
Fonctions vidéo avancées
Ralentissez, bouclez un passage, suivez la partition
Mobile, tablette et ordinateur
Pratiquez où vous voulez
Satisfaction garantie à 100 %
Garantie remboursement 30 jours
Rencontrez votre guru
Rencontrez votre guru
Madeleine Bloom est une musicienne de formation classique, productrice, multi-instrumentiste et chanteuse originaire de Berlin, et fondatrice du label Quixotica Records. Elle a étudié la musique électroacoustique au Conservatoire Franz Liszt auprès du Prof. Robin Minard et applique ces méthodes à son propre mélange de pop électronique. Sa musique a été saluée par les producteurs Guy Sigsworth et Rupert Hine, et lui a valu une invitation personnelle d'Imogen Heap, dont elle a assuré la première partie de la tournée.
Ancienne conseillère du support technique d'Ableton, elle a fondé en 2012 la plateforme en ligne Sonic Bloom, où elle enseigne Ableton Live et la production musicale à travers des cours, des ateliers et des séances individuelles. Elle a accompagné des personnes du monde entier avec Ableton Live, Push et Max for Live, mais aussi en ingénierie du son, théorie musicale, composition et sound design.







