



Grupo C: Acordes
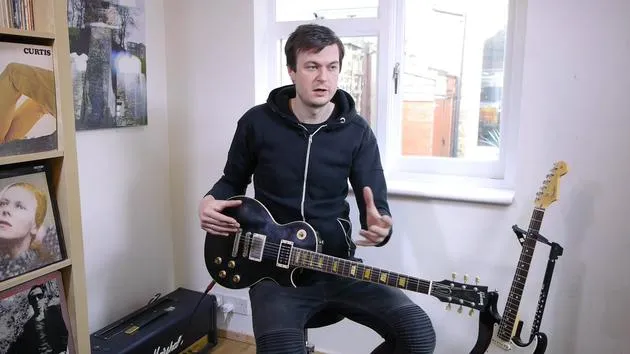
James Barratt repasa el Grupo C de los ejercicios técnicos del Grado 3: las formas de acordes con cejilla y los cambios rápidos que tendrás que clavar en el examen.
Qué incluye el curso
43 lecciones (3h 11m) · 1 gratis
01. Introducción a los enfoques de la improvisación
1:00
02. Primeros pasos con la improvisación
9:22
03. Improvisar sobre notas del acorde
10:18
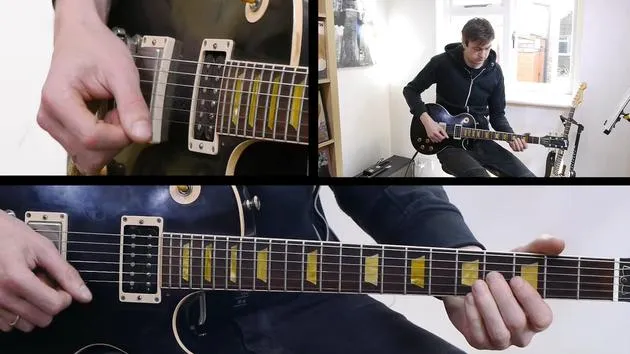
04. Tarea: Encontrar las notas del acorde
4:05
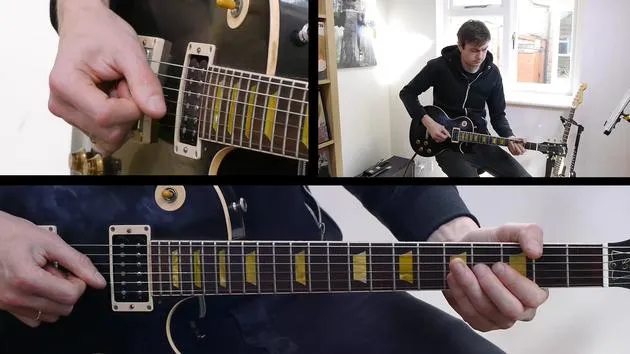
05. Añadir interés rítmico a tus solos
4:11
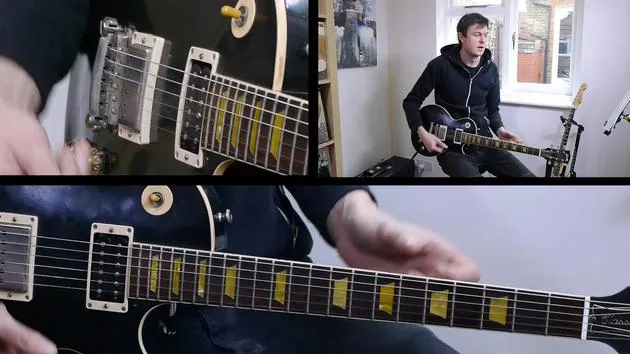
06. Ejercicio: improvisar sobre un cambio de acorde
2:52
07. Reto: Envía tu improvisación
0:24
08. Adornar una melodía
5:36
09. Reto: Envía tu melodía
0:26
10. Improvisación rítmica y comping
9:55

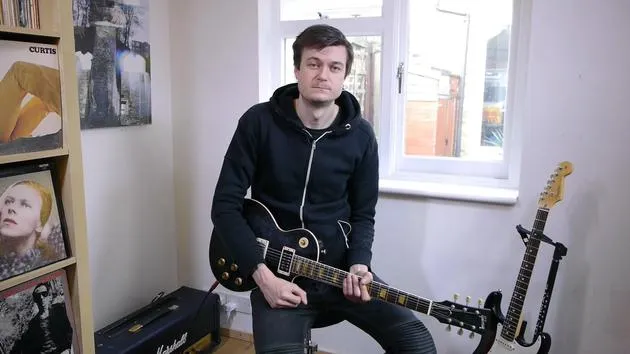
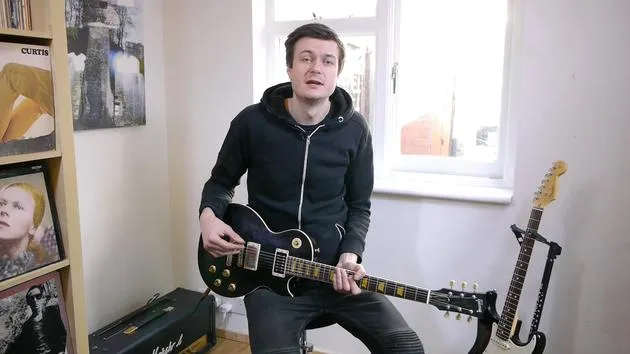
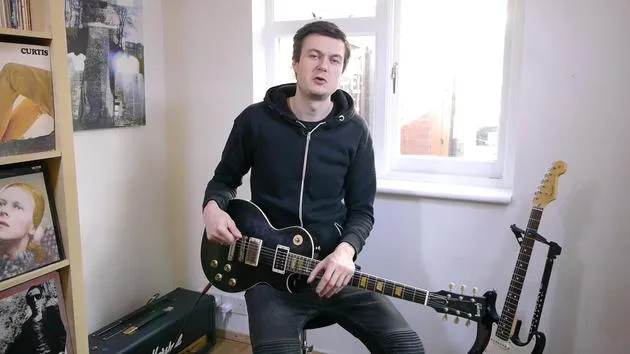
Transcripción de la lección
Group C: Barre Chords Exercise
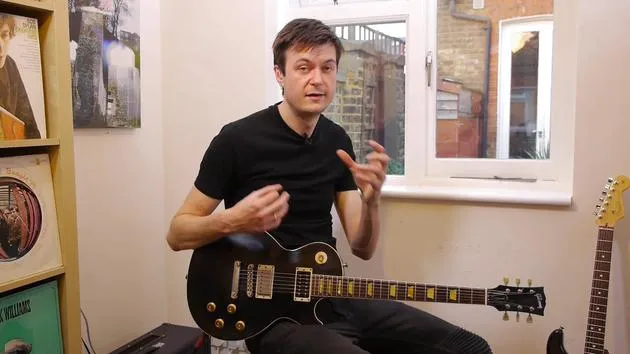
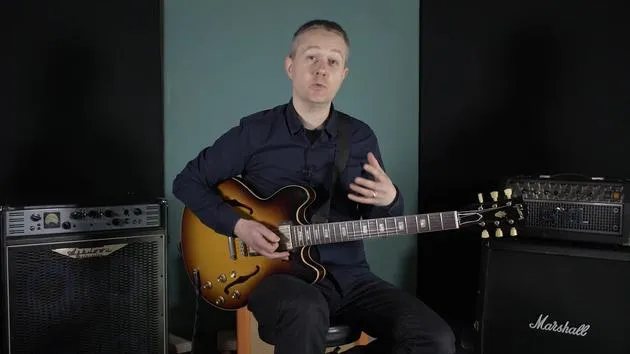
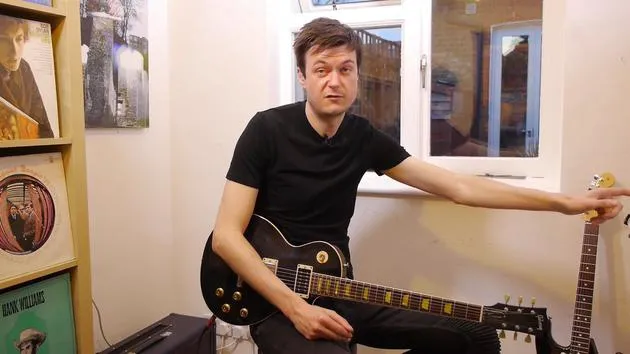
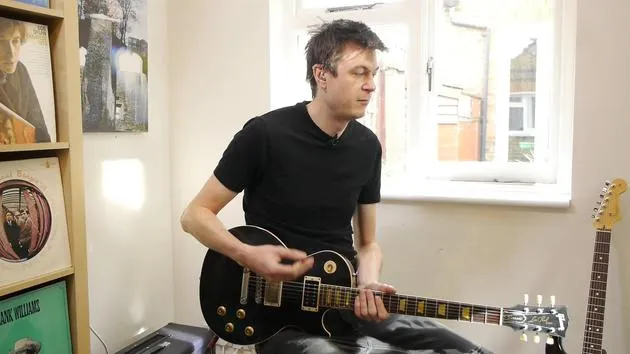
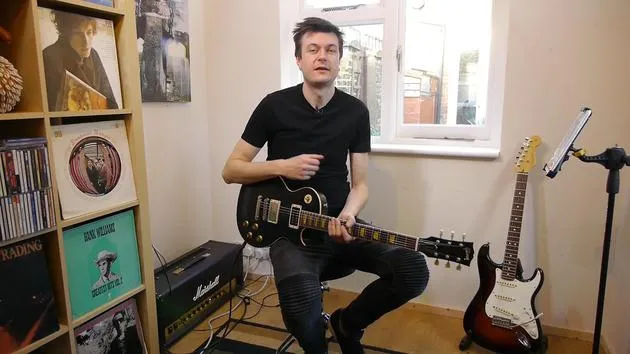
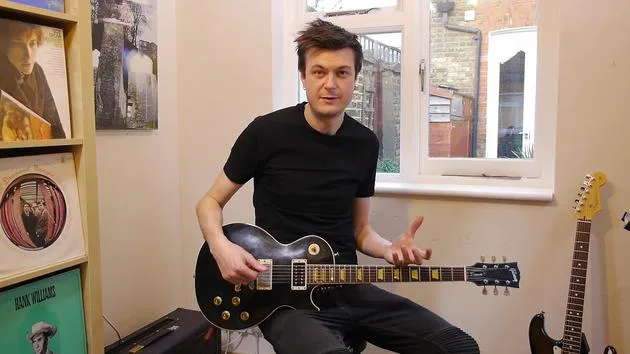
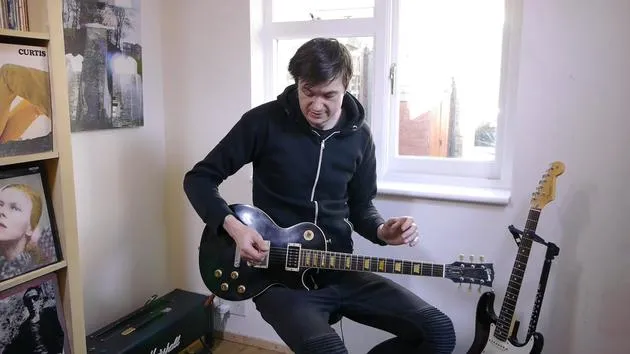
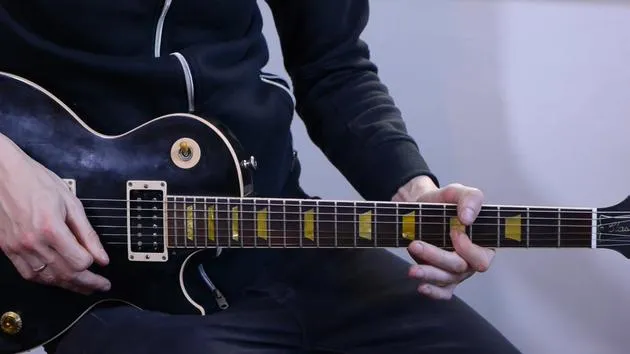
So, we're going to move on now to Group C. This is the first of all the barre chords exercise. We have to play this in the same rhythm that's written in the book.
Quick Changes
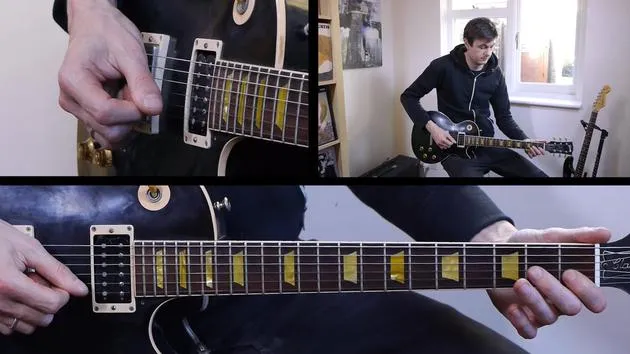
These are some quite quick changes, really. You really need to know these chord shapes and be able to put them together quickly enough.
I'm going to play it as you need to play it in the exam now.
Count: 1, 2, 3, 4.
Tips for Barre Chords
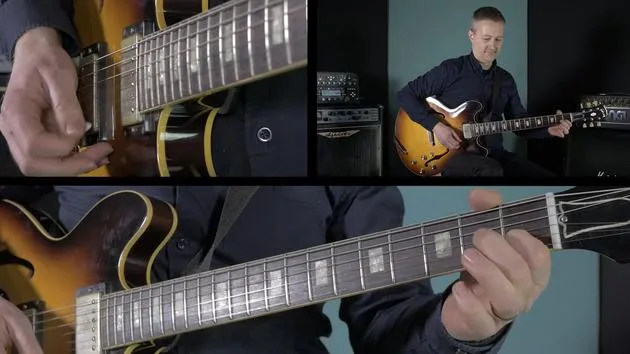
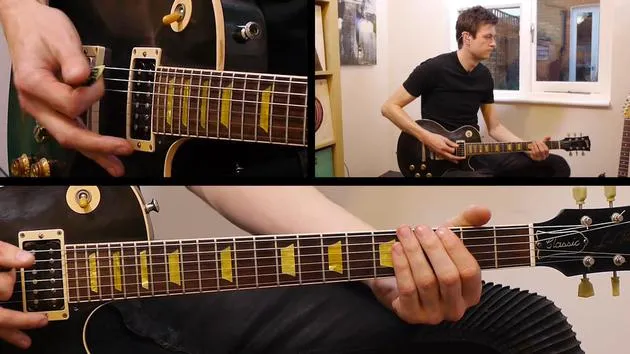
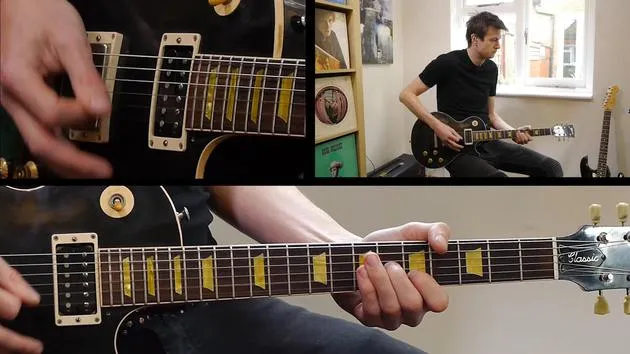
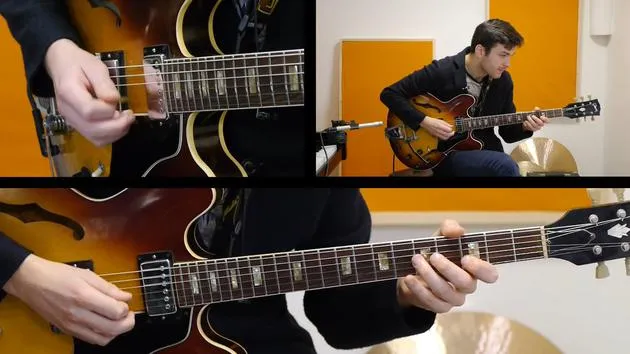
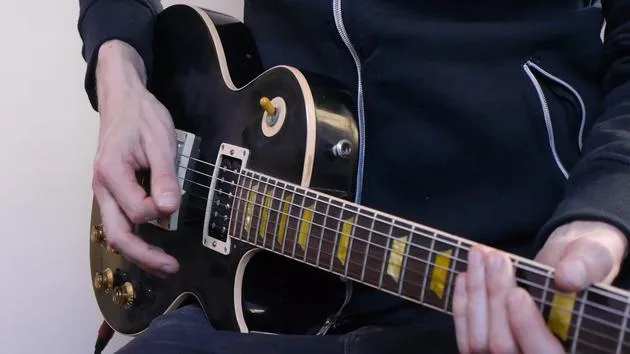
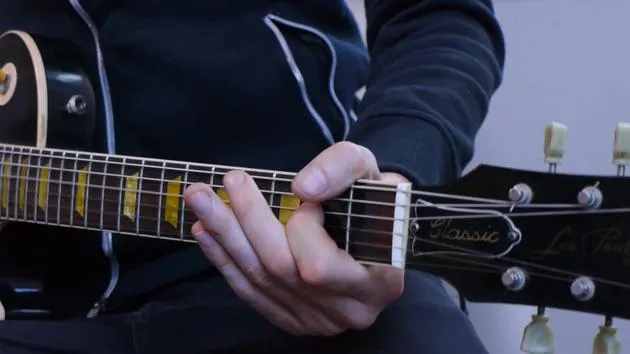
If you're new to barre chords, it can be quite tricky to fret these initially because you're asking a lot of your barring finger, your first finger.
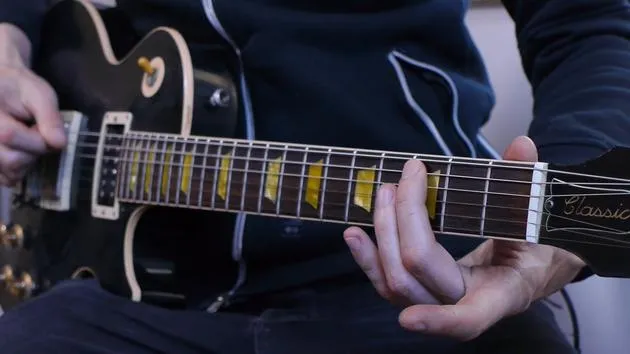
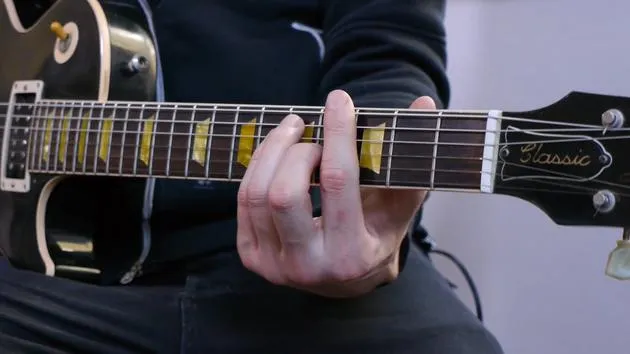
- Tip: We need the tip of your finger to be fretting the bass note of the chord, and then the back end of your finger to be fretting at least the top two strings.
Practice
Something that's really worth practicing, without even adding any of the other fingers, is:
- Make sure you can bar your finger across like that and get those notes.
- Imagine your first finger as a capo. Essentially, you need to build strength in your first finger to apply that pressure across the neck.
Then you can start adding one finger at a time. Things inevitably want to move around, and you might have to fight it a little bit.
Finger Positioning
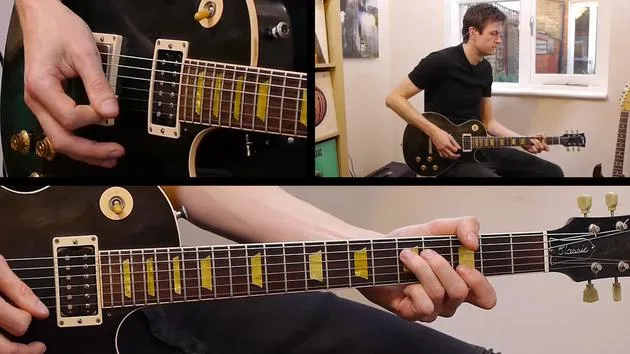
Another tip I can give you is, rather than being dead flat across the strings, look at my nail facing onto the strings.
What you can do is:
- Tilt your finger ever so slightly so you've got a bit of an angle.
- You can see my fingernails at a bit of an angle there.
What this means is that the grooves in your fingers won't fall on the strings. It'll actually be the side of your finger that bars the chord. This can be really useful.
If I exaggerate, that's way too much, but you want to aim for playing a little bit on the side of your finger, about like that, rather than flat.
You might find that especially on some of the minor chord shapes, the groove in your finger lands on the G string. This is really annoying, and it will be muted.
- Solution: One way around that is just to give it a slight angle, which might help you out there.
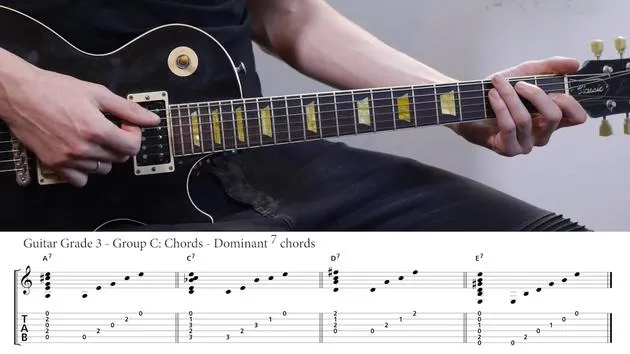
Dominant Seventh Chords
Let's move on to the dominant seventh chords now for part two.
Strumming and Picking
We're going to begin with strumming the chord, and then in your own time, we'll pick the individual strings of the chord.
Here's the sequence:
- A7
- C7
- D7
These are all dominant seventh chords, and lastly:
- E7
43 lecciones
3h 11m de lecciones en vídeo estructuradas
Funciones de vídeo avanzadas
Ralentiza, repite un pasaje, sigue la partitura
Móvil, tablet y ordenador
Practica donde quieras
Garantía de satisfacción 100%
30 días de garantía de devolución







