



Einen Reverb-Bus mit einem Send einrichten

Mit
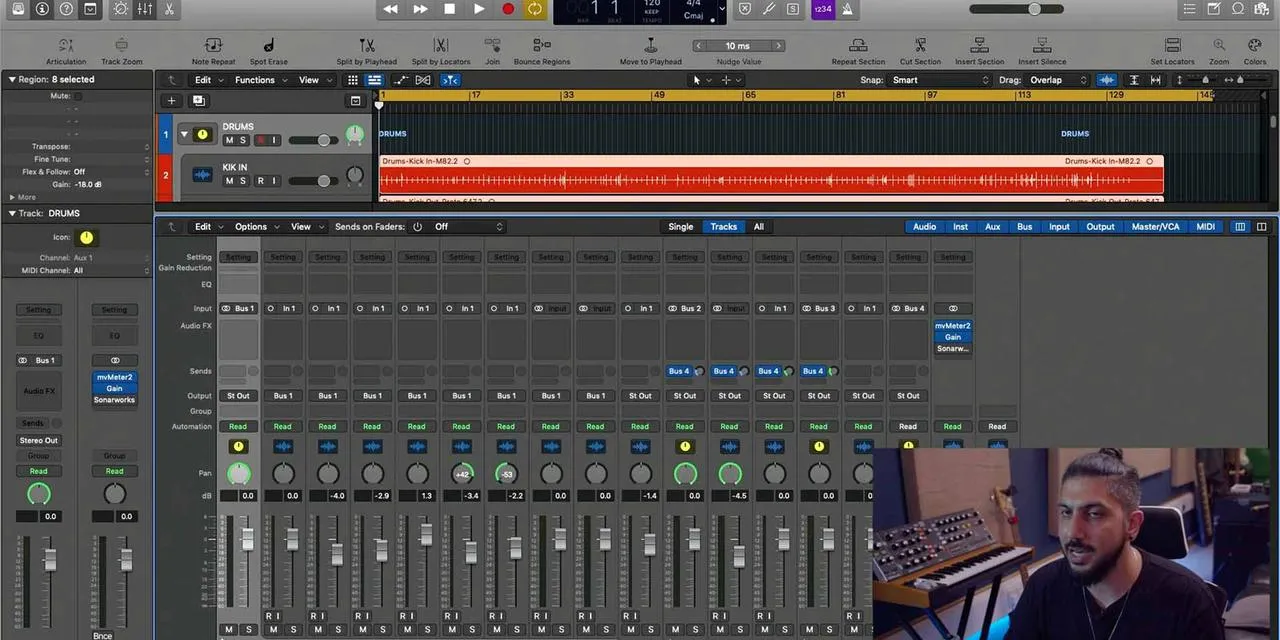
Aamir YaqubAamir Yaqub zeigt, wie man in Logic Pro einen Reverb auf einem Send einrichtet und Spuren an einen ChromaVerb-Aux routet, um mehr Kontrolle über den Klang und eine geringere CPU-Last zu haben.
Das steckt im Kurs
16 Lektionen (1h 33m) · 1 gratis
01. Willkommen bei den Audio-Effekten
Gratis-Lektion0:46
02. Audio-Effekte
3:00
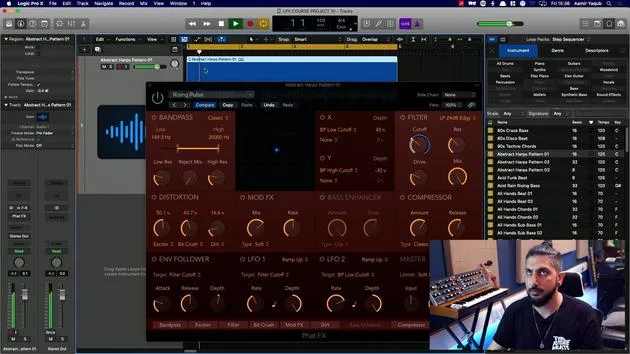
03. Die Multi Effects nutzen - Phat FX und Step FX
5:11
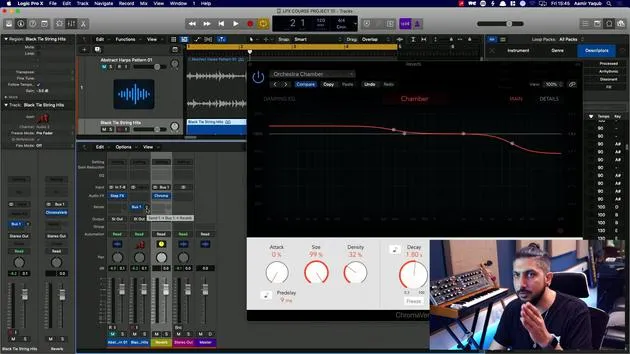
04. Einen Reverb-Bus mit einem Send einrichten
Du bist hier3:58
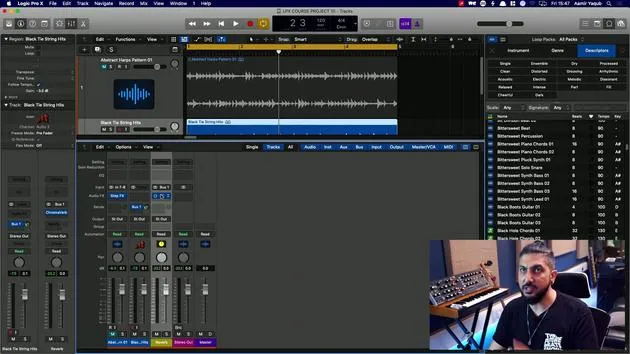
05. Reverbs in Logic Pro verwenden
3:27
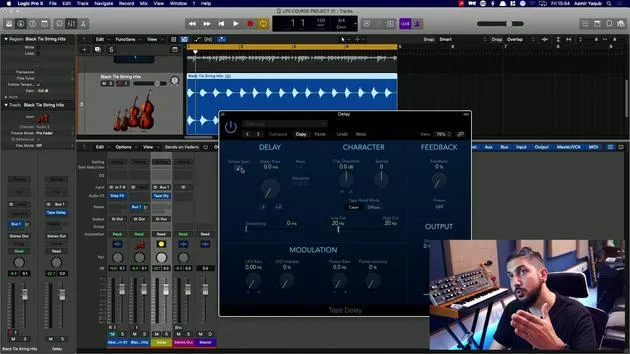
06. Delays in Logic Pro verwenden
8:02
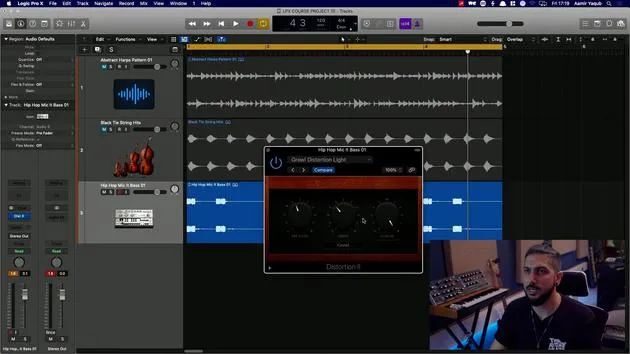
07. Distortion-Plugins
6:35
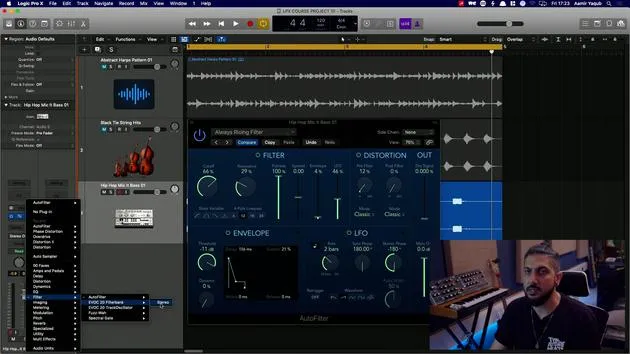
08. Filter-Plugins
5:35

09. Distortion und Filter - Abschluss
0:30
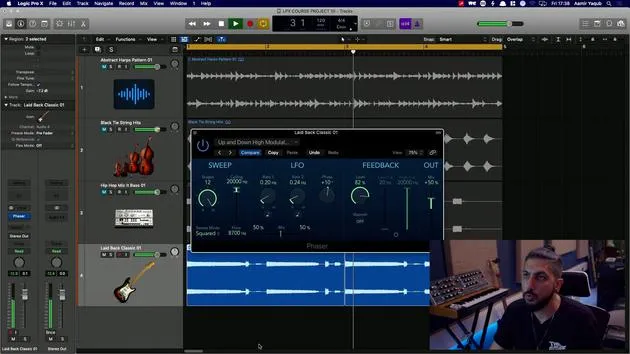
10. Modulations-Plugins
12:54
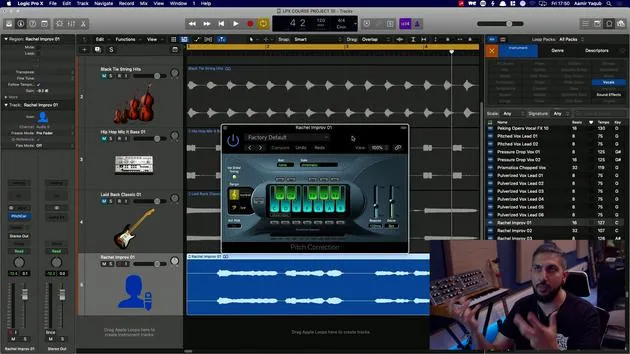
11. Pitch-Plugins
6:50

12. Modulation und Pitch – Outro
1:03
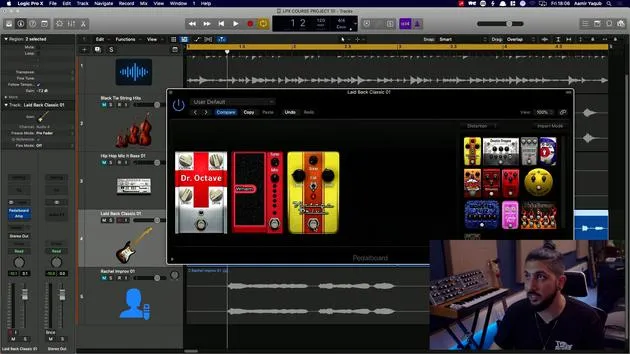
13. Amps und Pedal-Effekte
10:38
14. Spezialeffekte
5:49
15. EQs (Equalizer)
7:18
16. Dynamik und Kompression
11:43
Transkript der Lektion
Understanding Reverb Effects in Logic
Introduction to Reverb Effects
So let's start by looking at reverb effects that are available to you in Logic. One important aspect of reverb effects is that if you add them directly to a track, you actually have less control over the sound of the reverb. This is crucial, especially when mixing and trying to tie instruments together.
Sending Reverb via a Send
- To achieve better control, you want to send your reverb via a send.
- This feature is found in the channel strip under the audio effects.
Setting Up a Reverb on a Send
-
Open the Mixer View:
- This helps visualize the setup.
- You can see your audio track and the auxiliary track feeding in from bus one.
-
Create the Reverb Track:
- Rename the auxiliary track to Reverb.
- Insert a reverb effect at the beginning of the audio effects chain.
- Choose the first available reverb effect, which is ChromaVerb.
-
Sending the Dry Signal to Reverb:
- You need to send some of the dry signal (the original sound) into the reverb.
- This process splits the signal into:
- Dry Signal: Original sound
- Wet Signal: Reverb-affected sound
Benefits of Using a Send
- Independent Control: You can process the dry signal with any audio effects you want.
- CPU Optimization:
- If you had 100 tracks with individual reverbs, your computer might struggle.
- Instead, using a few reverb sends for multiple tracks reduces CPU load.
Enhancing Your Mix
- By sending different instruments to the same reverb, you can tie together the sound better.
- Currently, there is no reverb on the strings.
Selecting a Reverb Preset
- Choose a preset, such as a chamber for an orchestra.
- Adjust the send pot:
- Click and drag up to send an amount of the dry signal into the reverb.
Listening and Adjusting
- You can hear the reverb effect applied now.
- To hear the original signal, simply mute the reverb.
- To listen to the reverb by itself, press solo on the reverb track.
- You can adjust the balance or amount of reverb using either the reverb track fader or the send pot.
Conclusion
That's how you would set up a send, particularly for a reverb and for a delay. This method not only enhances your mixing capabilities but also helps maintain the integrity of your sound!
16 Lektionen
1 Std. 33 Min. strukturierte Videolektionen
Erweiterte Videofunktionen
Verlangsamen, Passagen loopen, mitlesen
Handy, Tablet & Desktop
Üben, wo du willst
100 % Zufriedenheitsgarantie
30 Tage Geld-zurück-Garantie
Lern deinen Guru kennen
Lern deinen Guru kennen
Aamir Yaqub ist ein in London ansässiger Musikproduzent und Toningenieur. Er hat mit einigen der größten Namen der Musik gearbeitet, darunter Alicia Keys, David Guetta, Rihanna, Sia und will.i.am, und fördert außerdem unabhängige Künstler.
In seinen Kursen vermittelt er seinen kompletten Logic-Pro-Workflow – von der Oberfläche und dem Aufnehmen über Beatmaking, Synthese und MIDI-Effekte bis zum Mixing und Finalisieren eines Tracks.







