



Intro to Ultrabeat
With
Dov WatermanDov Waterman walks through Ultrabeat, Logic's built-in drum synth, covering its sound sources and step sequencer for building beats.
What's in the course
14 lessons (1h 19m) · 1 free
Lesson transcript
Understanding Rhythm and Beat Programming
In this section, we're going to discuss rhythm, the backbone of a song. We'll cover:
- Rhythm and Beat Programming
- Ultra Beat and the Virtual Drummer (which we'll explore in the next section)
Introduction to Ultra Beat
Ultra Beat is one of the stock instruments in Logic and has been around for a long time. However, it remains massively underused.
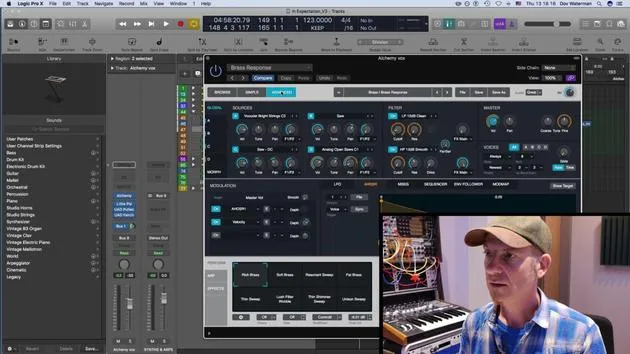
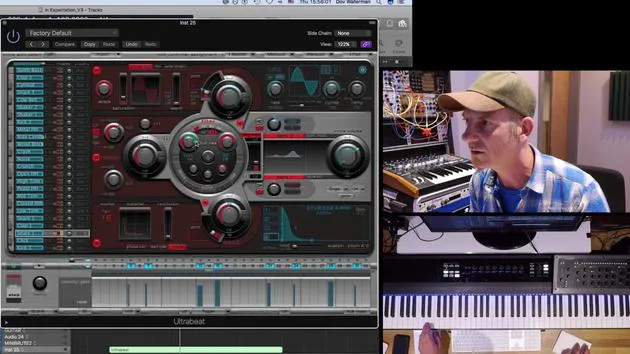
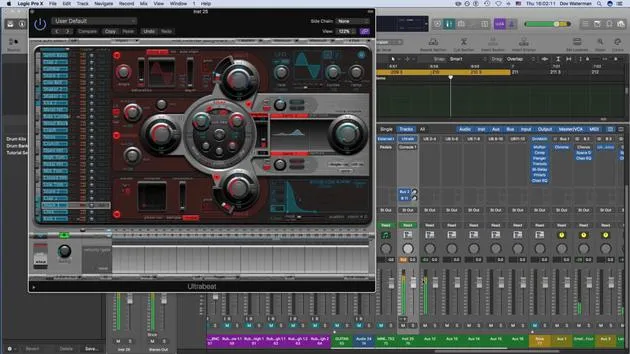
I'm not going to provide a comprehensive overview of everything within Ultra Beat but suffice to say that it is a drum synth. It follows the same structure of signal flow as most other synths in Logic. Each one of these elements is essentially a sound source, which you can see illustrated here.
Sound Sources
- Oscillators: Each sound source has three different oscillators.
- Noise Source: In addition to the two oscillators, there's a noise source as well.
- Sample or Oscillator Options: Each source can utilize either a sample or a drum wave oscillator.
Exploring the Sequencer
One of the most interesting aspects of Ultra Beat is its built-in sequencer.
Using the Sequencer
- Basic Sequence: We've got Ultra Beat playing a basic sequence down here. You can pull out any of the pre-made sequences available.
- Creating Custom Sequences: You can easily create your own sequences with the sound sources available.
Example Actions:
- Take the kick first.
- Add a snare for a basic sequencer effect.
While I won't dive too much into this due to time constraints, you get the idea.
Making it Unique
Dragging MIDI Patterns
This pattern can be dragged out as a MIDI file into your workstation's arrange page.
- For example, you can take the pattern and move it over to open it as a MIDI pattern.
- Upon doing this, it copies the MIDI data seamlessly.
Modulating Parameters
Another exciting feature of Ultra Beat is the ability to modulate parameters, transforming your sound into something vibrant and alive, similar to external synthesizers.
Steps to Modulate
- Activate the Step Sequencer: Turn it on to access the sections highlighted in yellow.
- Select Parameters: For instance, highlight the snare.
- Certain parameters are sequencer-enabled, while some are not.
Applying Modulation
- For the snare, select a parameter, such as filter resonance or envelope length.
- Adjust the notes in the sequencer to create movement.
Example Adjustments
- Bring the filter down and adjust the envelope settings to add subtle changes.
- By clicking on non-blue notes, you can add events to increase modulation within your sequence.
Experimentation and Creativity
Using the step sequencer to modulate certain parameters is a great way to add movement and unique sounds to your tracks.
This process allows you to transform a simple loop into something more dynamic and lively.
Takeaway: Be creative and experiment with these features to discover unique sounds and make your tracks truly your own.
14 lessons
1h 19m of structured video lessons
Advanced video features
Slow down, loop a passage, follow along
Mobile, tablet & desktop
Practise wherever you are
100% satisfaction guarantee
30-day money-back guarantee
Meet your guru
Meet your guru
Dov Waterman is a composer, pianist and producer. He has written and designed sound for films including After Earth, Terminator Genisys, Transformers: The Last Knight and The Snowman, and works as a sample-library audio editor and sound designer with companies such as Native Instruments and SonoKinetic.
His Composition in Logic series walks through building a track end to end in Logic Pro - from templates and workflow to synthesis and beat programming, MIDI effects, editing and the final mix - for producers who want to turn their ideas into finished records.







