



The Faith Divide
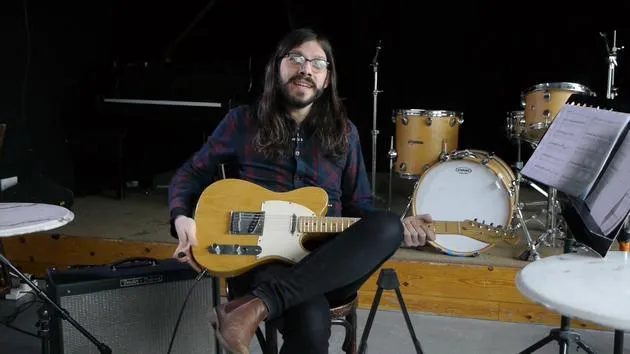
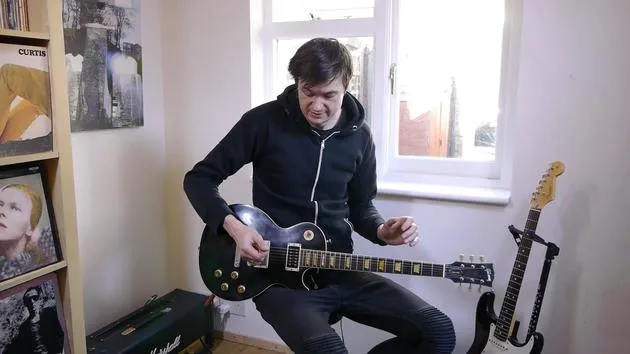
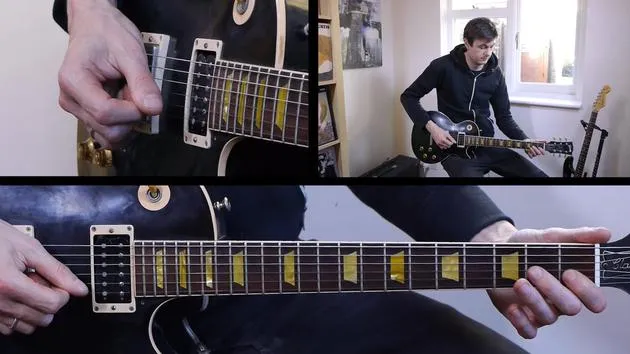
James Barratt partage son point de vue de pro sur le morceau indie de Grade 2 'The Faith Divide', en abordant un son légèrement overdrivé et le grattage à contretemps de la section A.

Le contenu du cours
41 leçons (2h 51min) · 1 gratuites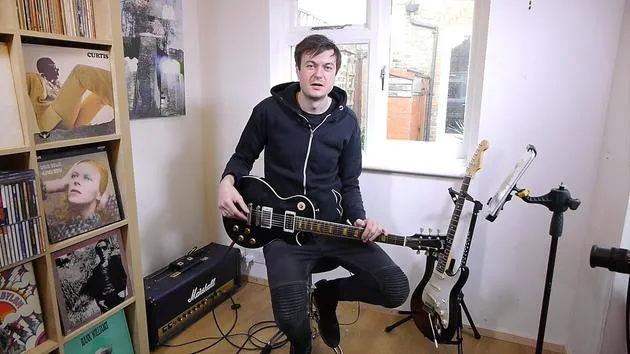
01. Introduction aux approches de l'improvisation
1:00
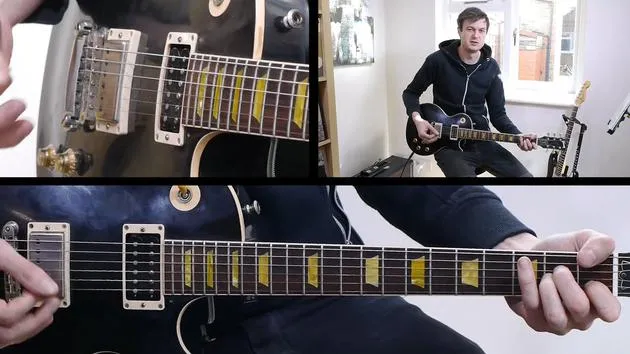
02. Premiers pas avec l'improvisation
9:22
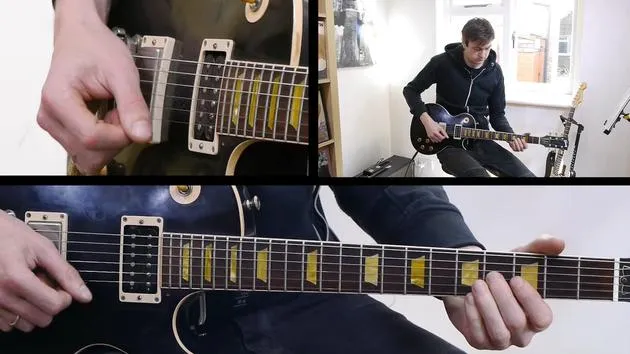
03. Exercice : trouver les notes des accords
4:05
04. Improviser en utilisant les notes d'accord
10:18
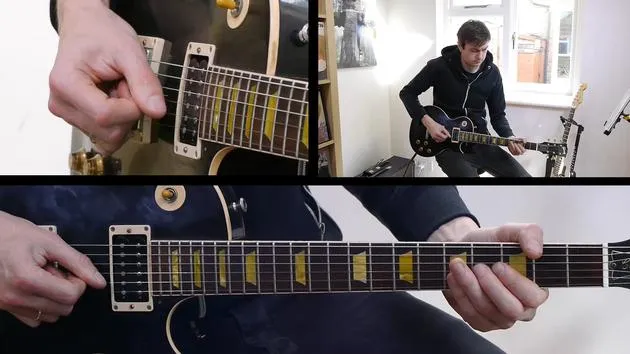
05. Ajouter de l'intérêt rythmique à tes solos
4:11
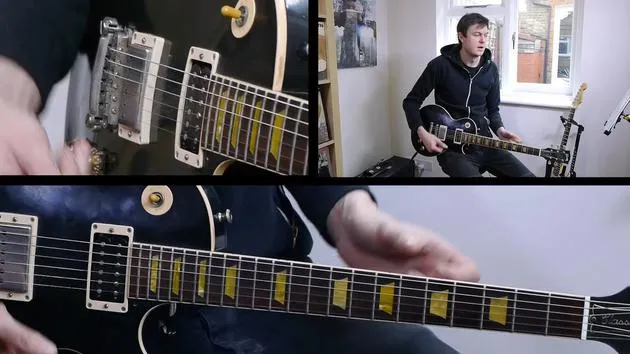
06. Exercice : improviser sur un changement d'accord
2:52
07. Défi : Envoie ton impro
0:24
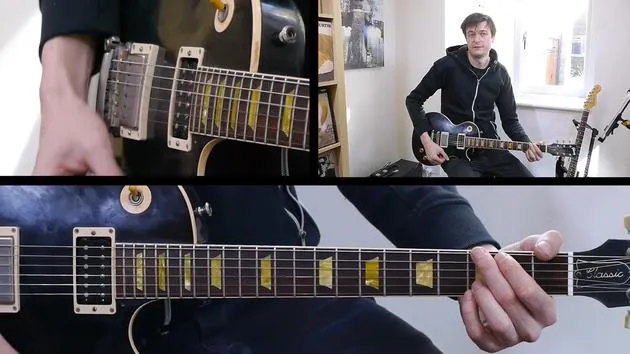
08. Impro rythmique et comping
9:55


Transcription de la leçon
Faith Divide - Grade 2 Music Lesson
Introduction
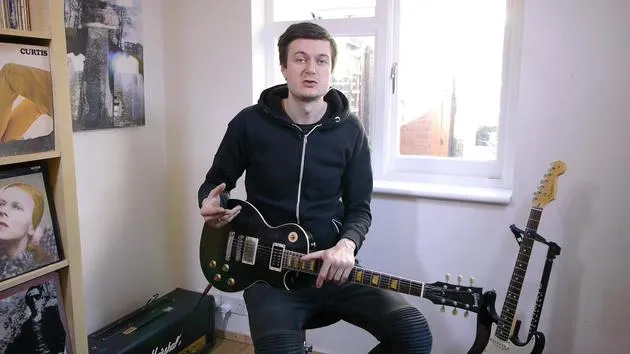
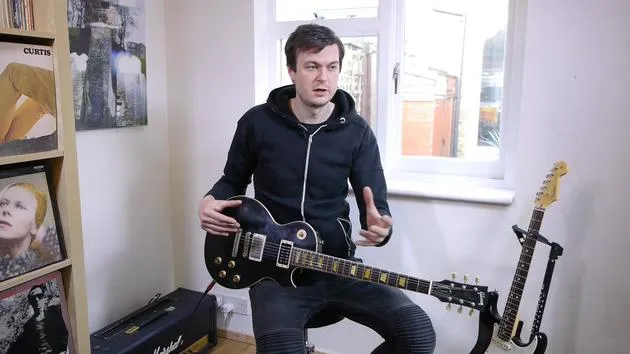
Okay, so let's check out the Faith Divide from Grade two. Now Rock School. This is an indie track, so straight off the bat, tonally, we're thinking of kind of a slightly gainy sound, slightly overdriven, but not too much. We don't want to saturate the tone with layers and layers of overdrive; it just doesn't suit the style. You can easily go over the top with it.
Tonal Recommendations
- Volume Setting: Go for a sound where on full volume on your guitar, it's nice and rocking.
- Dynamic Variation:
- If you hit really hard, the tone remains robust.
- If you leave the volume where it is but strum lightly, it cleans up a bit.
- Rolling the guitar volume down to maybe seven or eight really cleans things up nicely.
A Section
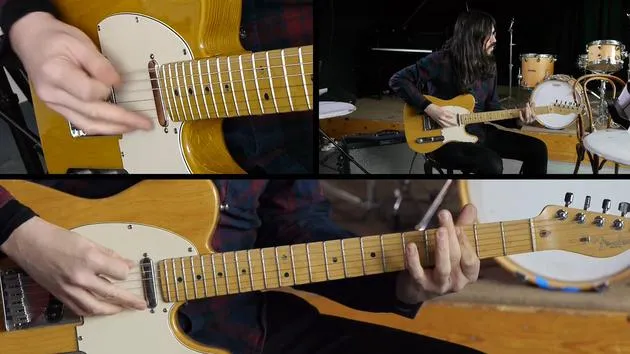
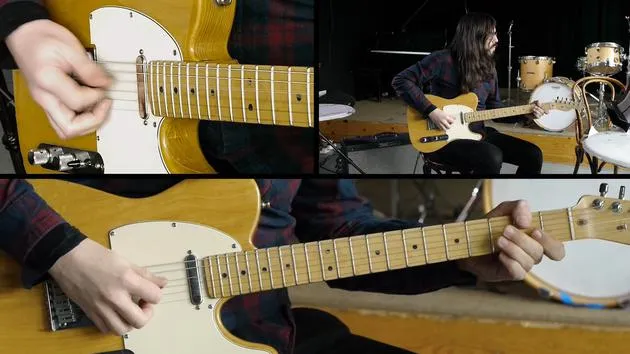
Let's start by looking at the A section. We've got this kind of open chord progression with offbeat strumming going on.
Strumming Techniques
-
Downstrokes:
- First, have a look at it how I played it in the performance, which was by using all downstrokes.
- The reason I did this was that it created high energy. Everything was nice and even, and I liked the sound of it.
-
Alternative Approach:
- If you prefer not to use all downstrokes, you could apply some upstrokes because we've got the quavers going on. You'd get something like this: 1, 2, 3, 4.
Important Considerations
- Clean Chord Changes: It's crucial to get the chords fretted really cleanly with the left hand while observing all the little rests that happen, as this gives us that punchy feel in the opening section.
- Avoid Noise: We don't want the lines to be blurred between the chords with noise, hiss, and open strings.
Left-Hand Technique
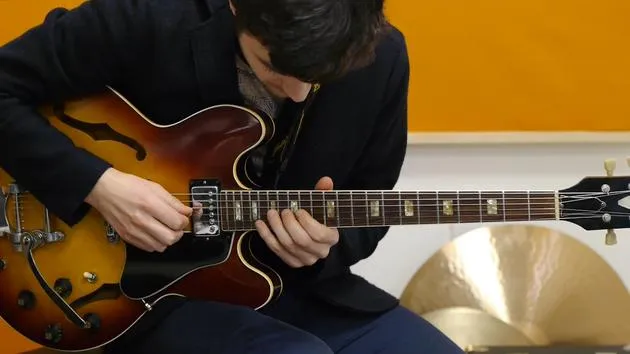
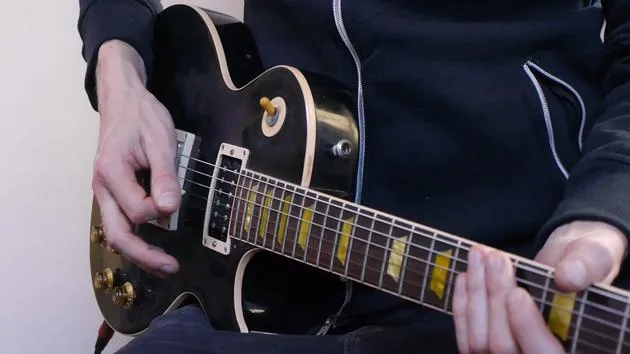
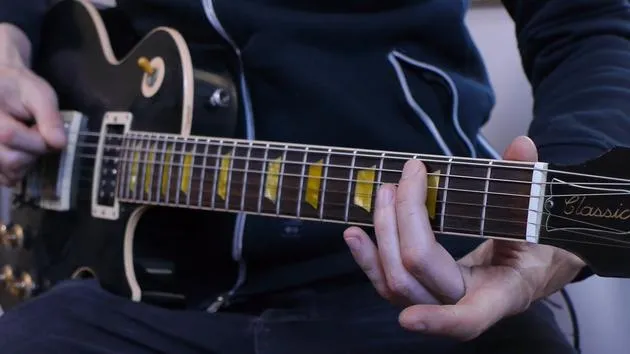
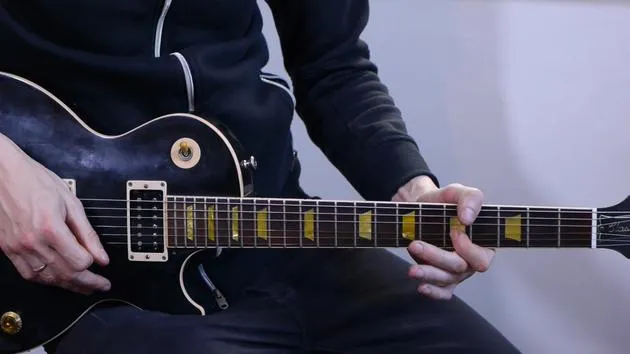
- I'm using my little finger on my left hand and might also employ right-hand muting to ensure the gaps are quiet.
- Practice this with no effects, turn off reverb or any effects to accentuate whether you're getting noise. Aim for it to be dead quiet.
B Section
Now, moving on to the B section, we're playing octave chords here.
Understanding Octave Chords
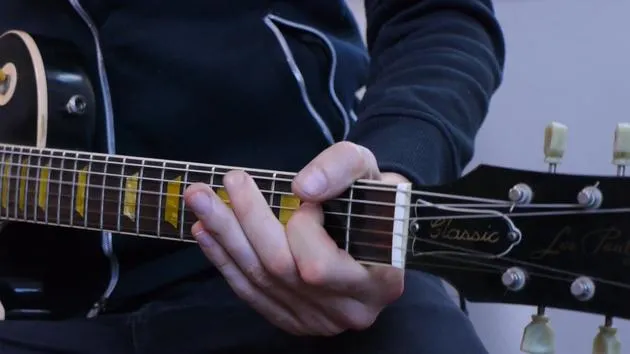
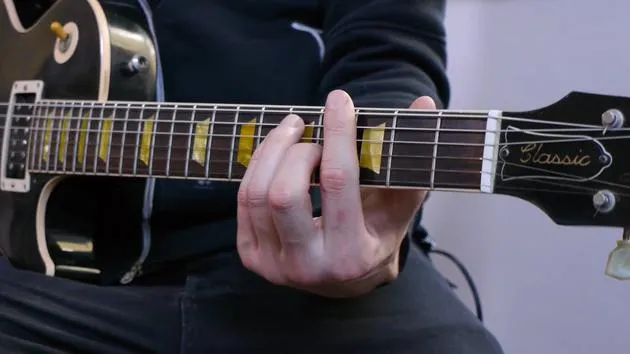
- Finger Positioning: When you look at an octave chord in the tab, for example, at bar seven (C octave chord), it looks unusual because we're playing two notes at the same time but on non-adjacent strings.
- Strumming Technique: Tilt your first finger down slightly to keep the middle string (D string) quiet to avoid unwanted noise.
Accents and Dynamics
- Adding Energy: Accents create energy and life in this part. Without them, the bars sound lifeless and dynamically flat.
- Practice Dynamics:
- Hit hard on the accents and make the in-between notes quieter.
- Ensure you don't speed up when playing loud; maintain a consistent tempo.
C Section
Moving on to the C section, we have a cool melody reminiscent of Kings of Leon.
String Skipping
- In the very first bar of C (bar 15), we're skipping strings.
- Starting on the G string with two fretted notes, then skipping over the B string to the E string, practice this comfortably.
Letting Notes Ring
- We have "Let Ring" above the tab, meaning all the notes should ring together. This creates an indie rock vibe.
Rhythm and Picking Techniques
- At bar 21, focus on tight rhythm. Work on how to approach the second half of the C section because we're playing lots of single notes across strings.
- Fretting Technique: At bar 25, I recommend using third, first, and fourth fingers for clarity.
D Section
To finish off, we have a variation on what we began with in the D section.
Final Techniques
- Observing Rests: Make sure to observe those rests to maintain the punchiness at the start.
- Ending Cleanly: After the last A minor chord, use the volume control to mute the sound. This will give you a professional-sounding end, preventing any messy ringing out.
Practice Tips
- Slowly Build Up: As always, practice things nice and slowly.
- Break Sections Down: Don't bite off too much, especially with longer sections like the C section. Break them down and gradually speed them up.
- Use a Metronome: This can help maintain steady timing. Work through sections with a teacher for additional guidance.
Enjoy your practice, and remember to keep everything steady. You'll be sounding great in no time!
41 leçons
2h 51m de leçons vidéo structurées
Fonctions vidéo avancées
Ralentissez, bouclez un passage, suivez la partition
Mobile, tablette et ordinateur
Pratiquez où vous voulez
Satisfaction garantie à 100 %
Garantie remboursement 30 jours







