



Batterie

Avec
Paul Whalley
Le contenu du cours
26 leçons (1h 43min) · 1 gratuites
01. Partie de guitare - concepts
1:37
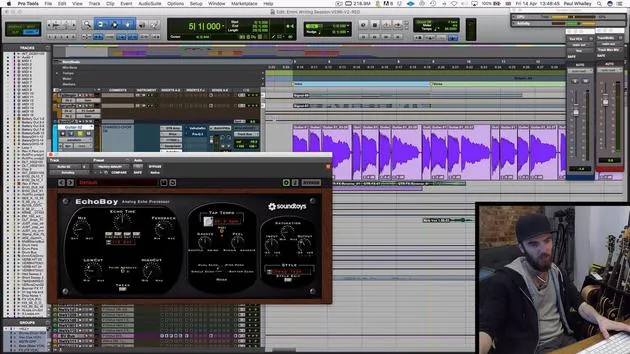
02. Partie de guitare
4:58
03. Voix - concepts
1:22

04. EXERCICE : Recrée la production de la guitare
0:37
05. Voix
9:42
06. CHALLENGE #1 : CONSTRUIRE L'ARRANGEMENT VOCAL ET LE HOOK
0:45
07. Chœurs
4:07
08. Claviers et synthés - concepts
0:54
09. Claviers & synthétiseurs
9:38
10. Basse - concepts
1:01
11. Basse
5:24
12. Batterie - concepts
0:58
13. Batterie
Tu es ici9:49

14. EXERCICE : Recrée la production de la batterie
0:32
15. Effets et parties atmosphériques - concepts
1:09
16. Effets et parties atmosphériques
5:53
Transcription de la leçon
Breakdown of Drums in the Post-Chorus
Right, guys! To start off, we're going to break down the drums in the post-chorus section of the song.
Drum Sequencing
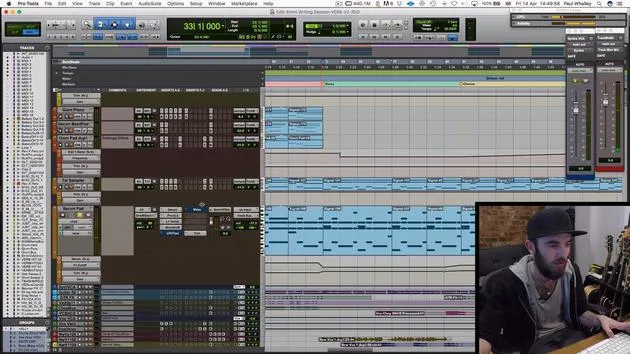
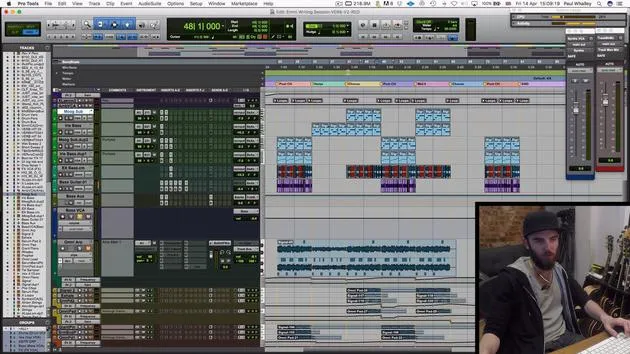
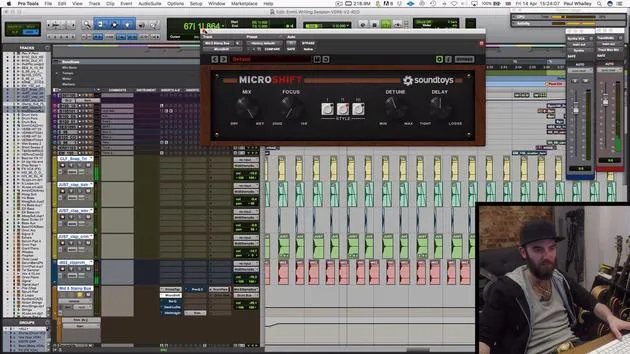
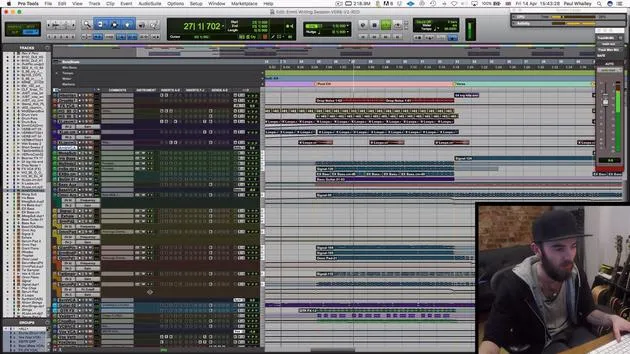
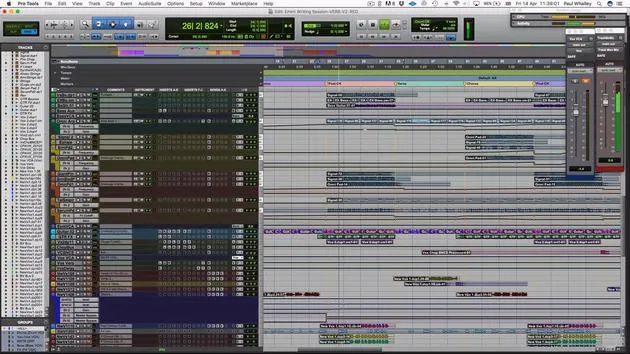
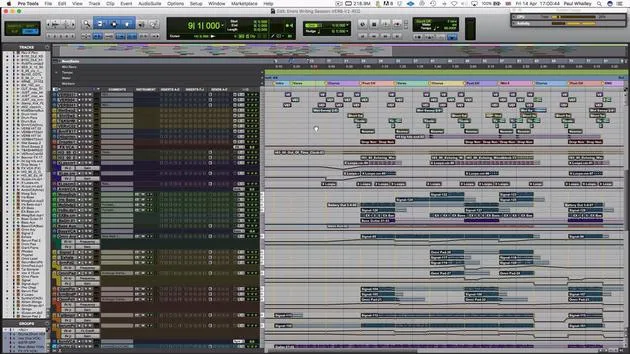
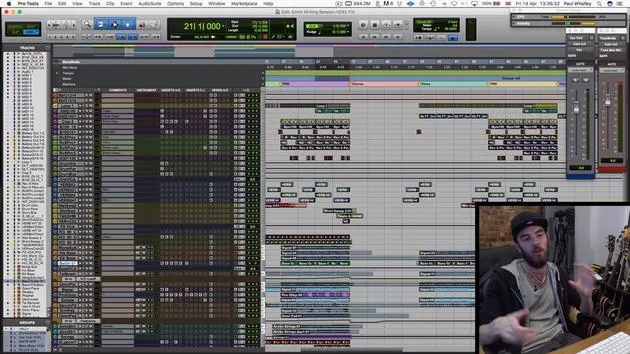
You can see up here I've got a bunch of MIDI that's sequencing through Battery. You can also use any drum sequencer. Here are the various layers that make up this section:
- Sub kick drum: A deeper sound
- Harder kick drum sound: Combines with the sub kick to create a punchy, ballsy kick drum sound.
Snare and Clap Elements
Next, we've got:
- Snapshot with a snare drum: A pretty dirty and gritty sound that helps keep the backbeat solid.
- Clap: Sampled from a 909 drum machine, adding a classic sound with some grit.
Additional Patterns
Moving forward, we skip down to:
- Tom part: Helps define where every couple of bars start.
- Rolling snare pattern: Six notes that help everything keep moving along.
- Clap part: A key underpinning hook of the song, defining the whole groove.
Next up, we've got a light snare drum pattern that's actually a loop I sampled, chopped up, and picked the rhythms I want.
Bigger Drum Loops
We also have a few bigger drum loops that help refine the groove:
- Ticking sound: Isolated kick and snares beefing up the overall sound.
- Percussive loops: They help bring the groove together.
When you combine these parts, they sit together nicely and create a cohesive groove.
Tom Fills
We've also got tom fills taken from various drum loops I have stored on my hard drive. I choose the parts I want to help mark the transition into each section.
Final Chorus Breakdown
One of the last things I added was this last chorus where the song breaks down to just the vocals.
- Stamps and claps: I'll play that for you and break down some of the processing involved.
These are clean WAV files that I've drag-and-dropped onto the grid.
Raw Sound
Initially, it sounds pretty raw and uninspiring. I use a light bit of delay to add the flam effect we discussed, giving it a doubling effect and making it sound bigger.
- Stereo imaging: Creates the sense of more people involved.
- Equalization: Adds some grit and boosts the low ends, as the samples are quite thin.
Compression and Reverb
Next, we use a compressor:
- Aggressive compression: It sticks the whole thing together and brings out the depths of the sound.
You'll notice the shape of these waveforms changes from a curve to more of a brick wall sound, making the sounds chunkier and longer.
Then, we add a healthy bit of reverb:
- Long reverb tail: Adds a spacious feel, making it sound like it's performed in a church or big room.
- A little more equalization adds body to the sound.
Introducing New Colors
In the middle eight, I introduced this part to foreshadow it. When you add a new color close to the end of the song, it's good practice to introduce a bit beforehand to help the listener get accustomed to it.
I keep the volume down so you don't hear it too loudly in the final version, but it sonically helps glue everything together. Then I add a little snare drum sample to remind listeners of the return to the post-chorus.
Grouping and Processing Drums
One last point I want to draw attention to is how I group and process all these drums together.
- Drum buses: All drums (except the claps) run to three drum buses.
We start with these buses and look at the routing in the software:
- Reverb bus: Adds subtle depth, making the drums sound organic.
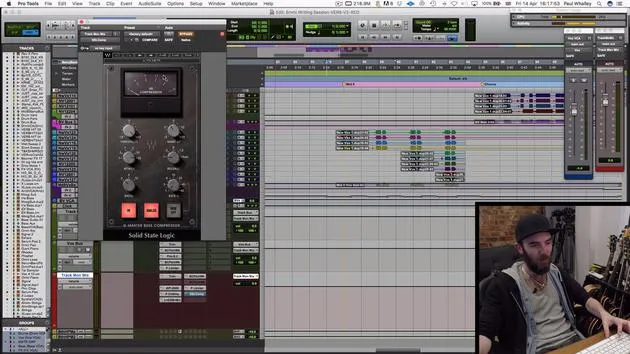
- Compression bus: A trick called parallel compression. Feeding in a heavily compressed signal back into the master bus helps add serious weight and drive to the drums.
The compression here is pretty intense, squashing everything down.
- Final drum bus: Uses a bit more compression and some distortion for added grit.
Final Touches
Adding back the parallel compression and reverb brings out weight and energy, gluing everything together.
Conclusion
Ultimately, if you pay attention to the various colors and sounds you're using, alongside good samples, you can achieve a polished record with minimal effort. The drums stand out compared to the keyboards and guitars, reflecting a careful selection of sounds rather than heavy processing.
26 leçons
1h 43m de leçons vidéo structurées
Fonctions vidéo avancées
Ralentissez, bouclez un passage, suivez la partition
Mobile, tablette et ordinateur
Pratiquez où vous voulez
Satisfaction garantie à 100 %
Garantie remboursement 30 jours
Rencontrez votre guru
Rencontrez votre guru
Paul Whalley est multi-instrumentiste, producteur et auteur-compositeur au son délibérément large. Il a passé des années sur la route comme musicien de studio en tournée avec des artistes tels que Mumford & Sons et Ellie Goulding. De formation classique, il est titulaire d'une licence en interprétation instrumentale et d'un Master en composition de la Guildhall School of Music. Depuis qu'il est passé de la tournée à la production et à l'écriture, il a travaillé avec des artistes comme NAO, Wretch 32 et Nina Nesbitt, et a joué sur des disques classés dans le top 40 partout dans le monde, dont 'Shout Out to My Ex' de Little Mix. Il est installé aux Tileyard Studios, dans le nord de Londres, où il écrit et produit pour de grands labels britanniques et développe de nouveaux artistes. Sur MusicGurus, lui et Emmi Green décortiquent un disque de pop à partir de zéro — chaque choix d'arrangement et de production mis à nu — pour les auteurs-compositeurs et les producteurs qui veulent entendre comment les tubes sont réellement construits.







