



Bending de cuerdas
James Barratt cubre el bending de cuerdas y los bends con doble cuerda, incluido cómo bendear con precisión un tono hacia arriba para un fraseo expresivo y vocal.

Qué incluye el curso
42 lecciones (3h 27m) · 1 gratis
Transcripción de la lección
String Bending Techniques
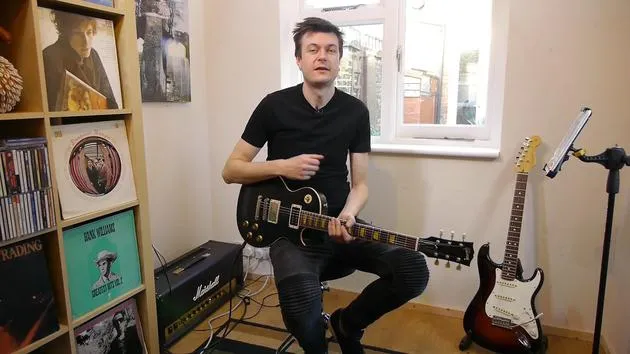
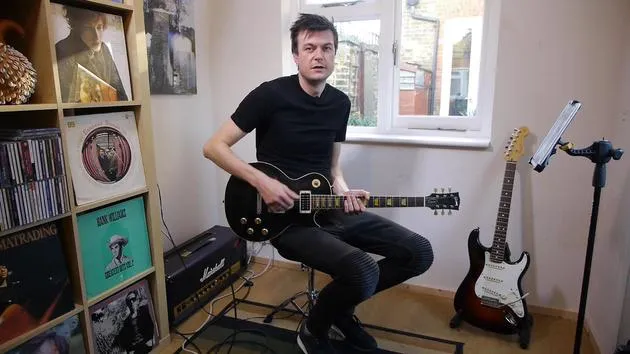
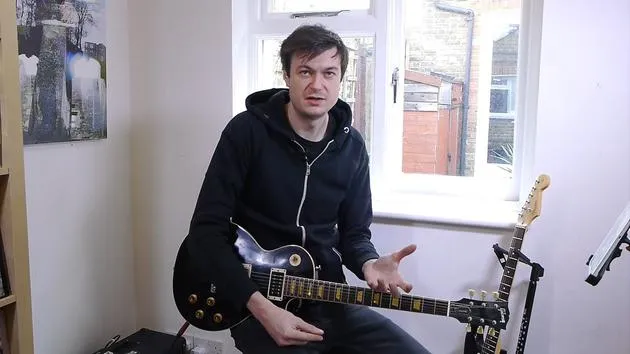
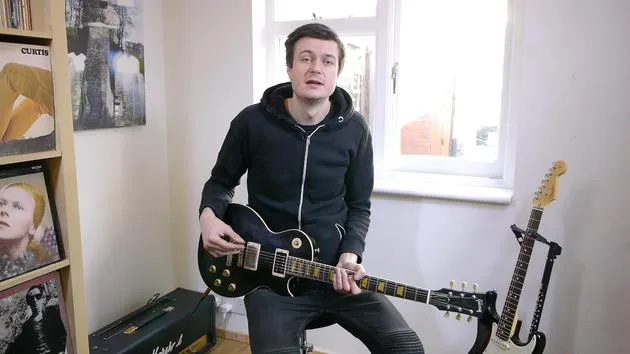
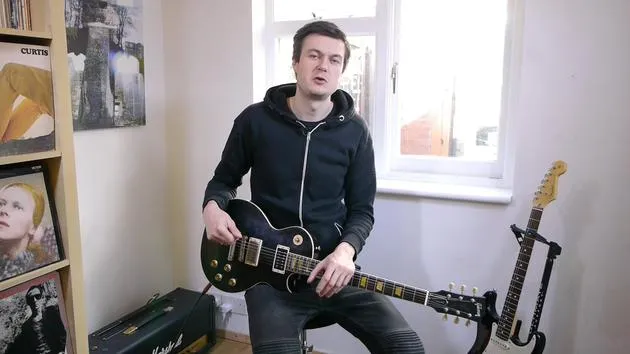
Alright then, guys! Today, let's check out some string bending techniques and also look at some double stop bending techniques.
Importance of Bending Technique
It's really, really important as a guitar player that you've got a firm grasp on bending technique. It's one of the most common techniques you'll come across on the guitar. Compared to other instruments, the ability to achieve a subtle change in pitch on a stringed instrument is unique.
If you're on a piano, for instance, you don't have this ability. It's so expressive, and we're lucky to have access to those sorts of sounds.
Practicing String Bending
Starting with the B String
So, I wanted to share a few things that you might want to practice or think about regarding string bending.
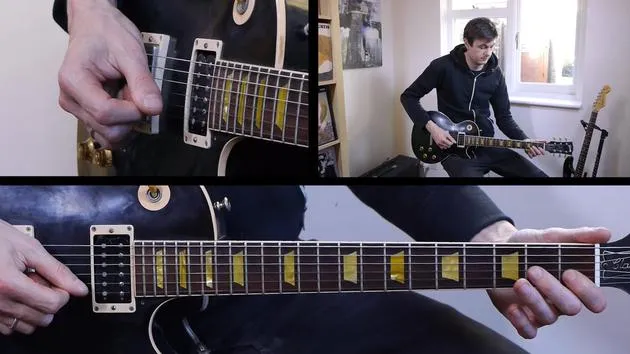
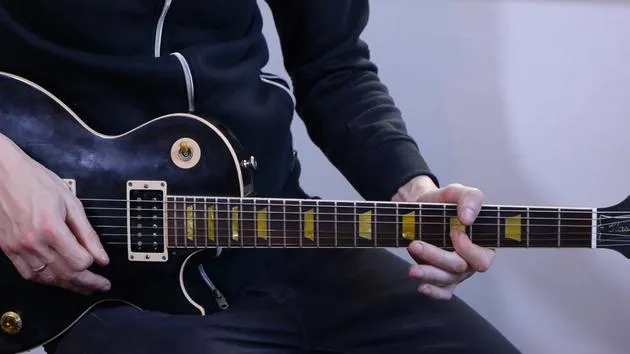
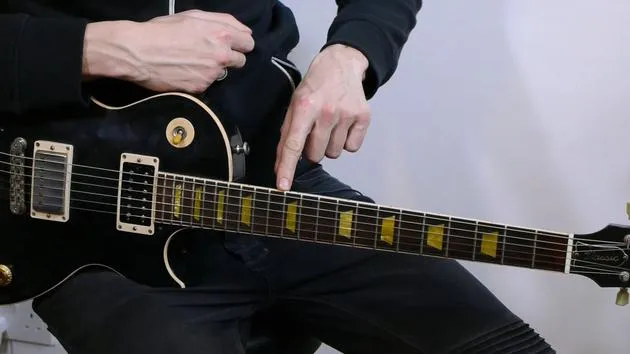
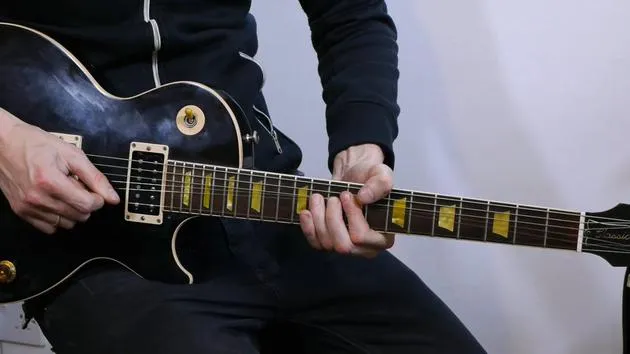
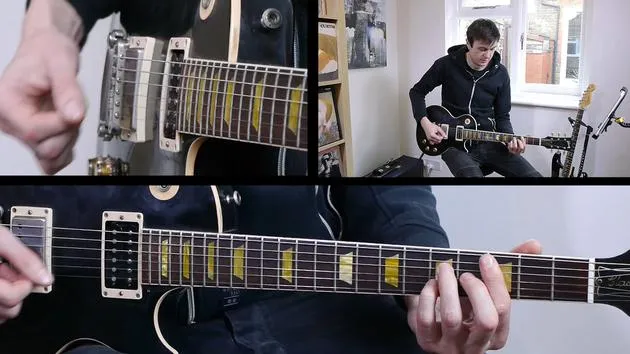
- Fret Position: Let's take the 11th fret on the B string.
- Bending Technique: We're going to bend that note up a tone.
- When we say "bend it up a tone," it means we're bending it the equivalent of two frets or two semitones.
- So, we're going from a B flat note (11th fret) to a C (13th fret).
Supporting Your Bend
To do this safely and musically:
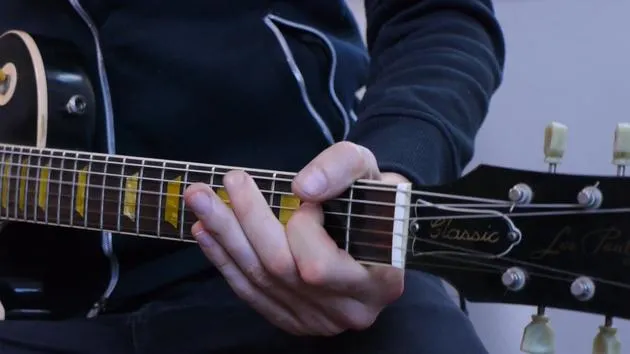
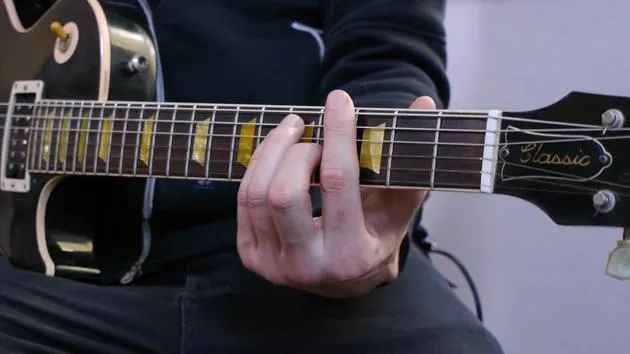
- Support your leading finger: This is the finger that's most forward in terms of the fretted note.
- Use at least one other finger to support that bend.
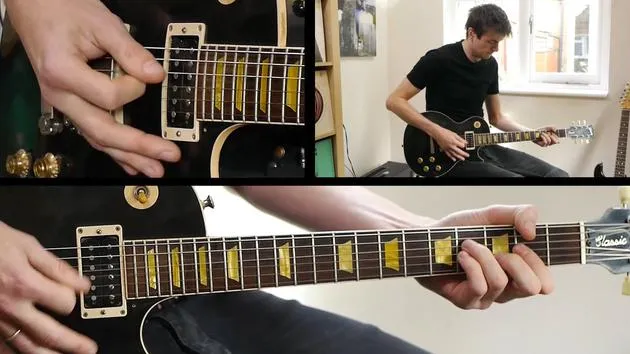
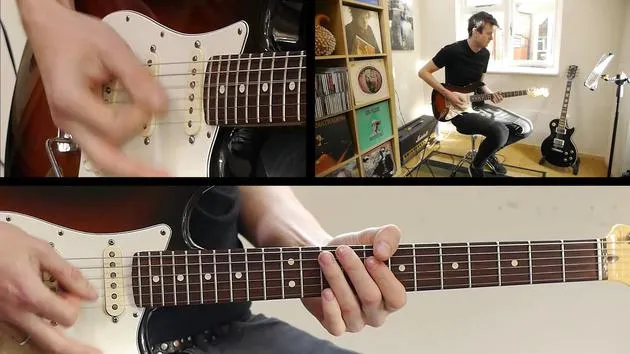
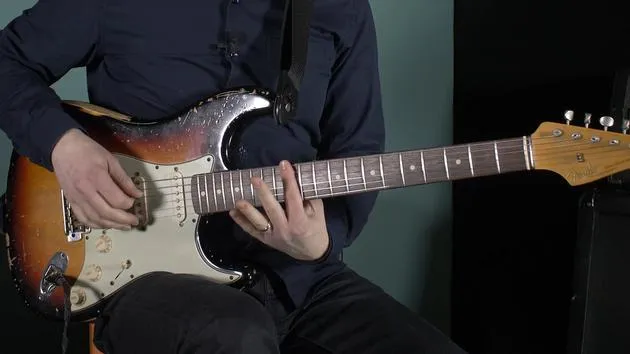
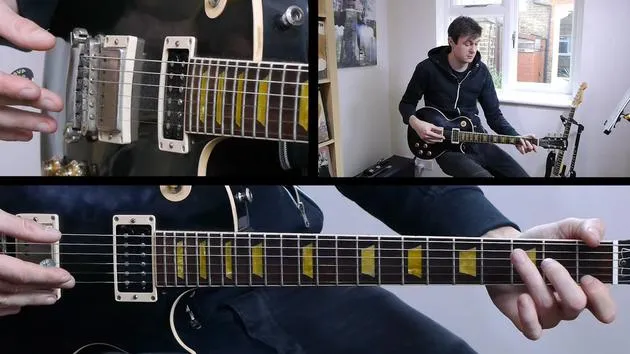
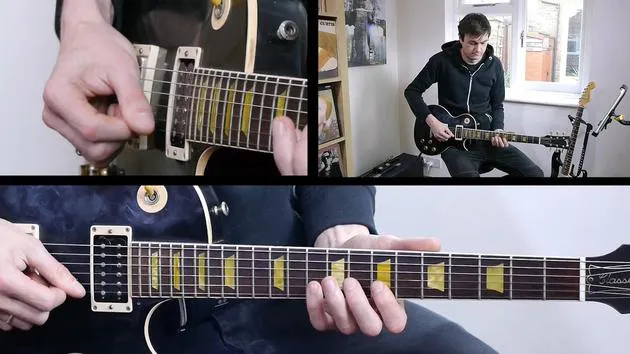
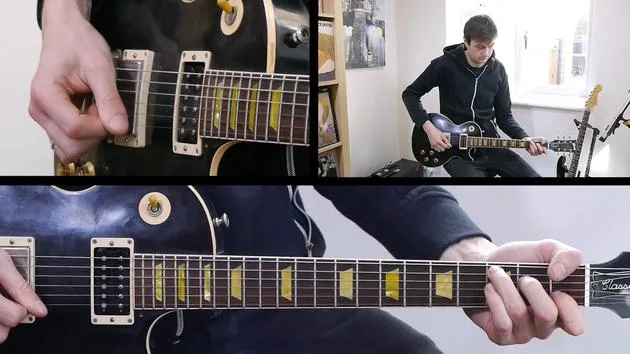
For example, my third finger is on the 11th fret, while my second finger is also on the same string, behind it. This way, I'm using the strength of two fingers to help move the string the distance it needs to go.
"Here's our starting pitch and here's our finishing pitch. We're picking the B flat and moving it up to the sound of the C."
Muting Unwanted Noise
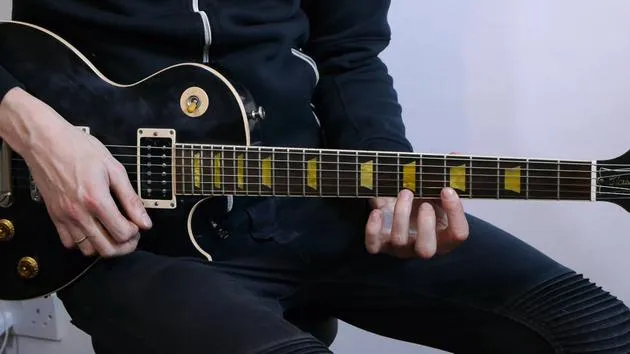
My first finger plays an important role too. It acts as a muter, keeping the other strings quiet. If I didn't do this:
- You'd hear a lot of unwanted open string noise when I come back down from a bend.
- Resting my first finger across the strings above allows me to bend up and down cleanly without that noise.
So, it's crucial when leading a bend with any finger other than your first finger that you support that bend.
Understanding Bends on Different Strings
Bends feel different across the neck:
- The thickness of the strings can influence how difficult it is to bend.
- Near the nut, it can feel tricky, whereas further up, it can feel easier.
First Finger Bends
Bends using the first finger might not cover as much distance as with other fingers, but it can still achieve significant travel.
"Players like B.B. King produced large bends with just their first finger."
Bending Notation
Some symbols to understand:
- BU: Bend Up
- BD: Bend Down
What you'll often see is a number in brackets next to a bend:
- This number indicates the target pitch.
For instance, for the 11th fret on the B string, it would be written as:
- BU
- (13)
Practice Technique
Here's a practice technique you can do:
- Fret the target note (13).
- Pre-bend the string to guess where you need to be.
- Pick the note.
This technique helps you get used to how much you need to move the string for different bends.
Double Stop Bending Techniques
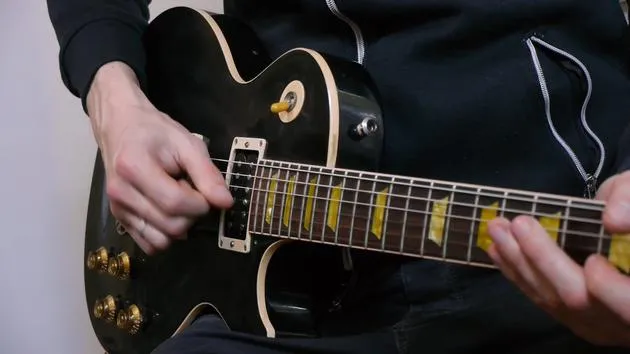
In a blues context, you'll often encounter double stops, where you play two adjacent strings. A common type is with:
- First finger barring at the 8th fret on the G and B strings.
- You can release a small quarter tone bend.
Just a fraction of a semitone can make all the difference in creating a bluesy sound.
"Movement makes all the difference."
Support your fingers as you bend:
- When bending double stops, notice that I'm bending down towards the floor, unlike single notes, which bend up towards the ceiling.
Bending Directions
Whether you bend a string up or down (ceiling vs. floor) doesn't matter in terms of sound.
- However, your position on the neck will dictate which way you can bend.
- Close to the neck's edge, you'll have to choose your direction wisely.
For example:
- On the bottom E string, you'll bend downwards.
- On the top string, you'll bend upwards.
Personal Preference
I personally prefer bending double stops towards the floor; it feels more comfortable and allows for better control.
Conclusion
This is a fun technique and one of the most expressive things you can do with a guitar, alongside vibrato. Controlling your bends is incredibly useful, appearing in countless rock pieces.
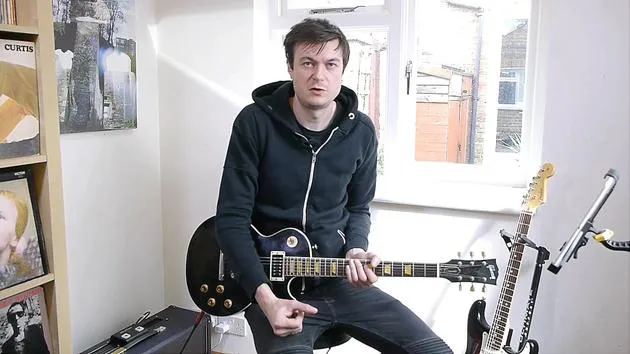
So, experiment with these techniques, practice hard, and let's take a look at the next technique!
42 lecciones
3h 27m de lecciones en vídeo estructuradas
Funciones de vídeo avanzadas
Ralentiza, repite un pasaje, sigue la partitura
Móvil, tablet y ordenador
Practica donde quieras
Garantía de satisfacción 100%
30 días de garantía de devolución







