



Base Jumper
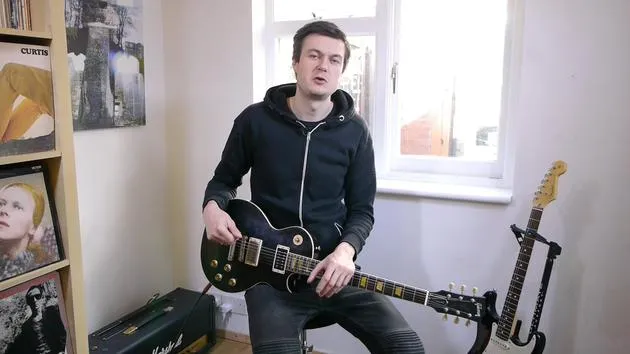
James Barratt repasa la pieza de pop-punk 'Base Jumper' del Grado 4: cómo conseguir un tono de overdrive saturado y clavar sus licks de nota pedal y riffs de octavas.

Qué incluye el curso
42 lecciones (3h 27m) · 1 gratis

Transcripción de la lección
Bass Jumper - Music Lesson
Introduction
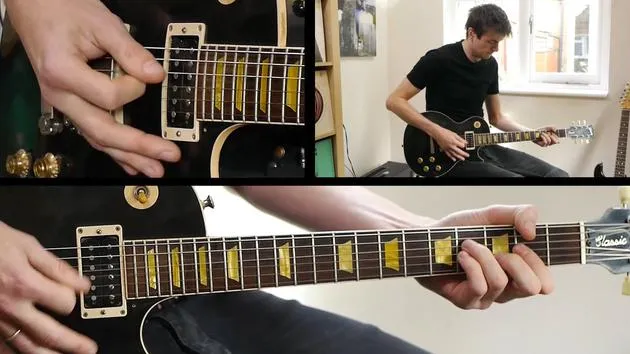
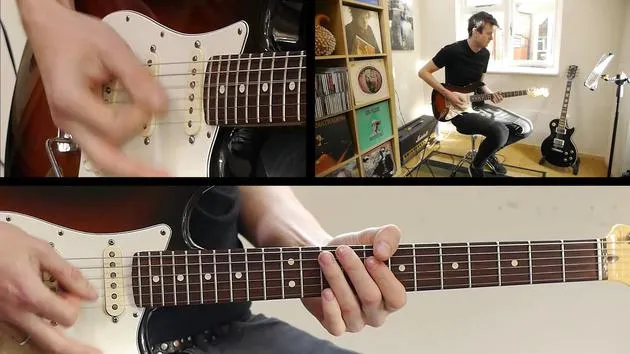
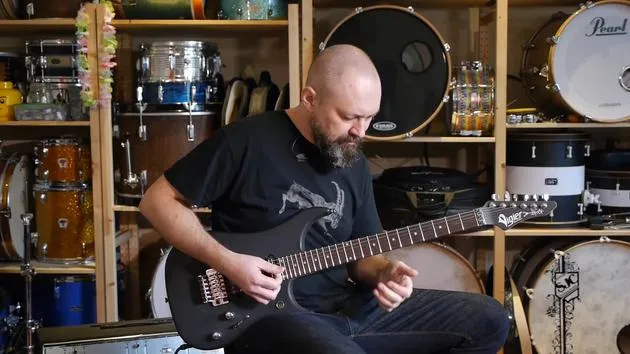
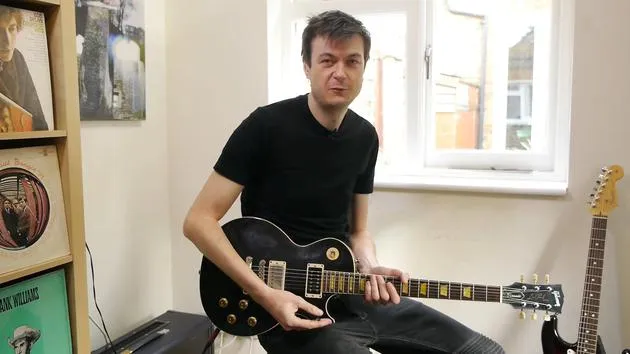
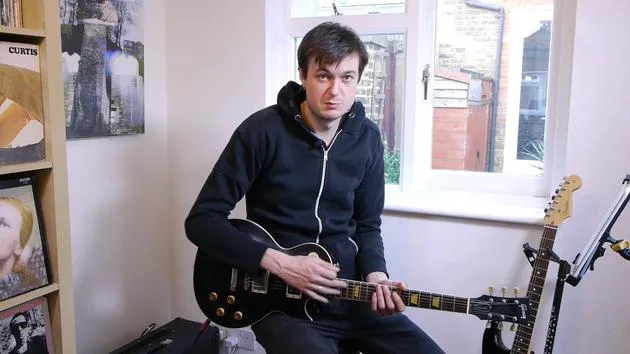
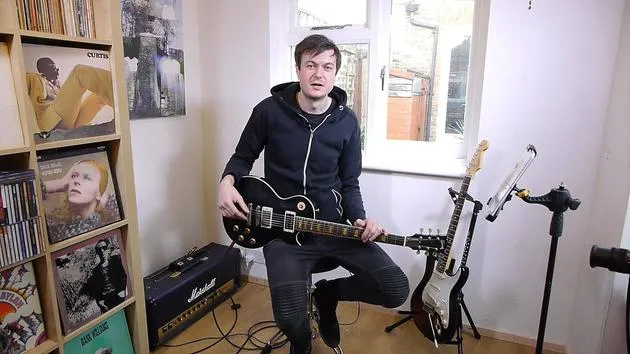
All right, then, guys. So, Bass Jumper. This is a killer tune. Absolutely love this. Pop punk screams out like Offspring and Green Day to me. This one has lots of stylistic features of those bands in there.
Getting the Sound
-
Tone Setup
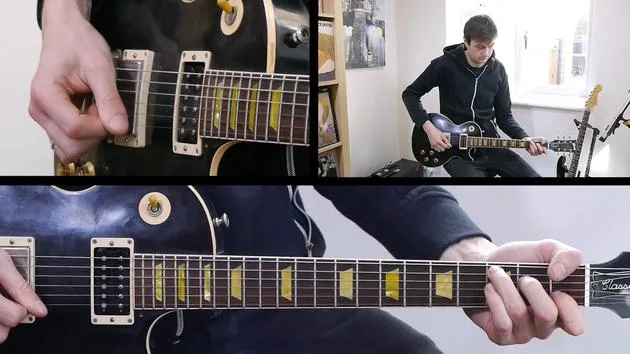
First off the bat, we want to get a really nice saturated overdrive tone. You can hear that I've got loads of gain actually on the sound. It's still quite clear. There's a lot of clarity to the sound.- Gain Management
As you start really turning up the gain, you might need to cut the bass frequencies a little bit to make it not too muddy. Up here, it's not overly saturated. There's lots of gain and sustain, but it's not too much. So, by no means just crank up the gain all the way to 10, but it's pretty stacked.
- Gain Management
Understanding Dynamics
- Dynamic Marking
If we take a look from the beginning, we see this "F" marking, which is a dynamic indication that tells us to play loud. "F" means forte, play with confidence, play loud. It makes sense because it's a pop punk tune at 165 BPM, so we're not going to approach it softly.
The Licks
-
Pedal Tone Lick
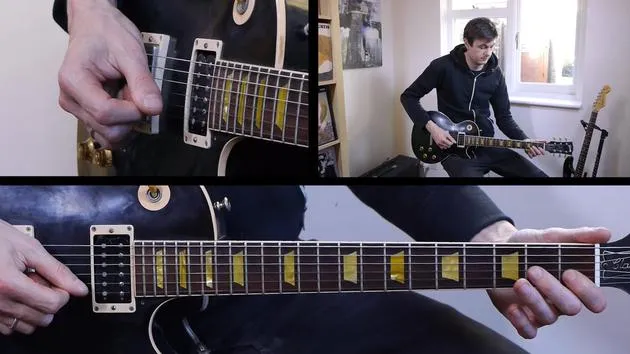
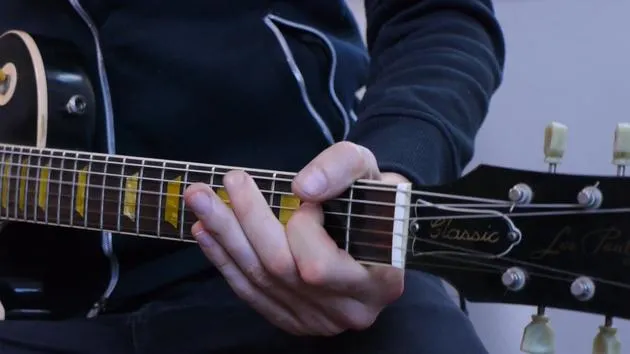
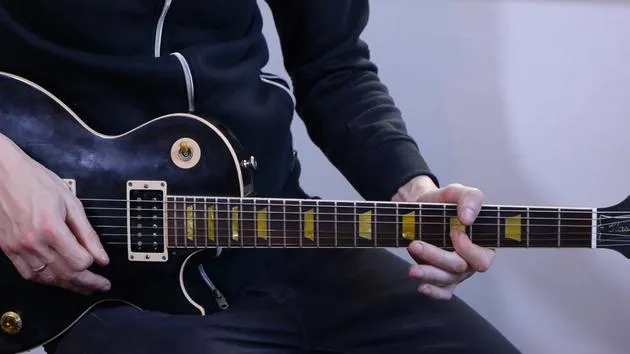
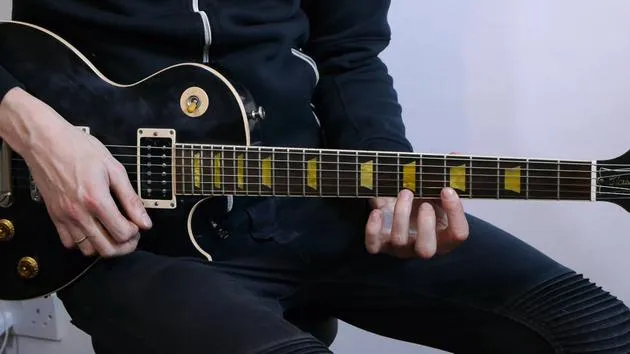
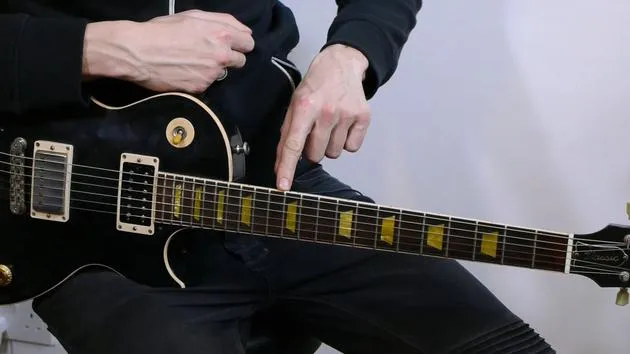
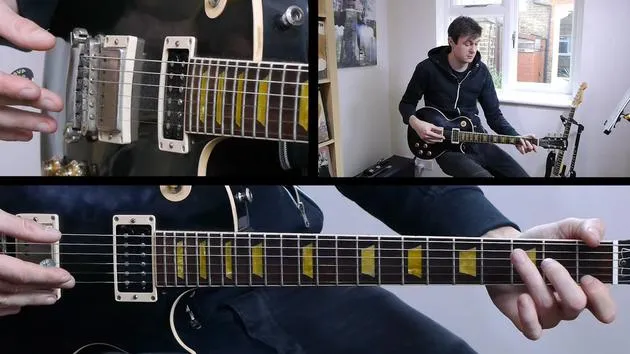
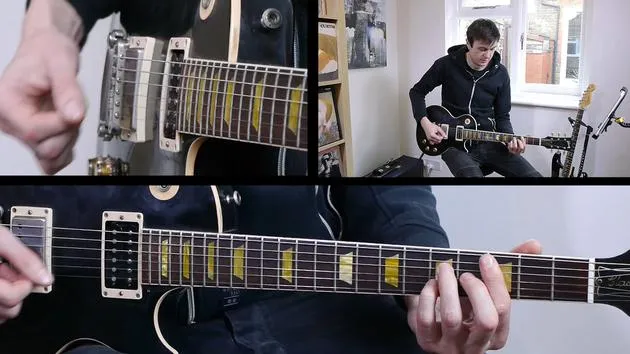
We start with this really cool pedal tone lick right at the top 15th fret, consistently returning to this D note on the B string.- Preventing Muddy Notes
One thing you've got to be careful of is not allowing the notes to bleed together. For example, if all the notes ring together, it sounds a little muddy. To avoid this, adjust the pressure as you go through to ensure the notes pitch individually.
- Preventing Muddy Notes
-
B Section
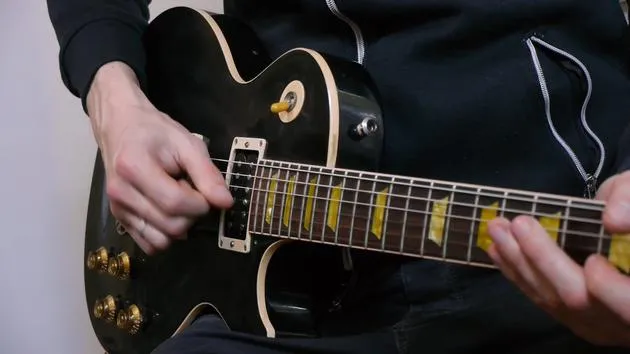
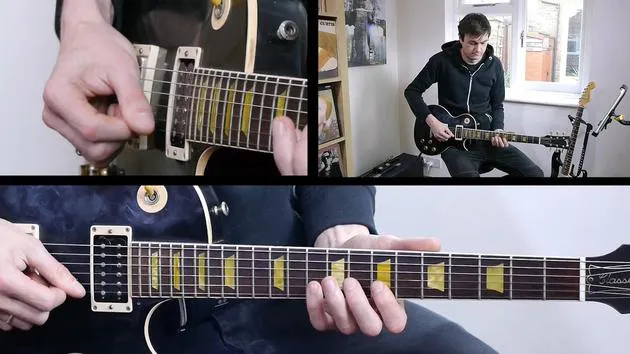
Moving into the B section, we've got this really cool octave riff to start. Adjust the muting a lot with your hands; it's something you hear in pop punk all the time, muted notes and then an octave or a chord, followed by more muting.- Technique
Make everything nice and even. You could alternate pick like I did, or do all downstrokes for an even sound. Just keep in mind the high tempo.
- Technique
-
C Section
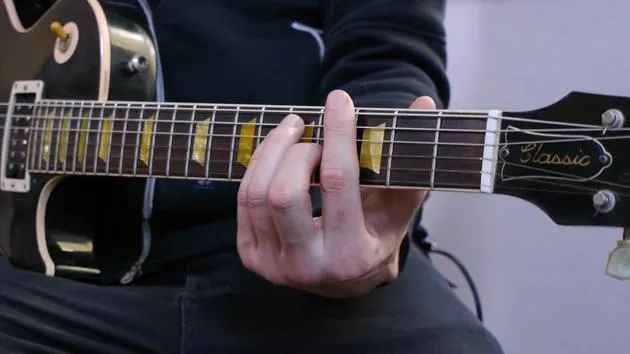
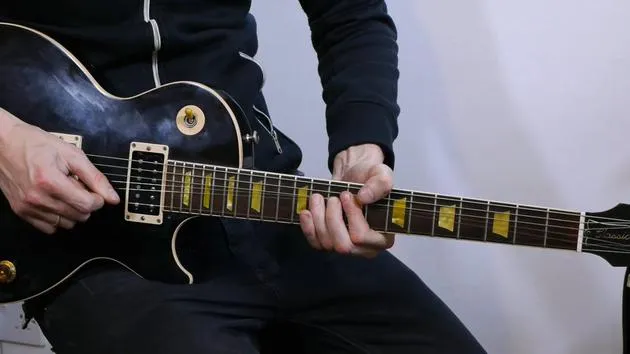
In the C section, octaves chords are very common in punk tracks. Make it obvious that you're hitting all six strings while muting the others.- Percussive Attack
Aim for a percussive attack on the octave chords. Try that out and see how you get on with it.
- Percussive Attack
Continuing the Journey
-
D Section
Happily, D is just a repeat of the B section, with no problems there. -
E Section
Now, we enter a soaring melody in the E section. Watch the rhythms and rests; there are some unusual rests in there. I often want the melodies to flow more, but there are staccato notes written in, making it a bit choppy. -
F Section
In the F section, we have some power chords, nothing too challenging.
The Solo
-
Key Signature Insight
Let's get into the solo, which is in two parts. The key signature has a single sharp, indicating we're in G major or its relative minor, E minor.- Solo Breakdown
- First half: Focuses more on G major with chords G, D, C, and D.
- Second half: Transitions to E minor, replacing the G chord with E minor.
- Solo Breakdown
-
Scale Utilization
I primarily used the E minor pentatonic scale, with hints of the E natural minor scale. These scales are in your technical exercises in your exam books.
Composing the Solo
-
Composition Strategy
Think before you play. I didn't just jump in with random ideas; I composed it, focusing on what I wanted to hear. Dive into thematic elements, my first half was simple, melodic, and repetitive, which could be easily hummed. -
Phrase Variation
Introduce variations around the melody in a call-and-response style. -
E Minor Pentatonic
In the second half, switch to E minor pentatonic while keeping the same notes.
Final Thoughts
-
Practice and Performance
Play the solo with confidence, as if you're on stage in front of a wild crowd. Focus on the phases. Don't complicate things unnecessarily; instead, imagine what you want to hear before performing. -
Ending Strong
Finish with octaves, driving aggressively into the last sections. Slide off that note at the end and cut your volume for a professional touch. A little delay adds a clean finish, but keep it tight, so avoid extra noise or open strings ringing out.
Conclusion
As always, practice slowly in small chunks, and as you feel more confident, build the speed and connect those blocks together. You'll be blasting through it at full speed in no time. Enjoy this one; it's a great track, really authentic! We'll see you for the next lesson.
42 lecciones
3h 27m de lecciones en vídeo estructuradas
Funciones de vídeo avanzadas
Ralentiza, repite un pasaje, sigue la partitura
Móvil, tablet y ordenador
Practica donde quieras
Garantía de satisfacción 100%
30 días de garantía de devolución







