



Saiten-Bending
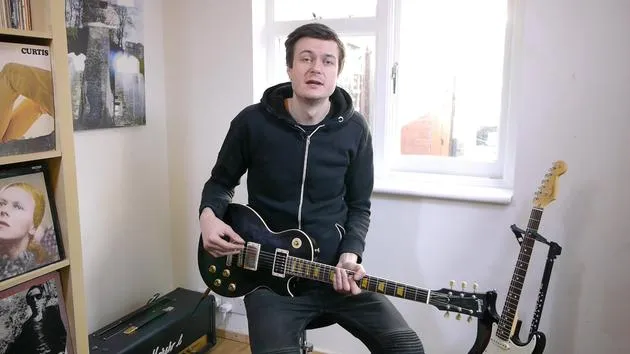
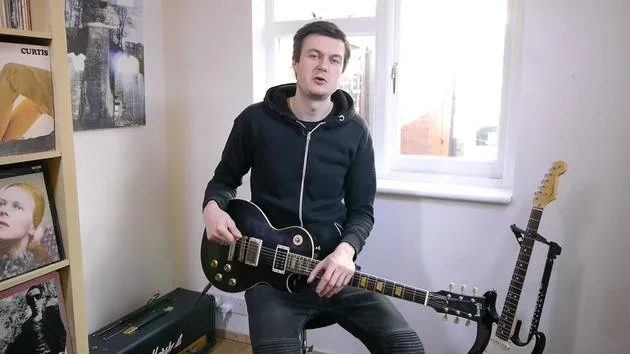
James Barratt behandelt Saiten-Bending und Doppelstopp-Bends auf der Gitarre, beginnend damit, eine Note um einen Ganzton hochzuziehen und sie sauber in der Tonhöhe zu halten.

Das steckt im Kurs
46 Lektionen (3h 57m) · 1 gratis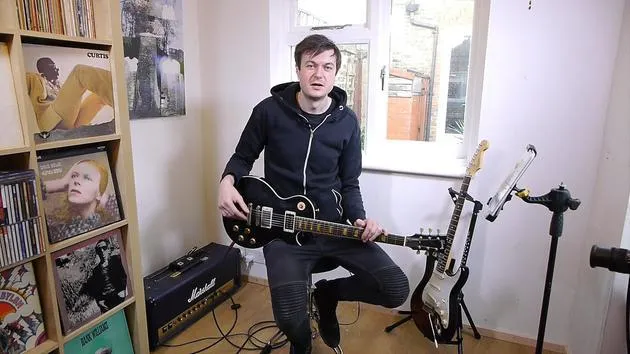
01. Einführung in die Ansätze der Improvisation
1:00
02. Eine Melodie verzieren
5:36
03. Challenge: Reiche deine Melodie ein
0:26
04. Septakkorde
6:38
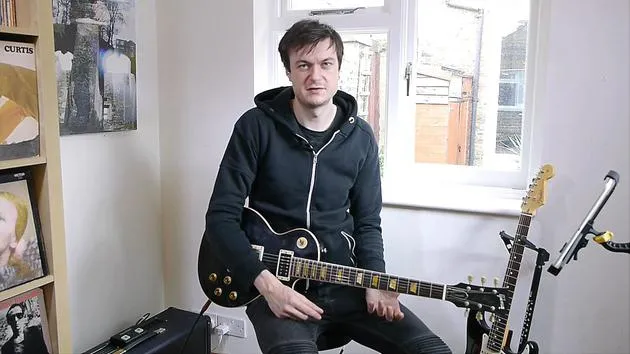
05. Dein Solo komponieren
8:53
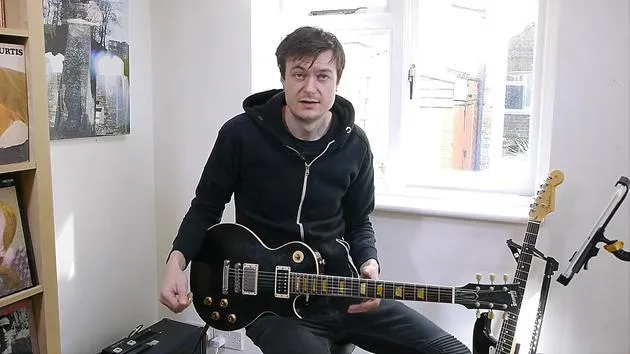
06. Weitere Erweiterungen und sus-Akkorde
4:19
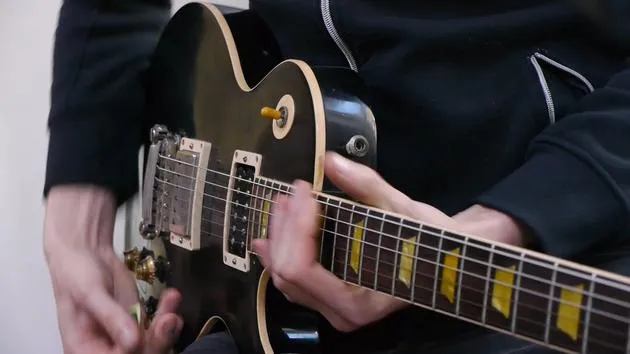
07. Comping in zwei verschiedenen Musikstilen
8:36
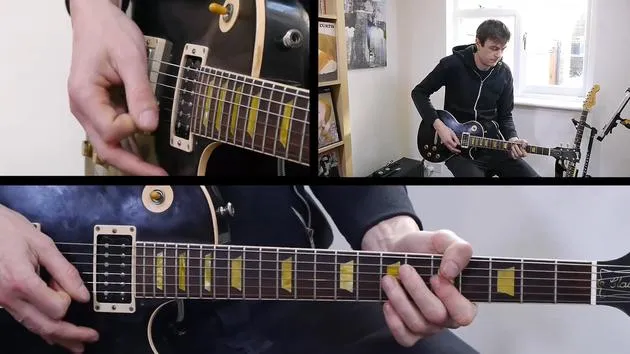
08. Rhythmisches und melodisches Comping mischen
4:24
09. Rhythmische Improvisation & Comping
9:55
10. Fortgeschrittenes Strumming und Verzierungen
5:40
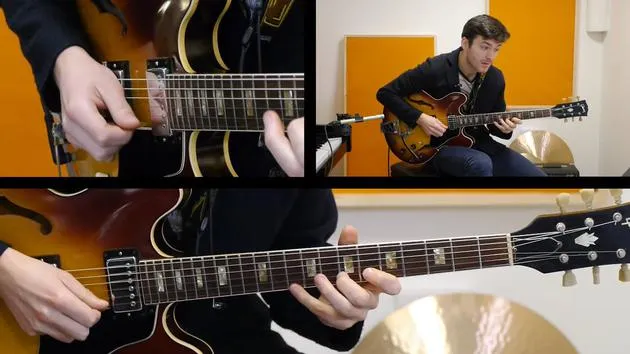
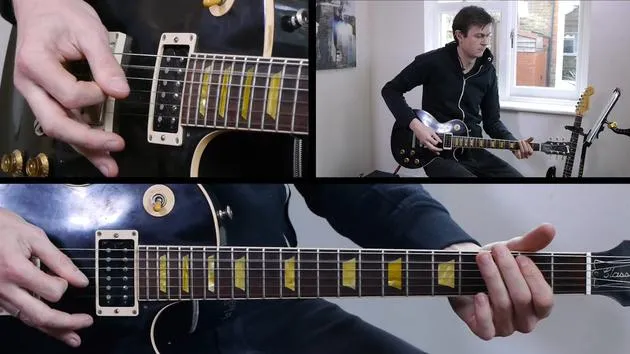
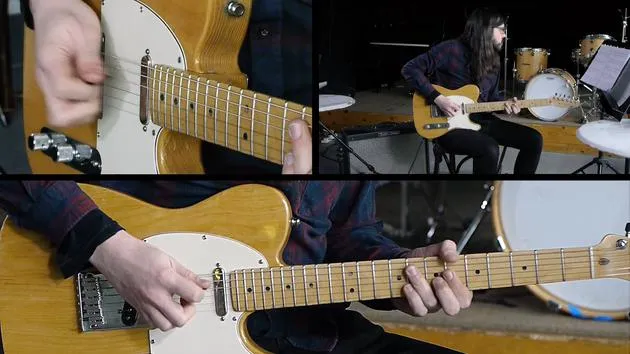
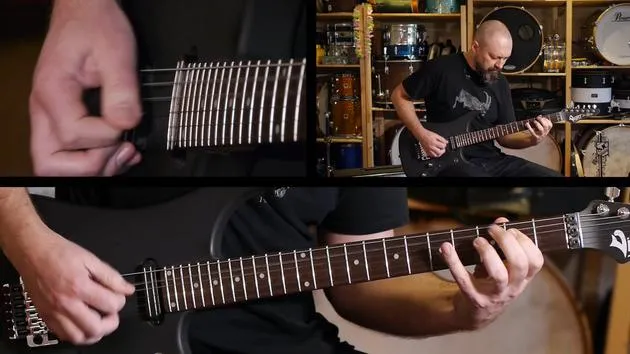
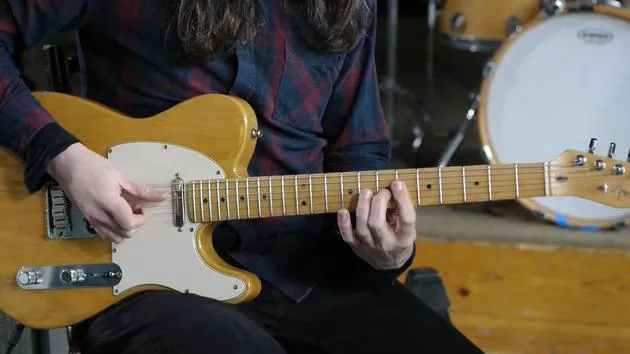
Transkript der Lektion
String Bending Techniques
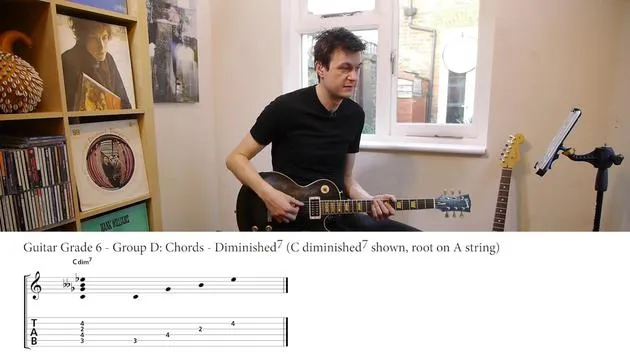
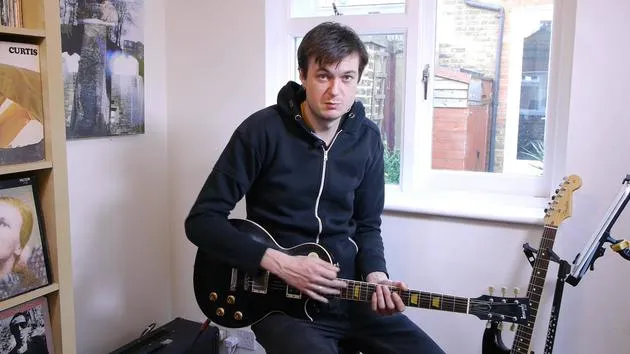
Alright then, guys. Today, we're going to check out some string bending techniques and delve into some double stop bending techniques as well.
Importance of Bending Technique
It's really important for you as a guitar player to have a firm grasp on bending technique. It's one of the most common techniques you'll come across. Compared to other instruments, the guitar offers a unique ability to achieve a subtle change in pitch.
"If you're on a piano, you don't have the ability to achieve that subtle change in pitch like you do on a guitar."
Getting Started with String Bending
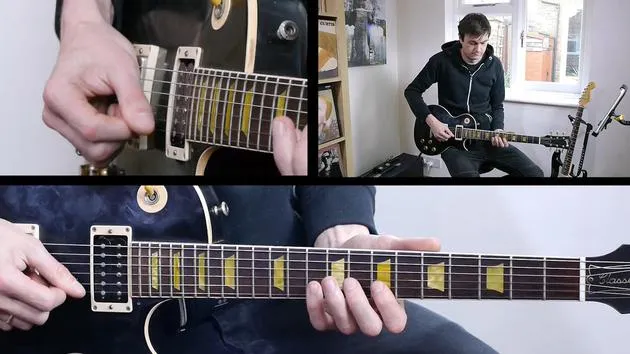
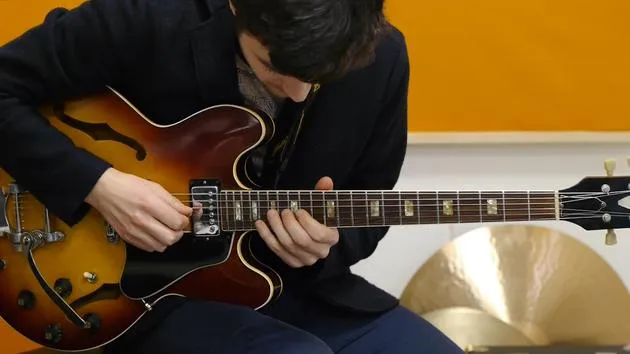
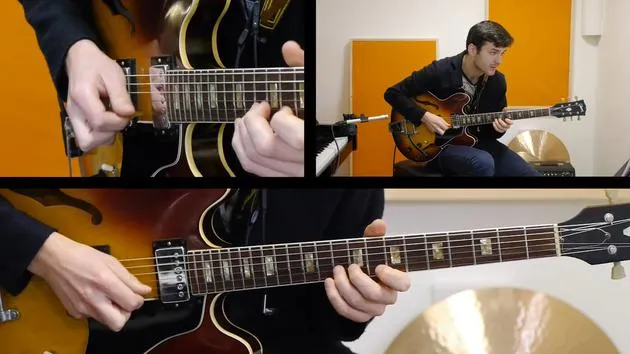
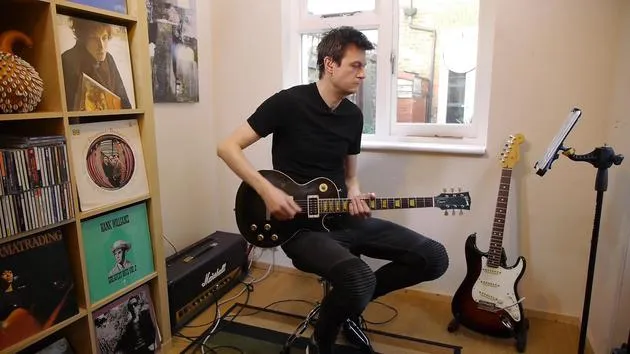
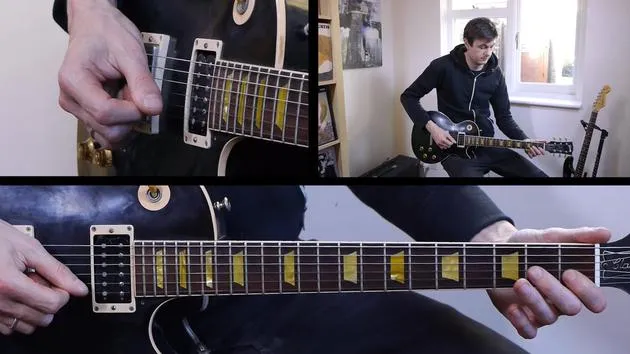
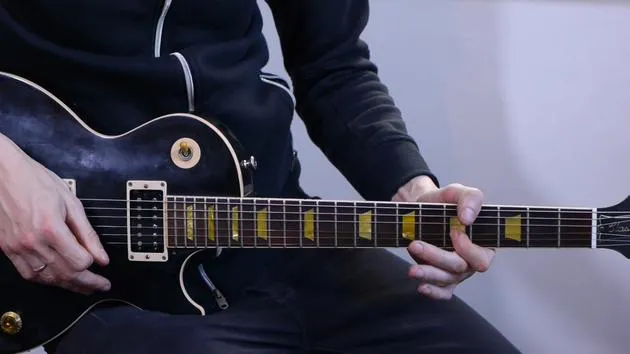
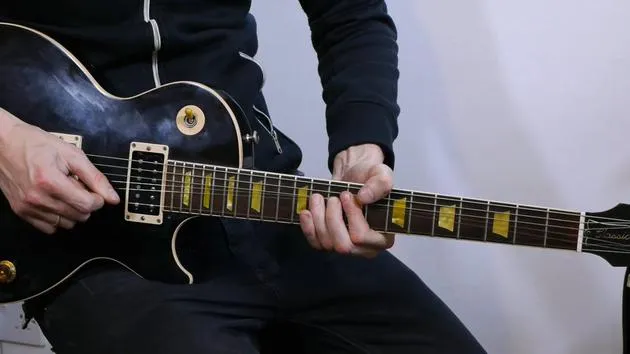
Let's start with a practical example. We'll take the 11th fret on the B string and bend that note up a tone.
- Bending up a tone means we're bending the string up the equivalence of two frets or two semitones.
- This means going from the sound of the 11th fret (B flat) to the 13th fret (C).
Supporting Your Fingers
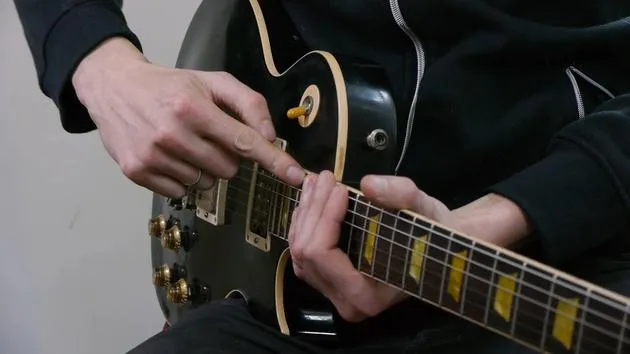
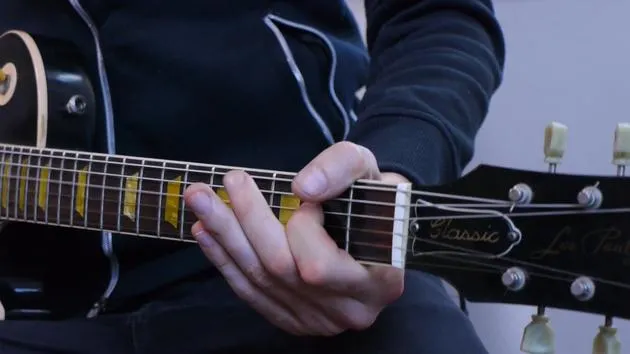
To do this safely and musically, we need to support the string with our leading finger. Here's how:
- Use at least one other finger to support the bending finger.
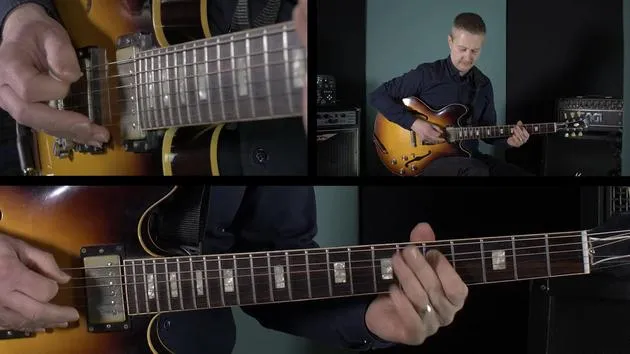
- My third finger is on the 11th fret, and my second finger is on the same string behind it.
- This way, I'm using the strength of two fingers to help move the string the distance needed.
Let's remind ourselves of those pitches:
- Starting pitch: B flat
- Finishing pitch: C
Preventing String Noise
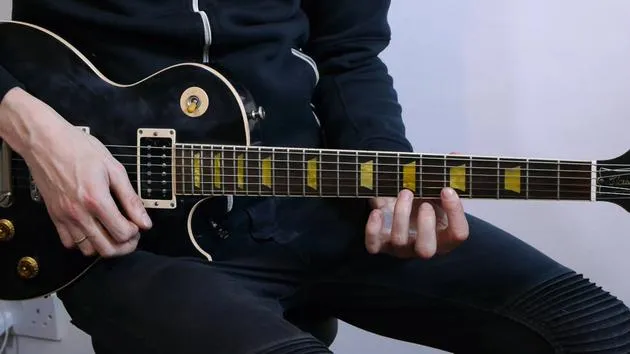
Now, my first finger plays a crucial role as a muter:
- It keeps the other strings quiet while bending.
- If I didn't do this, there would be unwanted open string noise going on.
"Whenever you're leading a bend with any finger other than your first finger, support that bend."
Different Bends Across the Neck
Bending feels different all over the neck depending on:
- The thickness of the strings.
- How close you are to the nut.
For example, bending near the nut can feel tricky and may require a lot of effort, while bending higher up the neck can feel much easier.
First Finger Bends
Bends with the first finger may not achieve as large a distance compared to other fingers. However, it's still a strong finger:
"Players like B.B. King could produce huge bends with just their first finger, often achieving tone and a half bends with remarkable ease."
Notation Symbols for Bends
Let's cover some notation symbols:
- BU - Bend Up
- BD - Bend Down
You'll often see a number in brackets on the tab, indicating the pitch at the top of the bend.
Practical Bending Exercise
Here's a practice technique you can try:
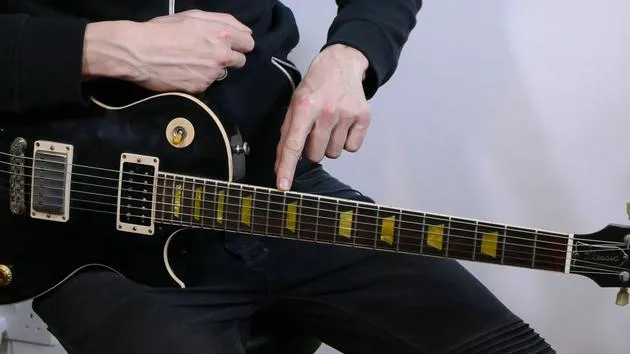
- Fret your target note (13) and get that pitch in your head.
- Pre-bend the string below it to guess where you need to be, and then pick it.
This will help you understand how much you need to move the string to achieve the desired pitch.
Introduction to Double Stops
In a blues context, you may come across double stops, where you play two adjacent strings.
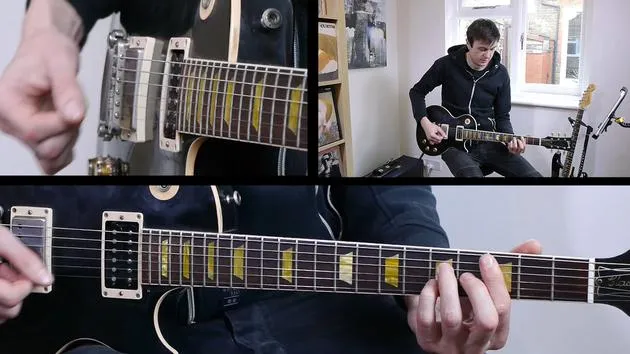
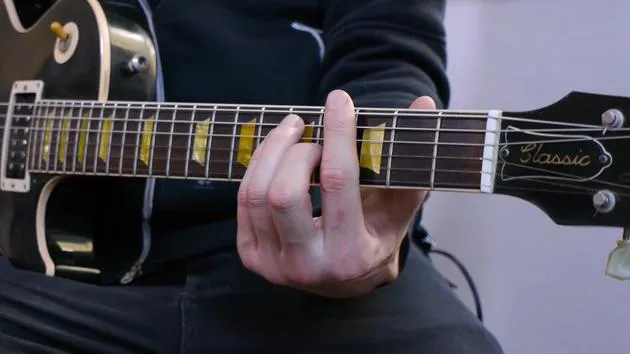
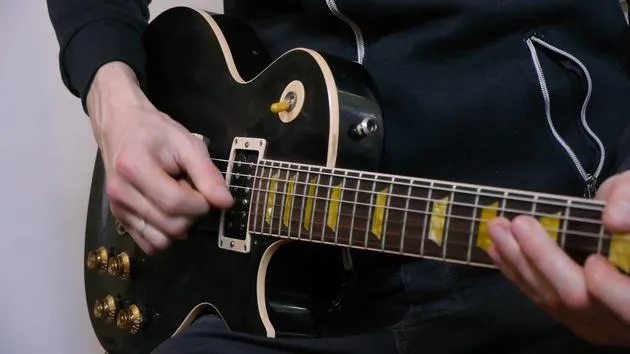
- A common approach is to use your first finger to bar, for example on the 8th fret on the G and B strings, and release a small quarter-tone bend.
- Just that little bit of movement can make a significant difference in sound, adding a bluesy feel.
Bending Directions
You might notice that:
- When bending single notes, I bend upward.
- For double stops, I tend to bend downward.
This leads to a critical observation about bending techniques:
"You can bend a string up or down, and you'll get the same sound."
Your choice of bend direction may depend on your position on the neck and personal preference.
Conclusion
Bending is one of the most expressive techniques you can master on the guitar, alongside vibrato.
Experiment with these techniques, practice consistently, and let's move on to the next skill!
46 Lektionen
3 Std. 57 Min. strukturierte Videolektionen
Erweiterte Videofunktionen
Verlangsamen, Passagen loopen, mitlesen
Handy, Tablet & Desktop
Üben, wo du willst
100 % Zufriedenheitsgarantie
30 Tage Geld-zurück-Garantie







