



Bouncing

Lesson time: (4min 58sec)
Ciaran Robinson zeigt, wie du deine Pro-Tools-Session zu einem fertigen Stereomix bouncst, einschließlich der Einrichtung eines Master-Faders, damit der Bus nicht clippt.
Course preview
This lesson is part of the course Aufnehmen und Mischen in Pro Tools
Watch a preview of the full course below.
Lesson transcript:
Bouncing Down Your Track: A Step-by-Step Guide
Okay, so in this final video, we're going to look at how to bounce down your track as a well-finished mix that you can play for someone else.
Creating a Master Fader
-
Create a Master Fader
- Go to Track > New and select Stereo Master Fader.
- Hit Create.
- It should be placed at the bottom and is set to be the master fader for the left-right mix.
This master fader allows you to control the levels of all individual signals.
Understanding Floating Point Processing
- Pro Tools uses floating point processing. In simple terms, this means:
- Buses have an almost infinite dynamic range (thousands of dB).
- You can send as many signals as you like to a bus without clipping.
Master Fader Purpose
- The master fader prevents the combined level of signals from clipping the bus output.
- If you see any clip indicators (red lines), you need to turn down your master fader.
Making a Timeline Selection
- Select the Timeline: Ensure your selection covers all of the track plus a little extra.
- This includes reverb tails; even if the snare reverb finishes early, a bit of extra length is fine.
"Suddenly truncating the reverb will sound very odd and will be difficult to fix perfectly."
Bouncing Down in Pro Tools
-
Access the Bounce Option
- Go to File > Bounce to Disk.
-
Choose Your Bounce Source
- You can bounce the physical output (analog 1-2) or buses (e.g., bouncing just your drums).
-
Default Settings
- File Type: Use WAV. MP3 might be useful for emailing but isn't recommended for mastering.
- Format: Select Interleaved to avoid separate left and right files.
-
Audio Quality Settings
- Bit Depth: 24-bit.
- Sample Rate: 48 kHz is standard.
-
Additional Options
- Don't import into iTunes after bounce.
- Ignore enforced Media Composer compatibility as it's for video editing software.
-
Naming Your File
- Name your submission with your name followed by Modern Curses. This helps identify whose track is which for marking.
-
Directory and Offline Bouncing
- By default, it goes into the Bounced Files folder.
- Choose Offline to bounce faster than real-time.
"As you can see, it's doing it at about 20-30 times normal speed!"
Final Steps
- After bouncing, right-click to navigate to your Pro Tools session folder and find the Bounced Files folder.
- There, you'll find your WAV file ready for submission.
Hopefully, that all makes sense!
Feel free to reach out if you have questions or need more help.
In the meantime, get mixing, and I hope you enjoyed the course! I'll see you for the next one, with any luck.
Bye!
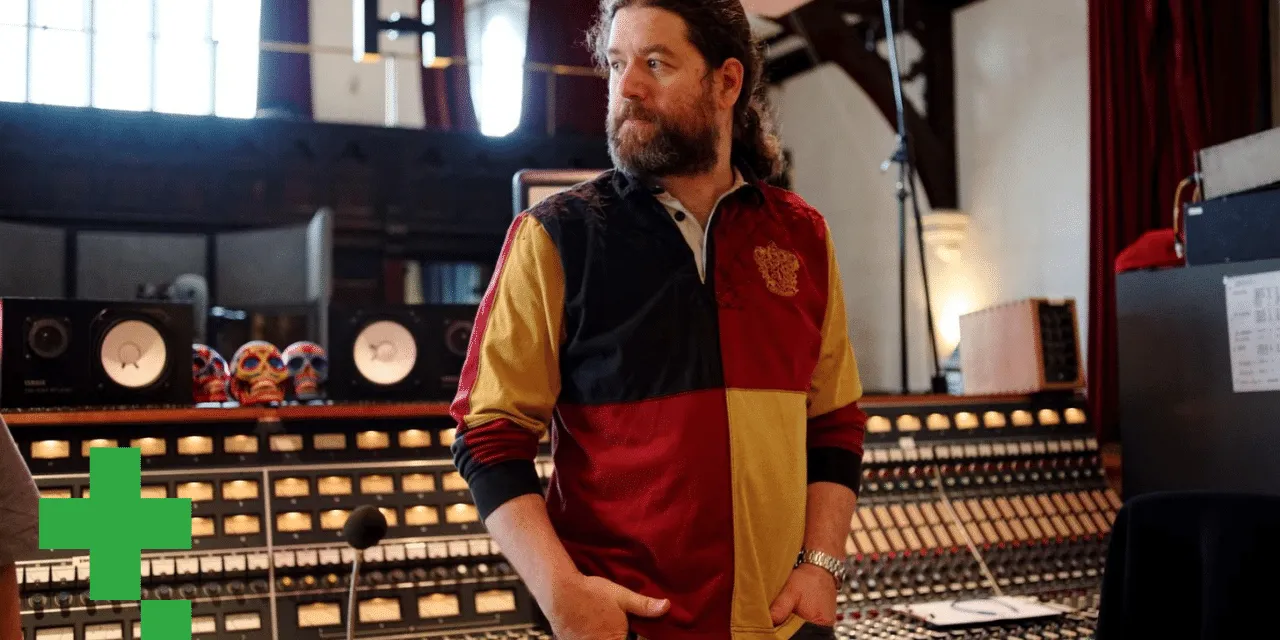
About the instructor
Ciarán Robinson ist ein Toningenieur mit über 25 Jahren Erfahrung in Live-Technik, Mixing, Recording, Studiodesign und Sound für Film, Fernsehen und Games. Derzeit leitet er den Music-Producer-Master an der Tileyard Education in London und hat an Instituten für zeitgenössische Musik wie BIMM, SSR und SAE unterrichtet.Seit mehr als 20 Jahren lehrt er Audioproduktion und hat Kurse zu Pro Tools, Game-Audio, Studiotechnik und Postproduktion aufgebaut; einige seiner ehemaligen Studierenden arbeiten inzwischen mit Acts wie Coldplay und Biffy Clyro. read more