



Gesampelte Streicher und Flöten hinzufügen

Lesson time: (7min 28sec)
John Watson legt gesampelte Streicher und Flöte über seinen perkussiven Track in Ableton und lädt Sounds in Simpler auf einer neuen MIDI-Spur, um herauszufinden, was den Groove ergänzt.
Course preview
This lesson is part of the course Kreatives Sampling und Produktion in Ableton Live
Watch a preview of the full course below.
Lesson transcript:
Music Lesson
So next up, then, I'm thinking about another instrument that would work with this. When I collect samples, as I've shown before in an early video, you can see that everything is categorized into the type of instrument.
Choosing an Instrument
What I think might work quite well now are some strings to complement the mostly percussive thing that I've got going on.
-
Creating a New MIDI Track
I'm going to create a new MIDI track here and we're going to go into instruments again, double-click for simpler. -
Arming the Track
So it's automatically mapped to my keyboard. I just have to arm the track here like so. -
Listening to Samples
Then, I'm going to scroll down into my strings folder, have a little listen, see what's available. That's really nice there, that sustained string sound.
Key Considerations
But it might not work. I might find that it's actually in A major or minor chord. I'm not sure what my hang drum is in yet, which key it's in. So it may or may not work.
- Quick Assessment
Again, it's very quick to work out whether this is going to fit.
-
Playing the Sample
So when I play the keyboard now, a whole sample comes in. What I'm really after is this little section here: a kind of gentle sustained string. -
Adjusting the Sample
Now, the front of the sample here, as you can hear, just sounds a little bit odd the way it comes in. If it had a bit more of a fade at the start, then that might help.- I'm going to take my attack position forwards, do a little bit more than that, and you can hear it kind of gently comes in, really just following the natural shape of the sound, really there. You see it fades in and it's held.
Testing Compatibility
So, what I also want to work out is whether it's going to work with the track.
- Playing the Track Together
Let's play the track. I'm feeling that the C is working nicely there, maybe the F.
Recording Ideas
So, what I'm going to do is jam something in and give myself sort of free reign of record time.
- Click to Record
- Okay, so I've got a little something in there, a bit of variation as well.
- And, yeah, I'd like maybe to interject something in between each of those string elements that I've just added.
-
Duplicating the Track
To make my life a little bit easier, I'm just going to duplicate this track, like so, delete what I've recorded there, and I'm just going to replace the string sound. -
Jamming Again
I quite like this one here and let's just have a little jam again. At this stage, it's really generating ideas. I don't really necessarily know what's going to work, so it's just trial and error.
Filtering Sound
Now, listening to this sample, there's a little bit more low end in that, which is kind of confusing things. It's kind of getting in the way of the other sounds.
- Using a Bandpass Filter
I'm going to filter it, and what I'm going to do is switch over to a bandpass filter here. This is really going to filter out the low and high frequencies so that we have a slightly thinner, more resonant version of the sound. Let's just turn it down a little bit and have a little listen to that.
-
Evaluating the Sample
I quite like the way it ends here. It's quite rhythmical at the start; however, this little section here just sounds a little bit more fluid.- Because there's not really a defining rhythm there, it will actually fit better with the track.
- But you can hear that it ends quite abruptly.
Adjusting Fade Out
So what I'm doing here is adjusting the attack, decay, sustain, and release so that the sample will have a bit of a fade out.
-
I'm taking the sustain down, decay up full. A little bit too long there, so let's take that back down, add some release.
- So that sounds kind of cool. It has a bit more of a fade out at the end.
Final Thoughts
So let's play the track. Instantly, I'm feeling that I've got something interesting there.
-
Recording the Final Section
Let's just turn it up a little bit as well.- Yeah, I'm just gonna keep things fairly simple. I'm going to record this in now.
- So I'm going to come in between the last two string sections. That might do it there, just one simple little section.
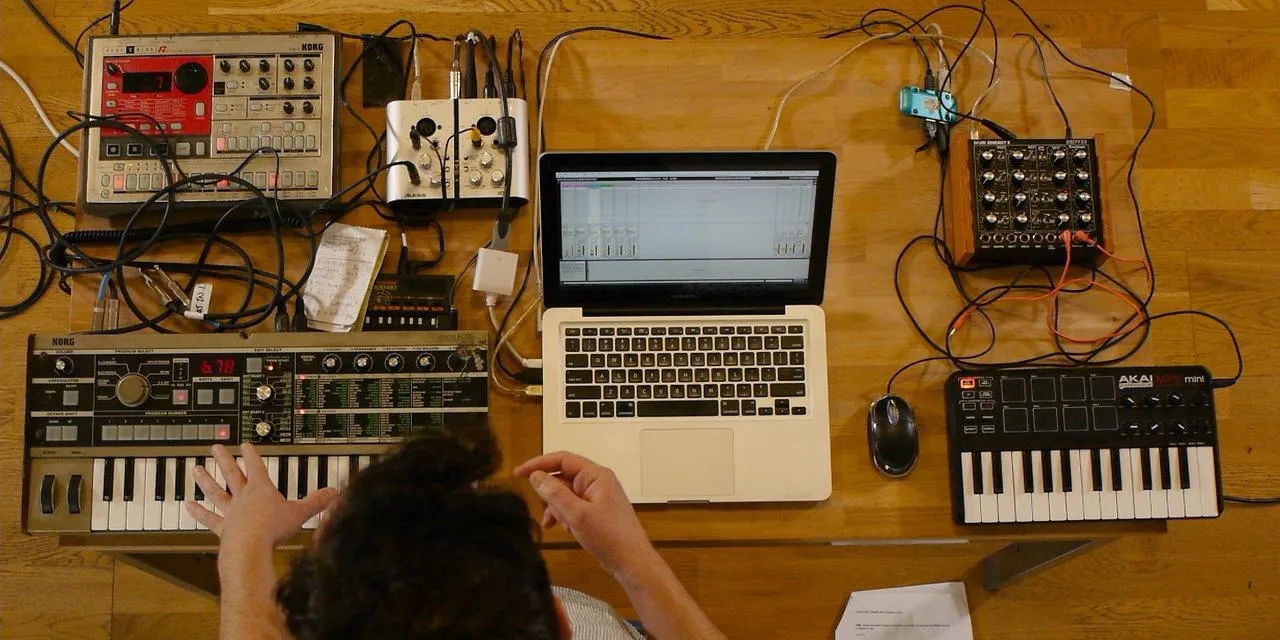
About the instructor
Nach einem Praktikum bei Dave Allen, dem Produzenten von Depeche Mode und The Cure, ließ sich John dazu inspirieren, in London Music Technology zu studieren. Seine Musikkarriere nahm nach einem erfolgreichen Vertrag bei CookShop Records Fahrt auf, wo er 9 Singles und 2007 ein Album veröffentlichte, das begeisterte Kritiken von Q, Uncut und Lowdown Magazine sowie Airplay bei XFM und Radio One erhielt. John begann seine Ausbildung zum Tontechniker 2005 im Bonafide-Studio, wo er sein Können verfeinerte, und gründete noch im selben Jahr Jackdaw Recordings. Er hat mit vielen erfolgreichen Künstlern zusammengearbeitet und begann 2007, für den Pop-Musiker Patrick Wolf zu spielen, mit Auftritten in führenden Häusern in Großbritannien und international – darunter The Astoria und das Shepherds Bush Empire. Von seinem Londoner Studio aus schreibt John heute Musik, mit zwei weiteren Veröffentlichungen bei CookShop, macht Tontechnik für namhafte Künstler und gestaltet Sounddesign für TV-Spots, Film, Theater und Unternehmensvideos. Genau diese seltene Mischung aus Songwriter, Produzent und aktivem Studiotechniker bringt John in seinen Unterricht ein. In Creative Composition & Production in Ableton Live und Creative Sampling & Production in Ableton Live zeigt er dir, wie er aus rohen Ideen fertige, veröffentlichungsreife Tracks macht – das Schreiben, das Sampling, das Sounddesign und das praktische technische Know-how hinter einer professionellen Platte. read more