



Die Parts in der Session-Ansicht aufbauen
Mit
John WatsonJohn Watson strukturiert einen Track in Abletons Session-Ansicht - er räumt Spuren auf und benennt sie, löscht Überflüssiges und ordnet die Parts nach Sound.
Das steckt im Kurs
14 Lektionen (2h 26m) · 2 gratis
01. Erste Schritte & Setup
3:21
02. Eine Sample-Bibliothek verwalten
Gratis-Lektion4:34
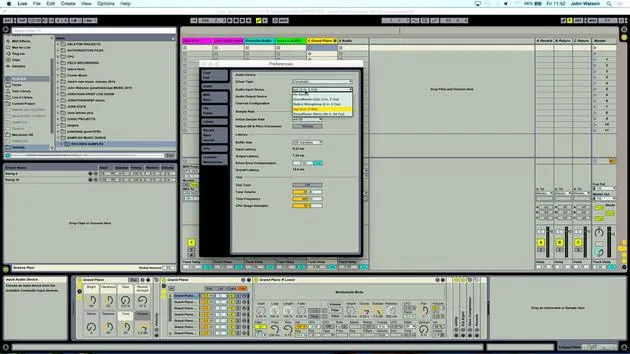
03. Ableton-Einstellungen
1:14
04. Samples verwenden: die Geräte Simpler und Sampler
7:04
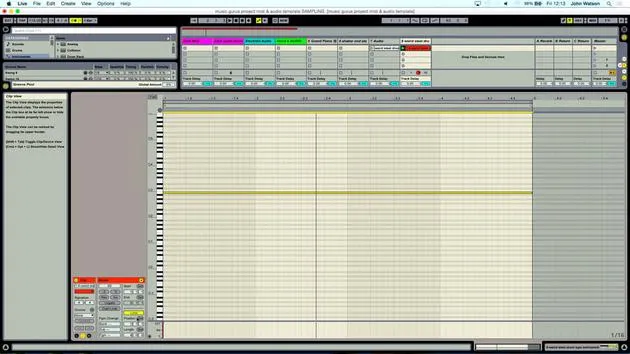
05. Samples in deinem Track verwenden (trimmen, dehnen, stimmen, EQ)
12:56
06. Gesampelte Streicher und Flöten hinzufügen
7:28
07. Gesampelten Rhythmus hinzufügen: Kicks und Snares
25:07
08. Externe Instrumente sampeln - Drumcomputer und Synth
12:28
09. Die Parts in der Session-Ansicht aufbauen
Du bist hier13:55
10. Den Song in die Arrange-Ansicht aufnehmen
4:34
11. Feinabstimmung der Songstruktur
5:35
12. Den Track mischen: Effekte
21:24
13. Letzte Anpassungen
13:14
14. BONUS: Deinen Track mastern und auf Soundcloud hochladen
Gratis-Lektion13:31
Transkript der Lektion
Music Lesson: Structuring Your Track
Introduction
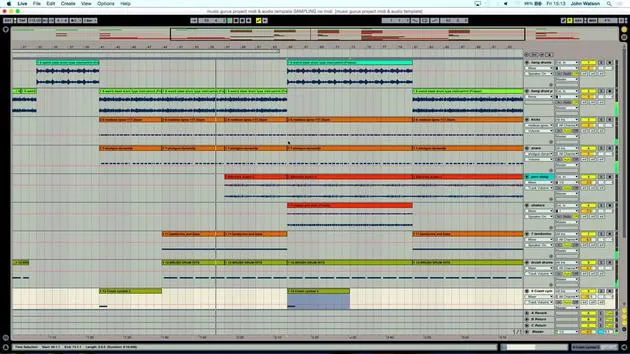
Okay, welcome back. The next stage now is to start structuring what I've got here. I need to:
- Delete unused tracks
- Ensure things are named properly
- Make it look a little less cluttered
Saving Your Work
First off, I'm going to save it as a different version. We can label it Sampling - No MIDI. This means that any amendments I make to this track, I can go back to the original if I accidentally delete something. I still have all the original files in place.
Cleaning Up the Tracks
Deleting Empty Tracks
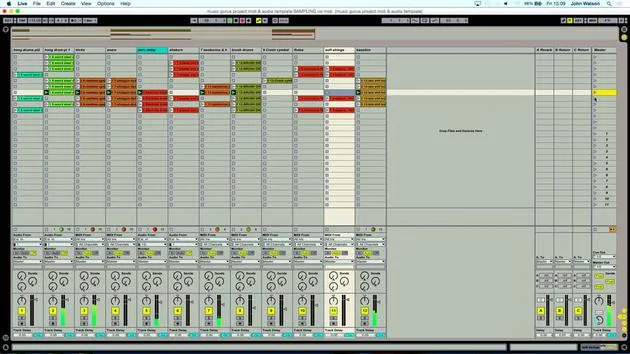
- I'm going to take away these two empty tracks here.
- We'll call this track Percussion Delay.
Reviewing Audio Channels
- We have a microKorg audio channel that we haven't used.
- I think I've got enough in terms of sampling, so we don't need this track.
Managing Hang Drums
- This is the freeze track of the MIDI part of the hang drums that I've frozen.
- I've extracted the audio and have two versions of that, so I'm going to delete it.
Organizing Instruments
- Let's have a listen to this track; this is the Hang Drums and it's going to be Part Two.
- Let's also give it a different color.
Naming Other Instruments
- Kicks & Snare: Fairly straightforward.
- Grand Piano: Used to get the chromatic tuning and pitch correction; I don't need that anymore.
- Shakers: Still unsure what this is.
- Strings: Let's call this Soft Strings.
- Tambourine: This track will just be called Tambourine and Hats.
- Brush Drums: A jazz brush drum loop.
- Cymbal Crash: Labeled fine.
- Bass Line: Present.
- Flutes: There's another string part coming in a minute.
Eliminating Unused Tracks
- We have some Dead Space (nothing on this track) that we don't need.
- The Hang Drums - Part One will be given a different color. I made them green, but I'll choose a slightly different green.
- We'll put these next to the originals for clarity.
Organizing Structure
Now, let's organize everything chronologically:
- Hang Drums
- Kick and Snare
- Shakers
- Tambourine
- Flutes
- Strings
- Bass Line
Adjusting Levels
The next stage is to get a rough level sorted out.
Playing the First Part
- I'm going to turn the hang drums up a little bit to make them more obvious.
- I also need to delete the other hang drum tracks because they'll be at the original volume.
Balancing the Mix
- Kicks: A little bit low in the mix; let's turn it up.
- Shakers: Sound okay.
- Strings: Turn the volume up a bit.
- Tambourine: Increase the volume here; I have a lot of headroom in the simpler device.
Structuring the Track
Duplicating Scenes
Now, I want to start thinking about structure. The first thing I'm going to do is duplicate this first scene quite a few times (let's say four).
- I think an obvious starting point is the Hang Drum Sample, a really nice loop.
- I'll take everything else away initially.
Layering Sounds
- When I launch the first scene, only the Hang Drums will play.
- I'll duplicate the next scene and try to bring something else in, maybe the shakers.
Integrating Instruments
- I'll copy the settings down if I've turned something up, to avoid the volume jumping back to what it was originally.
Finalizing the Arrangement
Adjusting Instrument Placement
- The next layer needs to be a bit different. Let's introduce the main drums now.
- I'll move some tracks around for better organization and impact.
Adding the Bass Line
- The bass line should come in when the main drums enter for maximum impact.
Building Towards the End
- Begin calming things down; we'll make the track smaller and start to remove elements.
- Adding the Brush Drums and ensuring everything fits well.
Conclusion
To summarize, I've created this pre-structure. The idea now is to get this recorded into arrange view. By pressing Tab on my keyboard, I'll switch over to Arrange View, where the proper structure will take its form. From that point on, we can mix the track.
14 Lektionen
2 Std. 26 Min. strukturierte Videolektionen
Erweiterte Videofunktionen
Verlangsamen, Passagen loopen, mitlesen
Handy, Tablet & Desktop
Üben, wo du willst
100 % Zufriedenheitsgarantie
30 Tage Geld-zurück-Garantie
Lern deinen Guru kennen
Lern deinen Guru kennen
Nach einem Praktikum bei Dave Allen, dem Produzenten von Depeche Mode und The Cure, ließ sich John dazu inspirieren, in London Music Technology zu studieren. Seine Musikkarriere nahm nach einem erfolgreichen Vertrag bei CookShop Records Fahrt auf, wo er 9 Singles und 2007 ein Album veröffentlichte, das begeisterte Kritiken von Q, Uncut und Lowdown Magazine sowie Airplay bei XFM und Radio One erhielt.
John begann seine Ausbildung zum Tontechniker 2005 im Bonafide-Studio, wo er sein Können verfeinerte, und gründete noch im selben Jahr Jackdaw Recordings. Er hat mit vielen erfolgreichen Künstlern zusammengearbeitet und begann 2007, für den Pop-Musiker Patrick Wolf zu spielen, mit Auftritten in führenden Häusern in Großbritannien und international – darunter The Astoria und das Shepherds Bush Empire.
Von seinem Londoner Studio aus schreibt John heute Musik, mit zwei weiteren Veröffentlichungen bei CookShop, macht Tontechnik für namhafte Künstler und gestaltet Sounddesign für TV-Spots, Film, Theater und Unternehmensvideos.
Genau diese seltene Mischung aus Songwriter, Produzent und aktivem Studiotechniker bringt John in seinen Unterricht ein. In Creative Composition & Production in Ableton Live und Creative Sampling & Production in Ableton Live zeigt er dir, wie er aus rohen Ideen fertige, veröffentlichungsreife Tracks macht – das Schreiben, das Sampling, das Sounddesign und das praktische technische Know-how hinter einer professionellen Platte.







