



Letzte Anpassungen

Mit
John WatsonJohn Watson nimmt vor dem Mastering die letzten Mix-Feinheiten vor, entzerrt den Streicher-Loop und fügt einen Filter-Delay-Send für mehr Breite hinzu.
Das steckt im Kurs
14 Lektionen (2h 26m) · 2 gratis
01. Erste Schritte & Setup
3:21
02. Eine Sample-Bibliothek verwalten
Gratis-Lektion4:34
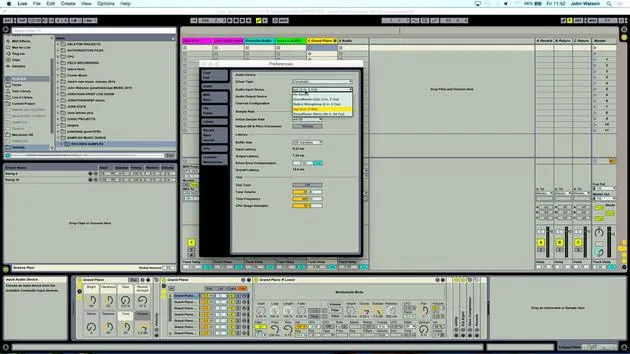
03. Ableton-Einstellungen
1:14
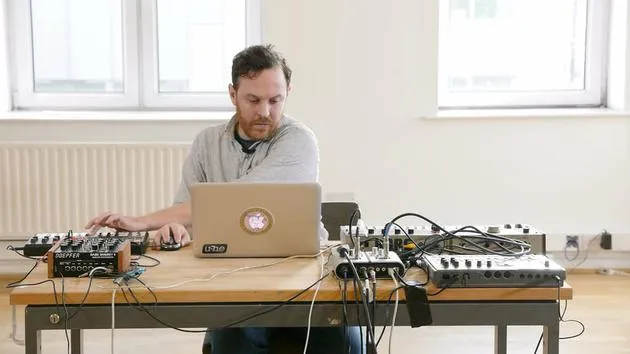
04. Samples verwenden: die Geräte Simpler und Sampler
7:04
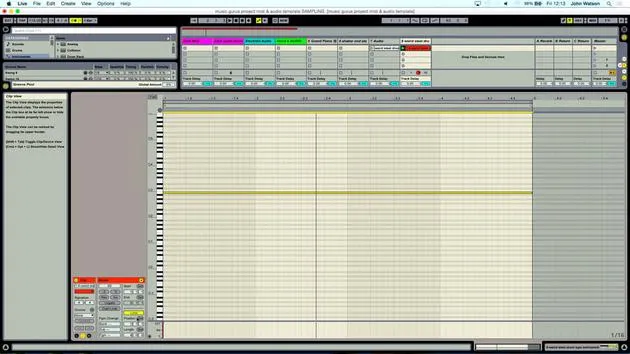
05. Samples in deinem Track verwenden (trimmen, dehnen, stimmen, EQ)
12:56
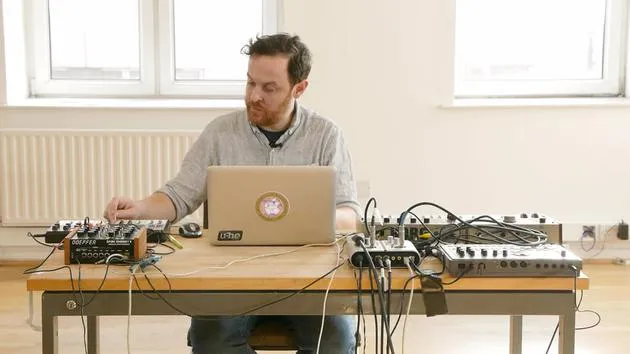
06. Gesampelte Streicher und Flöten hinzufügen
7:28
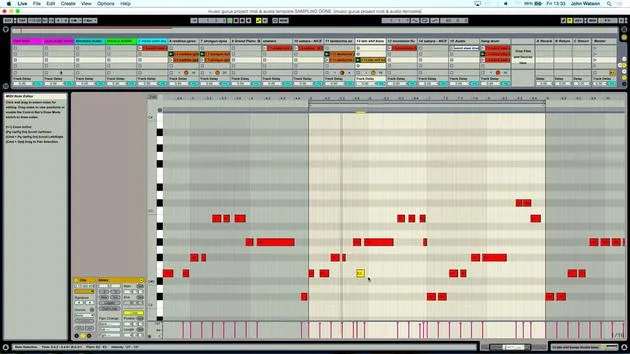
07. Gesampelten Rhythmus hinzufügen: Kicks und Snares
25:07
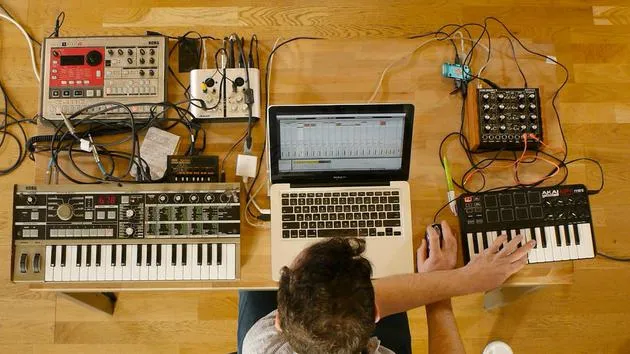
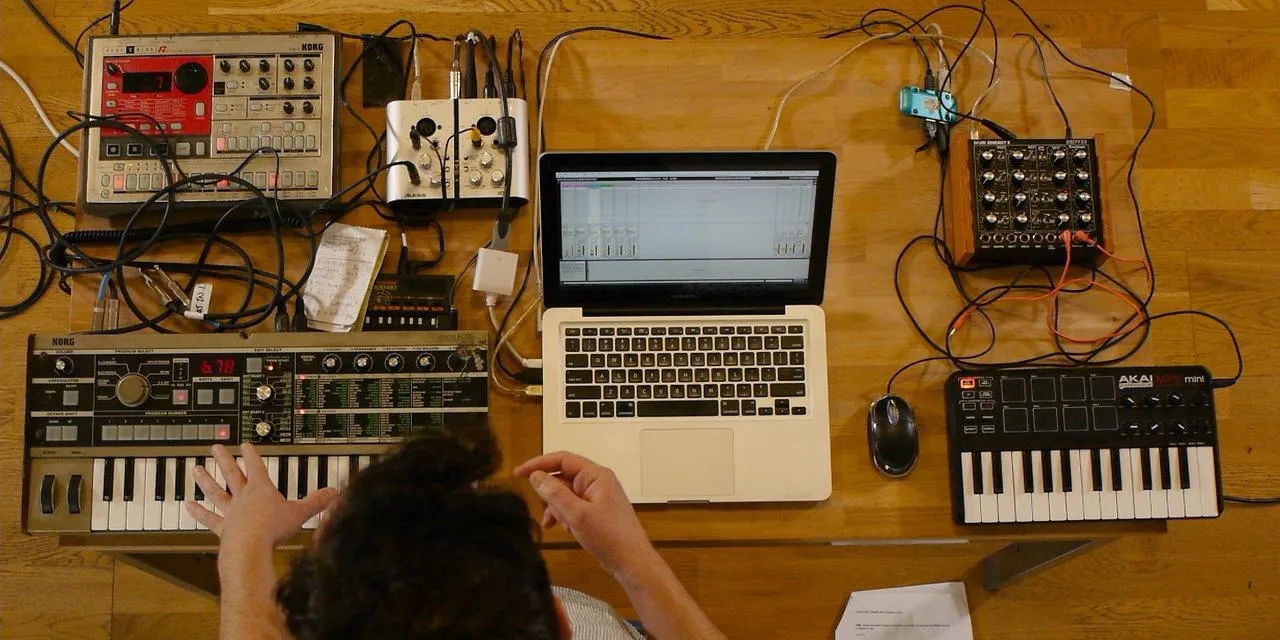
08. Externe Instrumente sampeln - Drumcomputer und Synth
12:28
09. Die Parts in der Session-Ansicht aufbauen
13:55
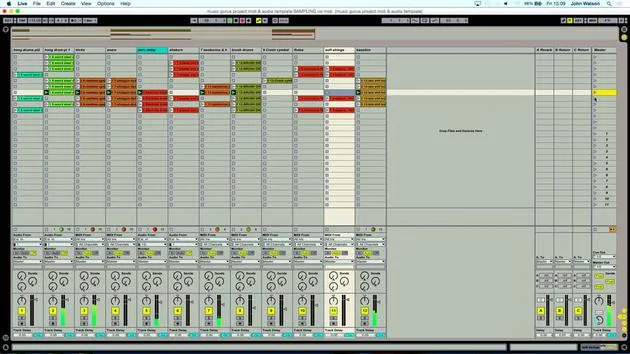
10. Den Song in die Arrange-Ansicht aufnehmen
4:34
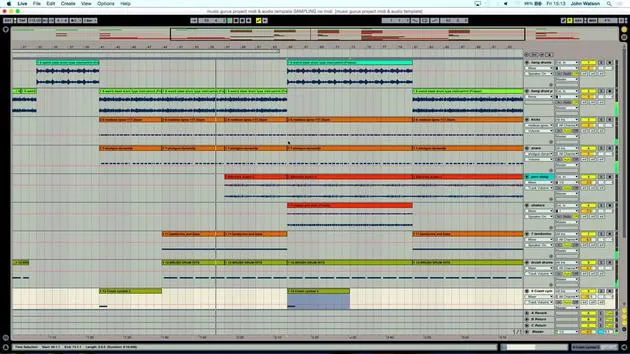
11. Feinabstimmung der Songstruktur
5:35
12. Den Track mischen: Effekte
21:24
13. Letzte Anpassungen
Du bist hier13:14
14. BONUS: Deinen Track mastern und auf Soundcloud hochladen
Gratis-Lektion13:31
Transkript der Lektion
Music Lesson: Working with Strings
Okay, so next up, I think the strings need some attention.
Listening to the Strings
So, what I'm going to do is just loop up the strings here. They're soloed, and I'm going to have a little listen.
- It's another vinyl loop.
- As I've been saying, there's often a lot of low-frequency stuff here.
- There's not too much high-frequency energy, which is good.
Now, I'm going to scoop out a lot of those lows. I could possibly add a little bit of high-frequency energy as well.
Creating a New Effect for the Strings
Now, I'm thinking about creating a new effect for the strings.
- I'm going to get another return track in, like so.
- I'm going to use some delay, specifically, the filter delay, which is a great delay that gives us independent delays on the left and right channels that we can also change the frequencies of.
So, I'm going to take out the left and right and just have left and right. I'll adjust the frequencies accordingly. Let's send these strings to this auxiliary or return track.
- We're on the fourth one here, and let's have a listen.
- We'll also hear it with our string channel.
Can I add some more feedback too? This will mean that there'll be more delays one after another, creating a nice washed-out effect to the sound. I don't think it needs any compression or anything; I'm fairly happy with that.
Mixing It All Together
Let's hear it in the mix. I'm just going to turn it down a little bit and pan it over to the right-hand side.
- This set of strings will move over to the left-hand side by the same amount, 18 right and 18 left.
- Let's have a listen to this section.
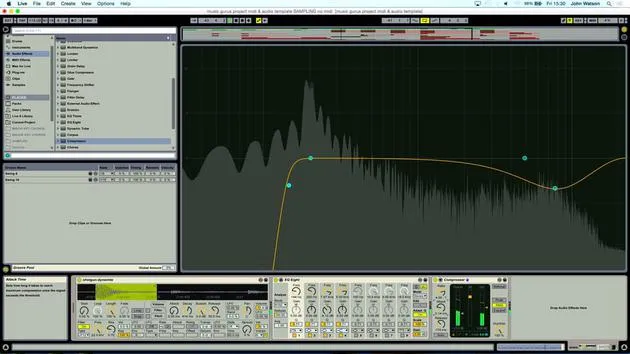
Now, I'm going to zoom in a little bit and loop up this section. Let's load up some EQ.
- It's a little bit resonant, so I'm going to take out some of the mids here.
- There's also a little low cut.
I might send it to that very large reverb I created earlier, which also had some filtering.
- Let's have a listen. It has a nice tail echo effect going on there.
Adding Automation
So, let's come back to the beginning and have a listen through. What I might also do is a little fade with the volume at the start of the track.
- I'm going to make sure that I'm on my track volume.
- I'll pop in a little node at the front.
- We'll fade up over the first eight bars here.
I'm also going to add a slight automation curve at the start.
Adjusting Other Elements
Now, in with the shakers.
- I'm going to cut this string out here; I feel it's getting a little repetitive already.
- We'll calm things down with the structure.
We get the first set of strings, the call and response from the flute section, and then we're going to have a little gap here.
- Maybe we could have a little fade-out here as well, but I think I'll leave that as is.
On the hang drums, I'd like to create more movement and excitement in the sound.
- I'm going to loop these and throw on a filter.
- I'll come in with the auto filter and grab the filter cutoffs.
Once I click on the track in question, the frequency will come up. By adjusting the resonance of the filter, I can filter out the frequencies to achieve a fade-in effect.
- Let's pull this node down.
- That's a nice transition; I think it works well.
I'll open up the filter here because we don't want it to remain permanently closed.
Final Adjustments
Focusing on the individual elements still, the brush drums feel a little dry, so I might add some small reverb. The tambourines sound a bit looped, so I want to create more movement.
- I'm going to use a flanger with a slow rate time, so it rises and falls nicely.
- I'll mix in the original sound a little bit, not wanting the maximum amount of flanger on the track, just about halfway.
Let's check how loud that cymbal crash is; it could be a little bit louder. I'll copy this over as well and put it in a few spots.
Ending the Track
There's a little abrupt ending, so I'm going to put in a fade.
- On the track volume, I'm just going to pull it down.
- I'll use Alt to drag in a little curve.
- Let's grab our cymbal crash for a fade-out of the shakers.
So, I'm fairly happy with the mix now. I feel that everything's really in place, and it's starting to take shape.
Final Thoughts
So, get out there! Grab yourself a field recorder and visit car boot sales or jumble sales.
- Pick up some vinyl, start sampling, it's a great way to create music.
You can check out my other courses at musicguries.com, and I hope you enjoy the course!
14 Lektionen
2 Std. 26 Min. strukturierte Videolektionen
Erweiterte Videofunktionen
Verlangsamen, Passagen loopen, mitlesen
Handy, Tablet & Desktop
Üben, wo du willst
100 % Zufriedenheitsgarantie
30 Tage Geld-zurück-Garantie
Lern deinen Guru kennen
Lern deinen Guru kennen
Nach einem Praktikum bei Dave Allen, dem Produzenten von Depeche Mode und The Cure, ließ sich John dazu inspirieren, in London Music Technology zu studieren. Seine Musikkarriere nahm nach einem erfolgreichen Vertrag bei CookShop Records Fahrt auf, wo er 9 Singles und 2007 ein Album veröffentlichte, das begeisterte Kritiken von Q, Uncut und Lowdown Magazine sowie Airplay bei XFM und Radio One erhielt.
John begann seine Ausbildung zum Tontechniker 2005 im Bonafide-Studio, wo er sein Können verfeinerte, und gründete noch im selben Jahr Jackdaw Recordings. Er hat mit vielen erfolgreichen Künstlern zusammengearbeitet und begann 2007, für den Pop-Musiker Patrick Wolf zu spielen, mit Auftritten in führenden Häusern in Großbritannien und international – darunter The Astoria und das Shepherds Bush Empire.
Von seinem Londoner Studio aus schreibt John heute Musik, mit zwei weiteren Veröffentlichungen bei CookShop, macht Tontechnik für namhafte Künstler und gestaltet Sounddesign für TV-Spots, Film, Theater und Unternehmensvideos.
Genau diese seltene Mischung aus Songwriter, Produzent und aktivem Studiotechniker bringt John in seinen Unterricht ein. In Creative Composition & Production in Ableton Live und Creative Sampling & Production in Ableton Live zeigt er dir, wie er aus rohen Ideen fertige, veröffentlichungsreife Tracks macht – das Schreiben, das Sampling, das Sounddesign und das praktische technische Know-how hinter einer professionellen Platte.







