



Alchemy performance mode
With
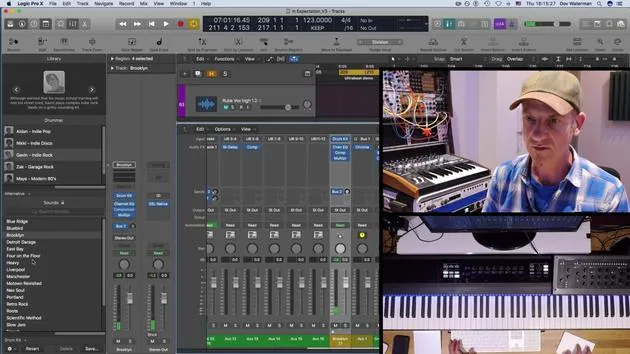
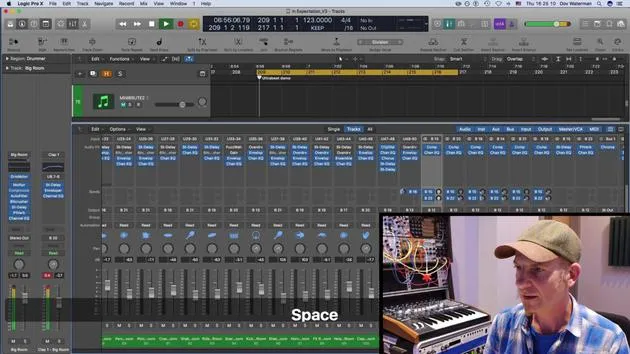
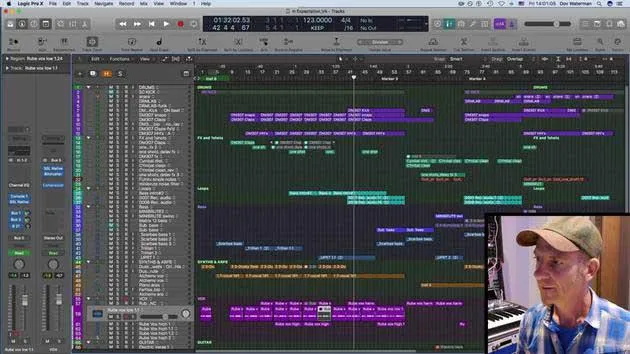
Dov WatermanDov Waterman demonstrates Alchemy's performance mode - bringing a snippet of audio from your track into the sampler and shaping it with snapshots to create a unique sound.
What's in the course
14 lessons (1h 19m) · 1 free
Lesson transcript
Understanding Performance Mode in Alchemy
So, the performance mode in Alchemy is where it becomes a very unique instrument. Apart from being able to add your own audio, if you're working on a specific piece of music, you can make it really individual. You can create something that is not going to be heard by anyone else by taking a snippet of, perhaps, something within the track, such as a vocal recording, and bringing it into Alchemy.
This allows you to affect that audio, making it very unique to both your track and yourself, thus creating a unique sound of yourself.
Working with Snapshots
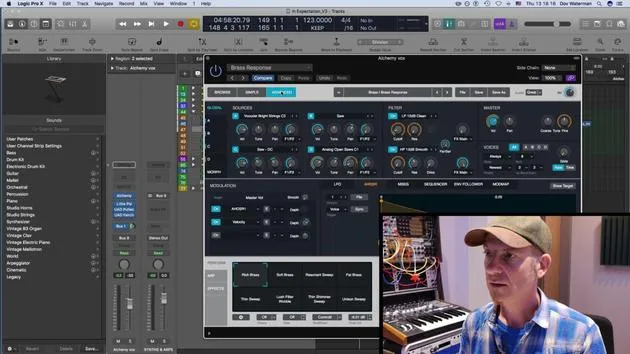
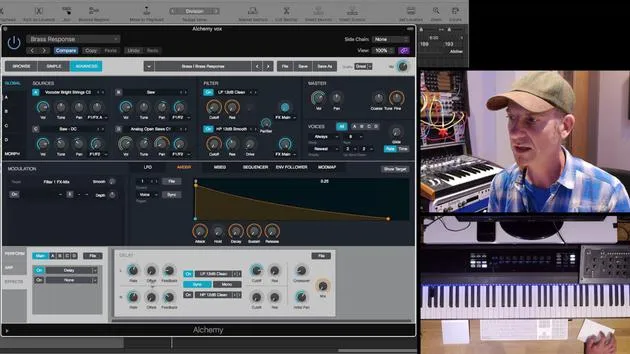
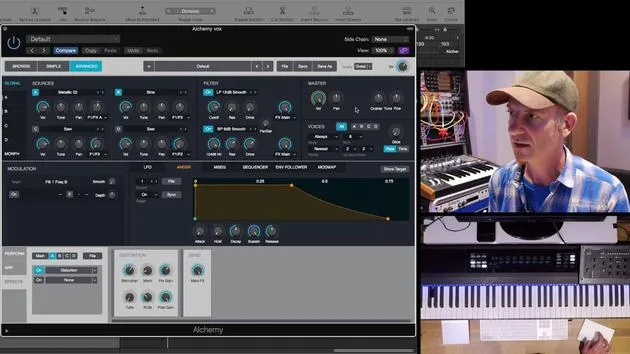
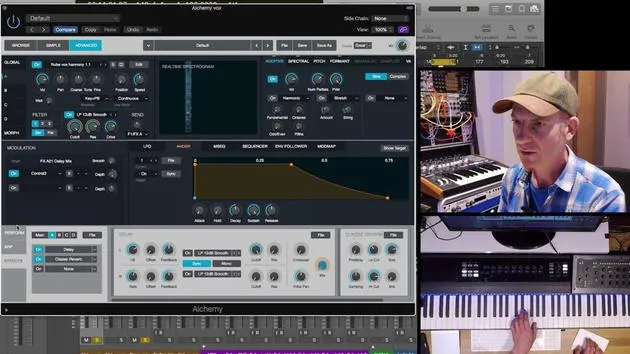
I brought in this snippet we've looked at before. This performance mode features snapshots of various modulations of parameters that you can use.
Saving Snapshots
- Raw Sound Check: Let me just turn this down for a second to check what we've got here.
- Saving Settings: I want to save the current sound that we're hearing. All the parameters should be set the way I want. I'll save this into:
- Snapshot 1
- Snapshot 2: Adjust filter down a little.
Modulation Routing
To set these parameters to the control sections, do the following:
- Highlight the parameter by pressing it (highlight it in blue).
- You can set modulation routing by going to the Perform section and pressing Control 1. Now, Control 1 is affecting the cutoff filter.
Modulating Parameters
- Cutoff Filter: Drop the depth down from high to low.
- Filter Resonance: Call up Control 2 to affect resonance on filter one.
Now, we can save the sound as Snapshot 2 which will have a slightly different sound from Snapshot 1.
Adding Effects
- Now let's move on to Snapshot 3. We'll add modulation on the effects:
- Turn up the delay.
- Set the delay rate to a 16th note, then speed it up to an eighth note.
Setting Control Parameters
- For Control 3, set the delay mix and bring it down to where needed.
- Ensure that the parameters for Control 4 are also adjusted as discussed.
Managing Modulation Targets
- You can have up to 16 modulation targets in this instrument, though we're only using one right now.
Finalizing Snapshots
- Save the settings you've adjusted in Snapshot 4.
- As you play back the arrangement, ensure all necessary parameters are adjusted and saved in the snapshots.
Recording Automation
- You can record modulation as automation. To do this:
- Arm your automation in touch mode.
- Move the controls, switch back to read mode, and it's recording.
Conclusion
You can add any type of parameter to a control and set it to a snapshot. We have eight snapshots available. This creates something very unique and intrinsic to the track itself. It's not just pulling any old sample from a sample library; you're using something that has been recorded from within the track, thus giving it a very unique sound.
Next Topic: Ultrabeat and Virtual Drummer.
14 lessons
1h 19m of structured video lessons
Advanced video features
Slow down, loop a passage, follow along
Mobile, tablet & desktop
Practise wherever you are
100% satisfaction guarantee
30-day money-back guarantee
Meet your guru
Meet your guru
Dov Waterman is a composer, pianist and producer. He has written and designed sound for films including After Earth, Terminator Genisys, Transformers: The Last Knight and The Snowman, and works as a sample-library audio editor and sound designer with companies such as Native Instruments and SonoKinetic.
His Composition in Logic series walks through building a track end to end in Logic Pro - from templates and workflow to synthesis and beat programming, MIDI effects, editing and the final mix - for producers who want to turn their ideas into finished records.







