



Introduction à l'enregistrement audio
Avec
Aamir Yaqub
Le contenu du cours
14 leçons (1h 22min) · 1 gratuites
01. Bienvenue dans l'enregistrement audio
0:58
02. Introduction à l'enregistrement audio
Tu es ici4:47
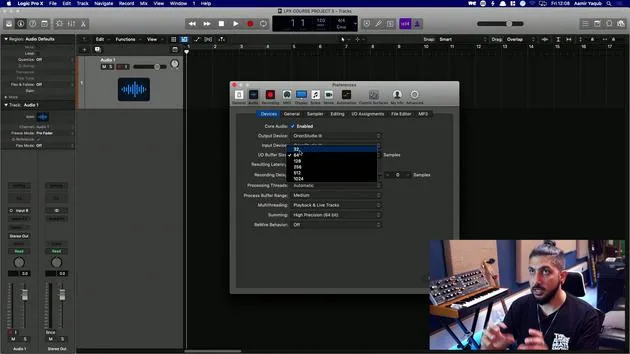
03. Utiliser le métronome
5:00
04. Faire ton premier enregistrement
Leçon gratuite5:32
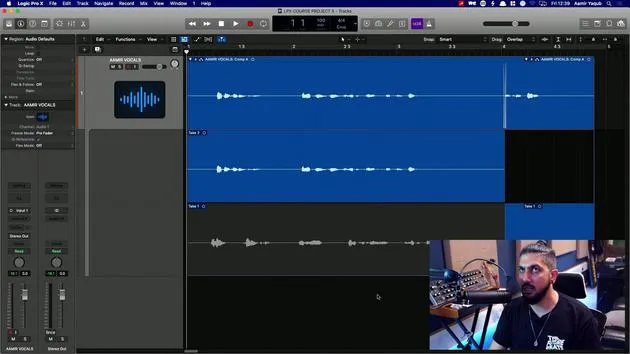
05. Comping
13:03
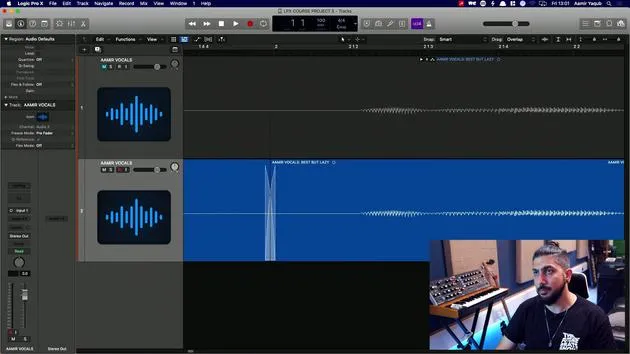
06. Éditer l'audio
9:41
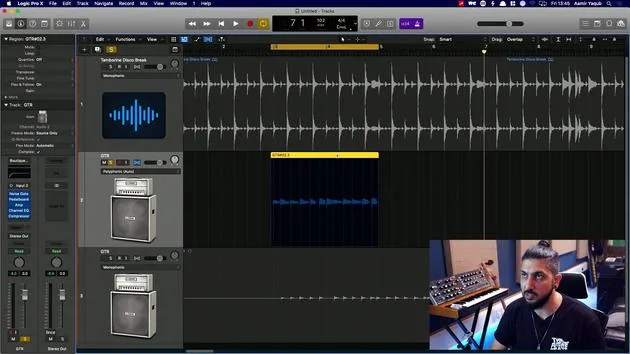
07. Gérer les fichiers du projet
3:46
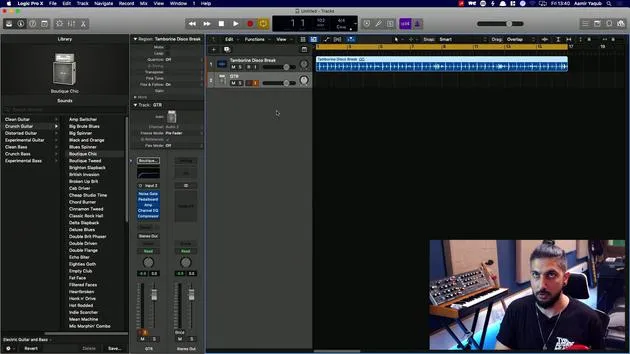
08. Enregistrer une piste d'instrument
2:06
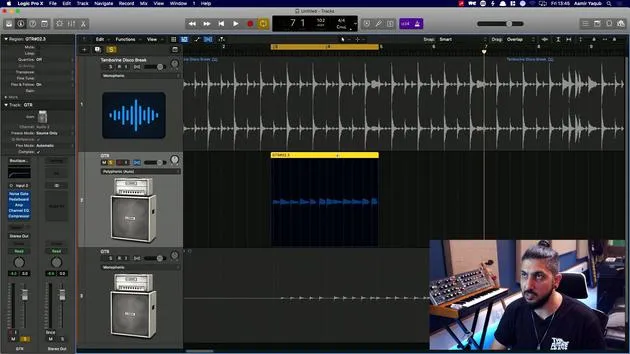
09. Comment utiliser Flex Time
10:58
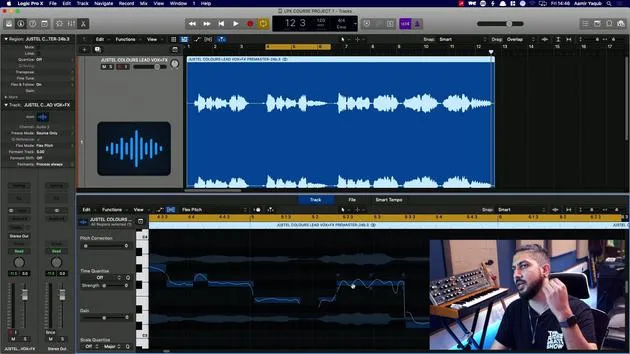
10. Comment utiliser Flex Pitch
11:12
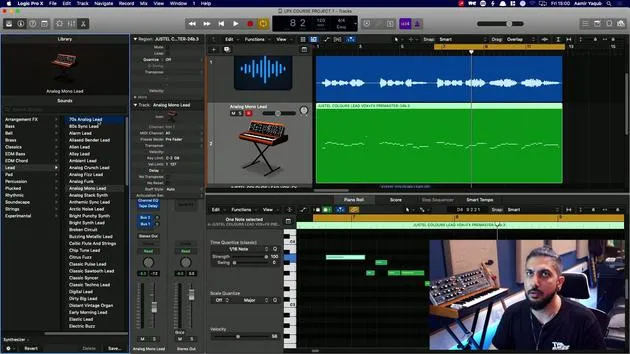
11. Convertir la hauteur en données MIDI
3:11
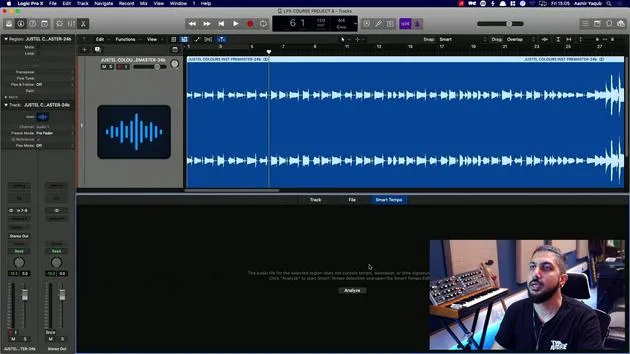
12. Smart Tempo
3:04
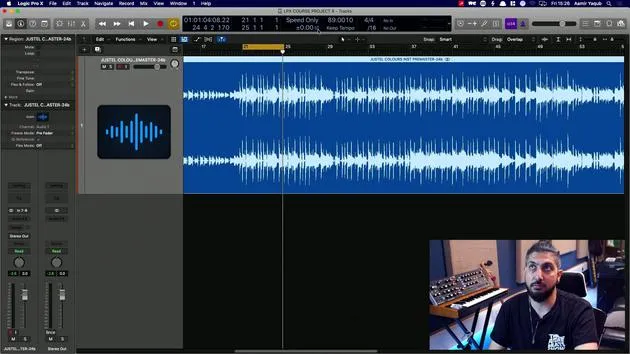
13. Paramètres et usages de Varispeed
4:08
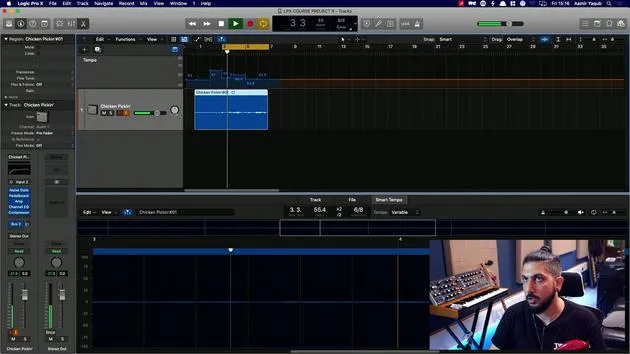
14. Tempo de projet adaptatif
5:00
Transcription de la leçon
Recording Audio in Logic
So let's talk about recording audio. One thing you're probably going to have to get familiar with is how to record audio into Logic. Now, this is obvious if you're a singer or an instrumentalist, but perhaps not so much so if you're an electronic producer.
Key Points:
- If you're an electronic producer, don't think that you won't have to record audio.
- For instance, if you really want to:
- Record a hardware synth
- Record some live percussion
- Record a vocalist who is top lining on your track
You're going to need to know how to record audio.
Setting Up to Record
Before we dive into how to record, we should take some time to look at how to set up for recording. Recording audio can take place in a number of different ways:
- The most obvious is the use of a microphone.
- We can use guitars and plug them straight into our audio interfaces.
- Other devices we can plug in include hardware synthesizers or turntables.
As you've probably gathered, you'll need to use an audio interface to receive the signals from the devices you choose to record from.
Analog to Digital Conversion
The audio interface does a job of converting the signal from an analog signal into a digital one. This process is known as analog to digital conversion, or simply AD conversion. The digital signal is the one that is recorded into Logic, and it appears in our tracks area as a region.
Inputs and Channel Strips
One thing to note about your audio interface is that you're likely to have one or two inputs, maybe more. The input that you have plugged your instrument or microphone into will have to correspond with the input you select in your audio channel strip.
Signal Flow
Here's how the signal will flow from your microphone or instrument into Logic:
- The microphone or instrument transforms sound pressure waves into an analog electrical signal.
- The microphone preamp amplifies that electrical signal.
- The gain knob on your interface allows you to set a proper recording level to avoid distortion.
- The analog to digital converter transforms the analog electrical signal into a digital data stream.
- The audio interface sends the digital data stream from the converter to the computer.
- Logic Pro saves the incoming data as an audio file, which is displayed on the screen in a region and represented as a waveform (a representation of the sound pressure wave).
Understanding Digital Audio
Understanding digital audio requires a bit of knowledge about what comprises a digital audio file.
Sample Rate and Bit Depth
We have two key elements:
-
Sample Rate
- Digital converters sample the analog signal at fast time intervals, known as the sample rate.
- Example: A sample rate of 44.1 kHz (44,100) takes 44,100 snapshots of the audio per second.
- 44.1 kHz is considered the lowest acceptable sample rate for high-quality audio.
- Higher sample rates take up more file size.
-
Bit Depth
- Bit depth is the resolution of the audio.
- Older gaming consoles had 8-bit sound and then transitioned to 16-bit.
- Logic records by default at 24 bits, which is sufficient for most needs.
Understanding Latency
One final concept to understand when it comes to recording audio is latency.
- Latency refers to the delay in time caused by the audio being picked up by your computer, then going into Logic, and finally coming back to you so you can hear it.
- The amount of latency is determined by your buffer size.
- Higher buffer sizes tend to mean higher latency.
- Lower buffer sizes are preferred when recording.
Now that we have a good understanding of these concepts, let's jump into Logic and see how this all comes together in practice!
14 leçons
1h 22m de leçons vidéo structurées
Fonctions vidéo avancées
Ralentissez, bouclez un passage, suivez la partition
Mobile, tablette et ordinateur
Pratiquez où vous voulez
Satisfaction garantie à 100 %
Garantie remboursement 30 jours
Rencontrez votre guru
Rencontrez votre guru
Aamir Yaqub est un producteur et ingénieur du son basé à Londres. Il a travaillé avec certains des plus grands noms de la musique, dont Alicia Keys, David Guetta, Rihanna, Sia et will.i.am, tout en développant des artistes indépendants.
Au fil de ses cours, il enseigne l'intégralité de son flux de travail sur Logic Pro : de l'interface et de l'enregistrement à la création de beats, la synthèse et les effets MIDI, jusqu'au mixage et à la finalisation d'un morceau.







