



Distribución de teclas III - Secuenciación por pasos
Madeleine Bloom muestra cómo grabar una línea de bajo con el secuenciador melódico por pasos de Push, cambiando desde la distribución de teclas y ajustando la longitud y la resolución de tu loop.
Qué incluye el curso
16 lecciones (3h 6m) · 1 gratis
Transcripción de la lección
Recording a Bass Line with the MIDI Track
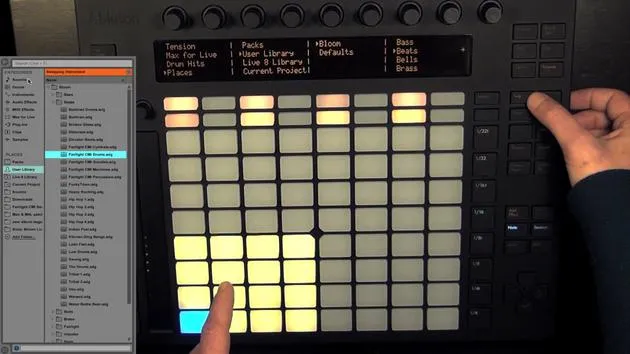
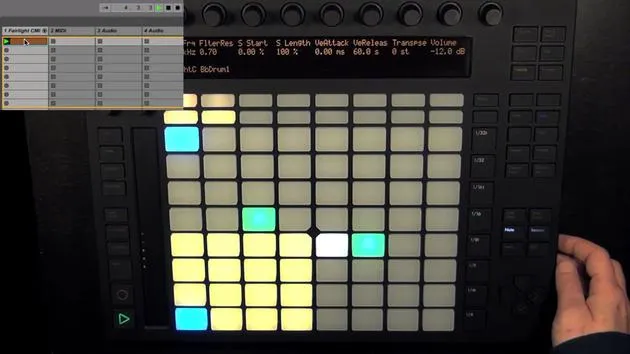
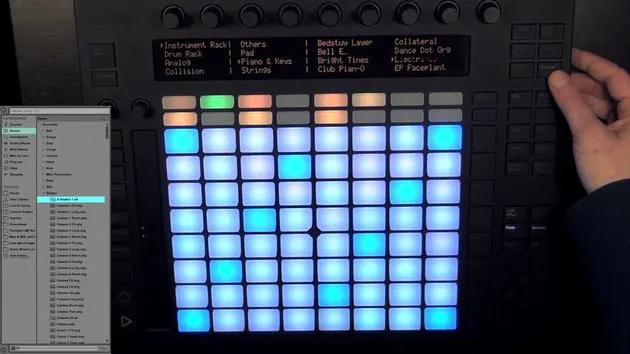
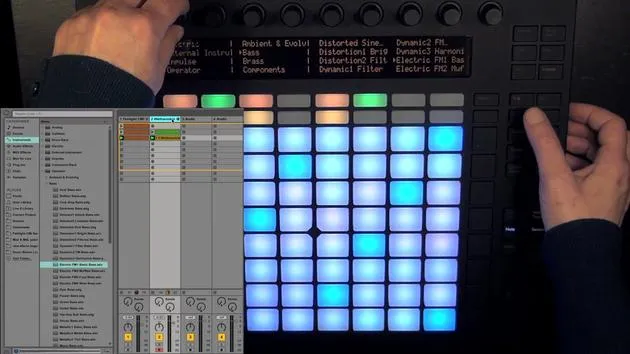
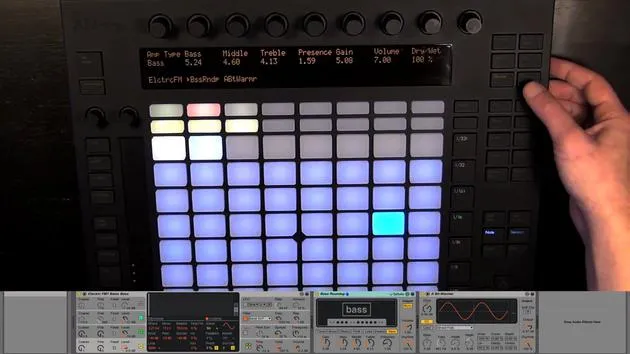
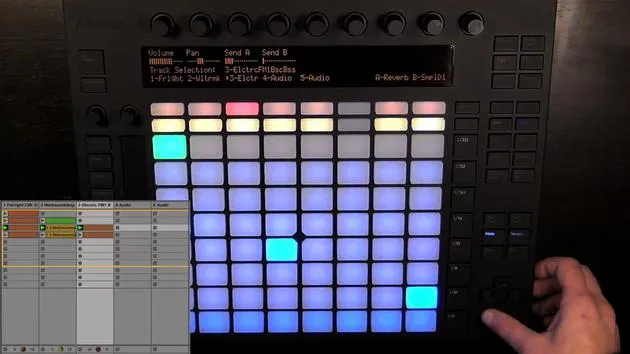
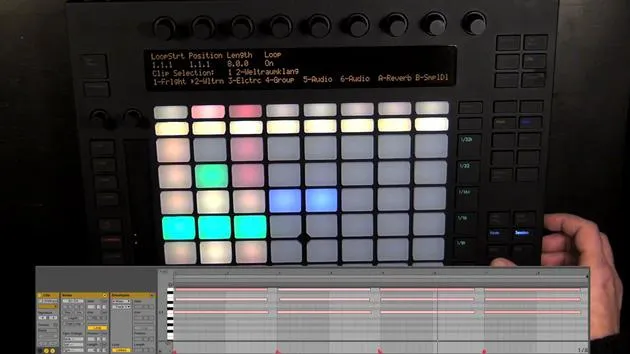
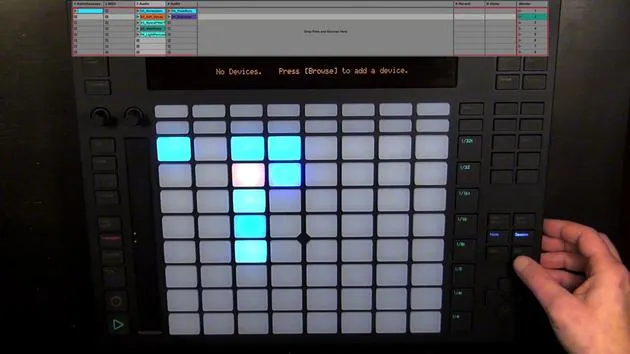
And now we could record a nice bass line in the new MIDI track, and we could do that in the melodic step sequencer. For that, we only have to press note again.
Key Layout and Sequencer
- When the MIDI track contains a MIDI instrument, note toggles between the key layout and the melodic step sequencer.
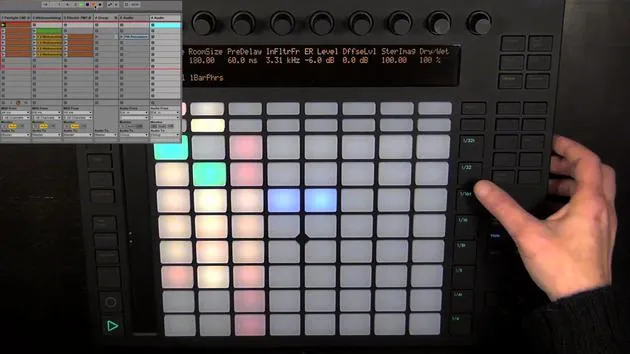
- In the scene grid section, we can set the resolution for the step sequencer. The MIDI melodic step sequencer is currently set to 116 nodes.
Loop Length and Note Input
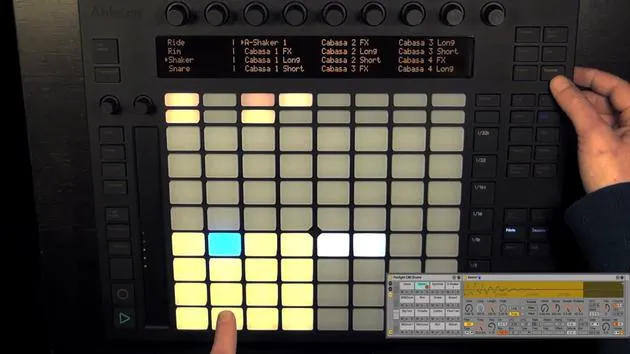
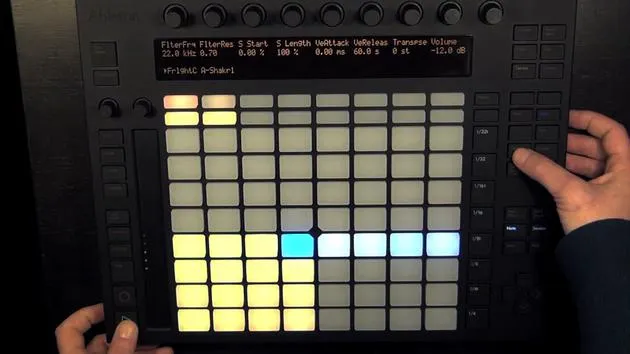
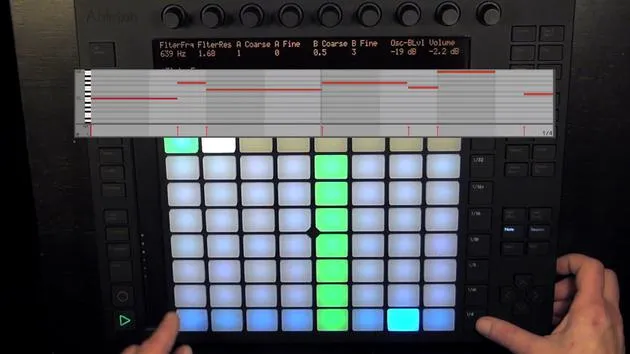
- The top row is responsible for the loop length controls, and all the other pads (seven times eight) are responsible for the note input.
- The pitch and position are determined:
- Position: Left to right
- Pitch: Upwards
Using the Inky Layout
It's actually best to use the inky layout for the melodic step sequencer because otherwise, you may have notes that don't belong in the scale. Now, it's better folded up.
- You can use octave up and octave down, or the touch strip to move.
- You can always see the notes you can input in the display.
Creating and Playing the Clip
As soon as I add the first note:
- A clip is created and playback starts.
- The clip is four octaves long.
- Each pad is one page and two beats (or half a bar) long.
- Two pages equal one bar.
Understanding Colors
Now, about the colors:
- Blue means the root node.
- We can move the position of the root node with shift + octave up or down if we want to move by individual rows, which comes in quite handy when working with a melodic step sequencer.
Step Control
- We can hold a step, but maybe first change the resolution to a fourth.
- Pressing a step that contains a node deletes it.
- Set the loop to the first two pages, which is two bars in this resolution. Not really exciting just yet.
Loop Length Controls
The loop length controls work the same way, so we could choose this as well.
- There's nothing in the second half right now.
- I've chosen the first two pages again, but I could just lengthen it as well.
- As I said, these two pages correspond to two bars in the 1/4 note resolution. We could go up all the way to eight full bars.
Accessing Clip Controls
In the melodic step sequencer, you can also access the clip controls by holding a pad.
- Then you can adjust the settings:
- Make this full velocity.
- Maybe adjust notch for this one so I can move it forward or backward (backwards with negative values).
Lengthen Steps
This step I'd also like to make longer; it should be two steps long, so that's legato.
- Maybe make this one longer as well, so it's also legato.
We could also change the resolution to eighth notes and make changes that way.
- If I hold this pad, you can see that it's two steps long in that resolution.
- This step, I think I'm going to match as well 50%; and half note length.
Loop Length Controls in Different Sequencers
Now, I'm to make this one longer.
The loop length controls work exactly the same way as in the drum step sequencer.
- If I choose a different resolution, you can see that there are now four pages in the loop.
- One tab chooses the page; hold until tab sets the loop length.
- Let's take only the first two pages.
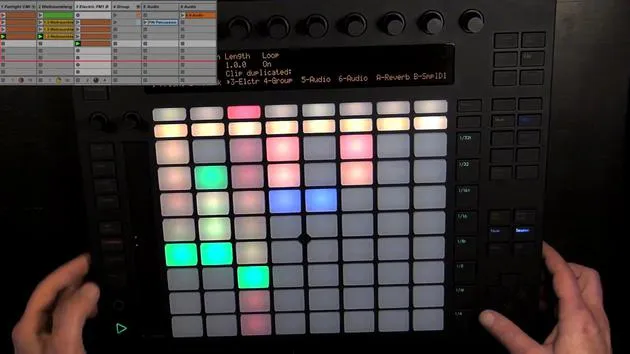
Duplicating Clips
We could duplicate the same. Another possibility would be to use double to double or a short bass line.
Then we could add a little variation as well. Instead, I'm going to have the variations in two clips.
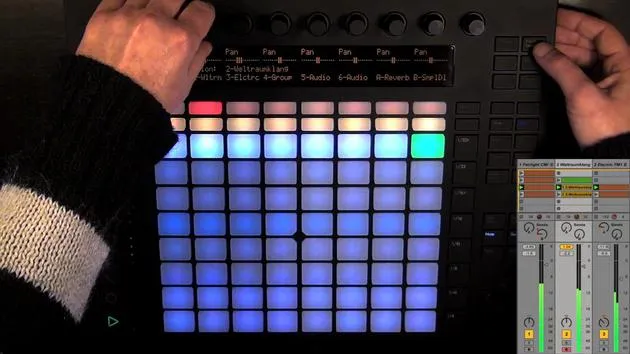
Now, we can simply launch the scenes to have variations in our bass line.
Conclusion
All right, so basically the functions are the same in both step sequences.
- Maybe change to eighth row resolution.
- Then we can hold mute and press pad to mute the note.
- Mute in the pad again to unmute.
16 lecciones
3h 6m de lecciones en vídeo estructuradas
Funciones de vídeo avanzadas
Ralentiza, repite un pasaje, sigue la partitura
Móvil, tablet y ordenador
Practica donde quieras
Garantía de satisfacción 100%
30 días de garantía de devolución
Conoce a tu gurú
Conoce a tu gurú
Madeleine Bloom es una música de formación clásica, productora, multiinstrumentista y cantante de Berlín, y fundadora del sello Quixotica Records. Estudió música electroacústica en el Conservatorio Franz Liszt con el Prof. Robin Minard, y lleva esos métodos a su propia mezcla de pop electrónico. Su música ha recibido elogios de los productores Guy Sigsworth y Rupert Hine, así como una invitación personal de Imogen Heap, cuya gira abrió como telonera.
Antigua agente de soporte técnico de Ableton, en 2012 fundó la plataforma online Sonic Bloom, donde enseña Ableton Live y producción musical mediante cursos, talleres y clases individuales. Ha ayudado a personas de todo el mundo con Ableton Live, Push y Max for Live, además de con ingeniería de sonido, teoría musical, composición y diseño de sonido.







