



Distribución de teclas II - Escalas
Madeleine Bloom muestra cómo trabajar con escalas y distribuciones de teclas en Ableton Push, incluida la distribución 'in key' que te impide tocar una nota equivocada.
Qué incluye el curso
16 lecciones (3h 6m) · 1 gratis
Transcripción de la lección
Music Lesson: Exploring Scales and MIDI Tracks
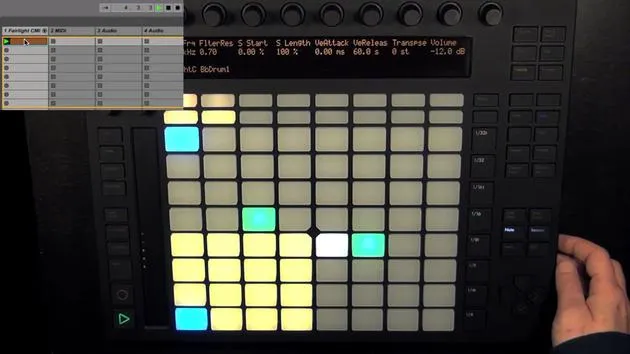
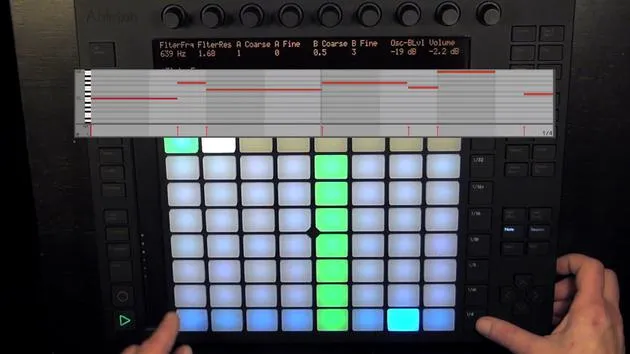
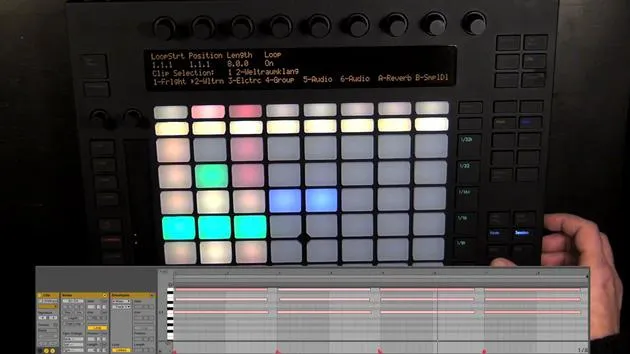
I've already mentioned before that, by default, C major is set as the key, and we're in the "in key" layout. This means that only notes within the key are shown, so we can't really play anything wrong.
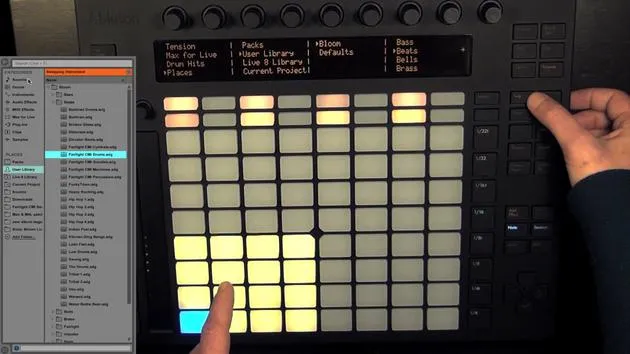
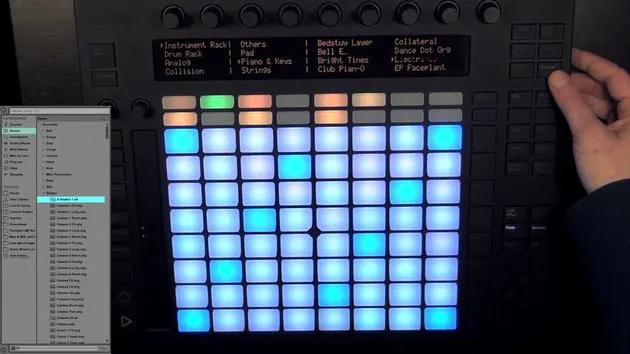
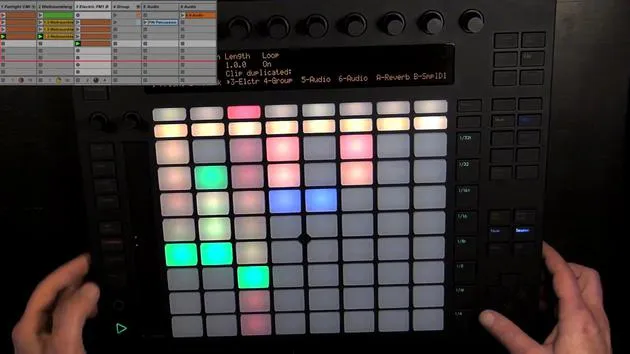
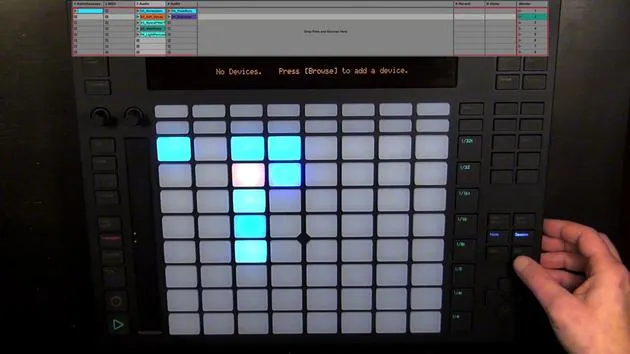
Of course, we can also choose other keys. But before we do that, maybe we can change the sound or add a track. So, let's press Add Track. This will create a new MIDI track and take us into browse mode.
Creating a MIDI Track
- A MIDI track will actually only be created once we've chosen an instrument for it.
- I've already looked at what I would like to use, and I'd like to create a bass next.
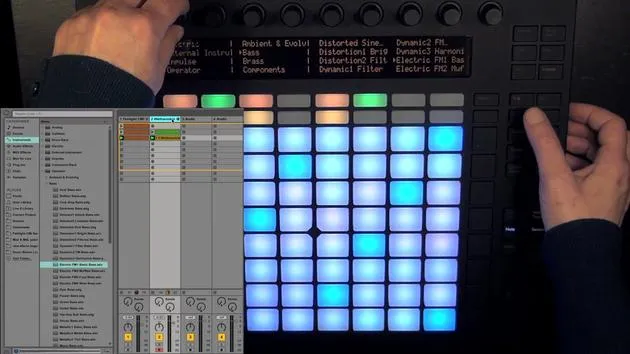
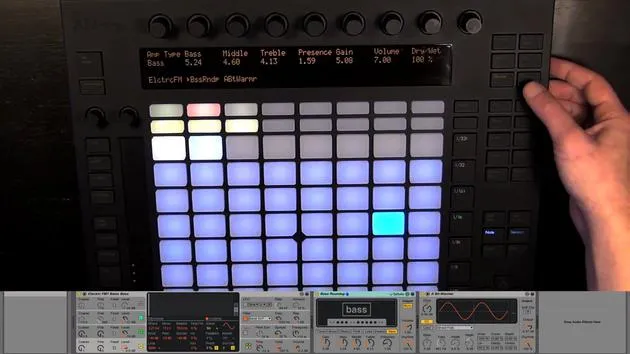
- I've chosen an operator sound, so let's load it.
Now we have the MIDI track with the operator preset on it, and we can leave the browse mode again.
Working with Scales
We can actually enable scales now. You can see that the standard is indeed C major, and we've already recorded something with it.
Changing the Scale
- We can change the scale using either the first encoder or the two pads right underneath to go up and down.
- First off, we've got:
- Major
- Minor
- Different Church modes
- Whole tone
- Halftone
- Blues
- Pentatonic
- Arab style
- Gypsy
- Different Asian modes
The most commonly used scales in Western popular music are major and minor, of course.
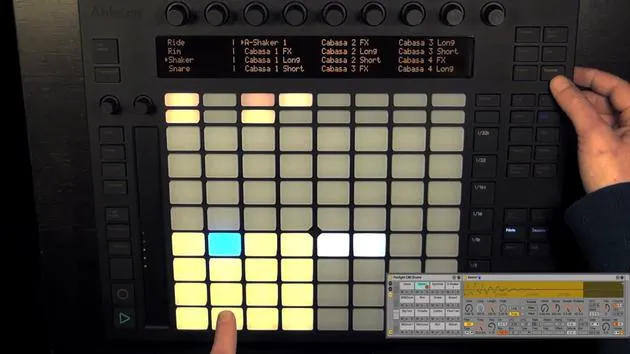
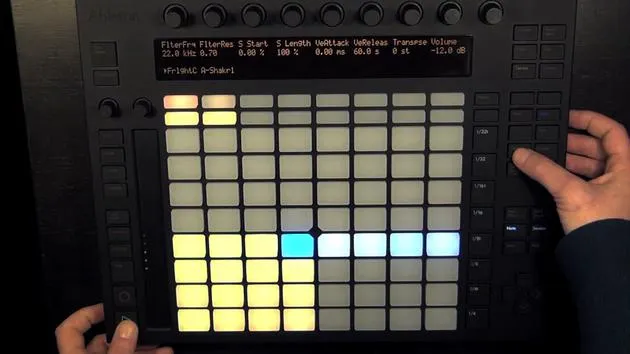
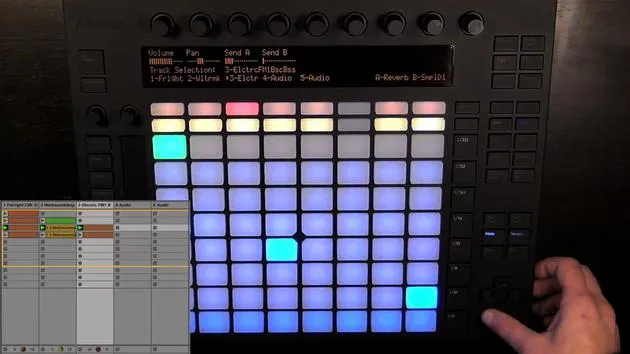
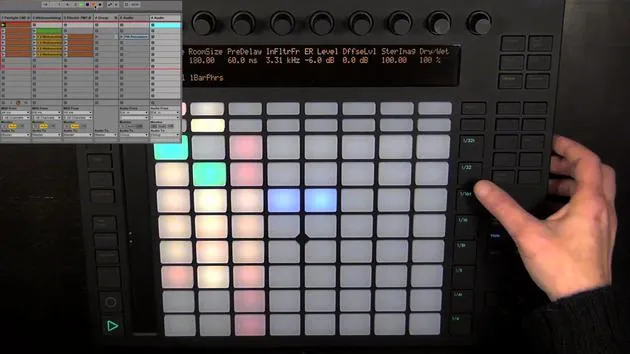
After choosing the scale, we can choose the root note. Here we see that C is chosen, indicated by a little triangle. The pad underneath it is yellow, while the others are green, meaning we can still choose them. They correspond with the notes shown in the display.
Selecting D Minor
What I could do is first choose a different scale, maybe minor. Let's choose D.
- So now we've got D minor.
- Every blue pad would now represent D, allowing us to play the D minor scale.
If I press this button here, then I'll change Fixed to Yes, which means that the grid is fixed. The root note no longer has to be in the bottom left corner, except when it actually is C major, minor, etc. Now, D has moved one spot to the right.
Understanding the Layout
You can only find C in those keys that actually contain C. Otherwise, you'll find the next note in the key at that position. The root note is in different positions depending on what it is. Currently, we're in the "in key" layout, meaning the keys are folded up, so only the notes in the key are shown. This hides the notes that are not in the scale.
If I press this button, we can switch to the chromatic layout, which shows all 12 keys, with the ones not part of the scale being unlit.
I personally find this layout quite confusing. I might only use it to add some fills or notes that aren't in the scale, which could make it more interesting. Then I would probably switch momentarily to overdub.
Returning to C Major
Let's go back to the in key mode and return to C major. I can show you how the layout differs, which you can see by the arrangement of the root notes.
For example, the minor blues scale has a significantly different layout. I'll switch back to C major because we already recorded something and we'd like that to match; otherwise, it probably won't.
Choosing Different Scale Layouts
If we hold Shift while still in the scales mode, you can see that we can choose different scale layouts, six total. You can select them with the pads. By default, the first one is chosen:
- A note, a row up, is always a fourth higher.
- The next layout is also based on fourths, but going to the right.
- The next layout is based on thirds, where one row up means always a third higher.
- Another layout is still based on thirds but going to the right.
- Last but not least, we have sequential, which offers a much wider range of octaves that you can cover.
Whenever you need that, the sequential layout might be great.
A Tip on Triads
Here, you would go through the whole row, and you can change the direction. I'm going to switch back to the default because I'm already used to it.
There's a neat little trick with the layout based on thirds: the triads can be simply played with stacks. Let's move the layout up an octave as a little tip:
- Count: root, second, third, fourth, fifth, sixth, seventh, eighth (root note, one octave up).
Now, I'm going to change it back to the default and let's leave the scales mode again.
16 lecciones
3h 6m de lecciones en vídeo estructuradas
Funciones de vídeo avanzadas
Ralentiza, repite un pasaje, sigue la partitura
Móvil, tablet y ordenador
Practica donde quieras
Garantía de satisfacción 100%
30 días de garantía de devolución
Conoce a tu gurú

Conoce a tu gurú
Madeleine Bloom es una música de formación clásica, productora, multiinstrumentista y cantante de Berlín, y fundadora del sello Quixotica Records. Estudió música electroacústica en el Conservatorio Franz Liszt con el Prof. Robin Minard, y lleva esos métodos a su propia mezcla de pop electrónico. Su música ha recibido elogios de los productores Guy Sigsworth y Rupert Hine, así como una invitación personal de Imogen Heap, cuya gira abrió como telonera.
Antigua agente de soporte técnico de Ableton, en 2012 fundó la plataforma online Sonic Bloom, donde enseña Ableton Live y producción musical mediante cursos, talleres y clases individuales. Ha ayudado a personas de todo el mundo con Ableton Live, Push y Max for Live, además de con ingeniería de sonido, teoría musical, composición y diseño de sonido.







