



Dispositivos, plug-ins y pistas de Live
Qué incluye el curso
16 lecciones (3h 6m) · 1 gratis
Transcripción de la lección
Music Lesson: Navigating Device Modes and Parameters
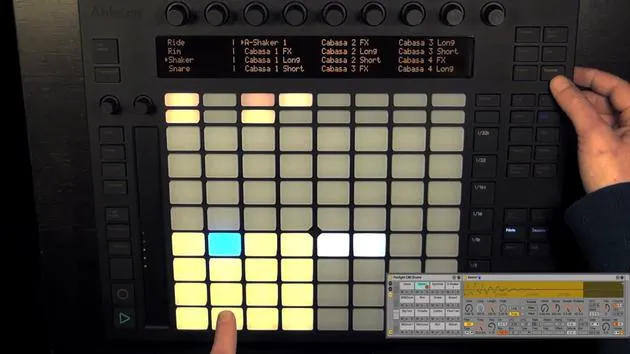
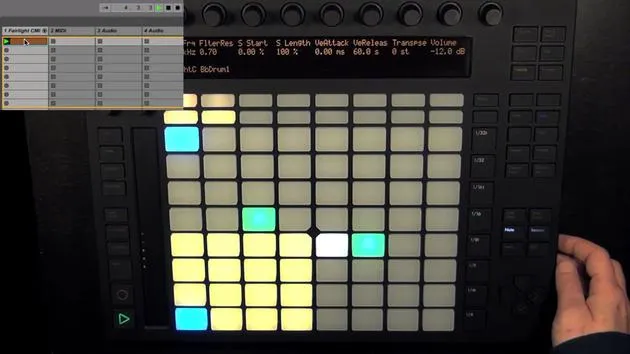
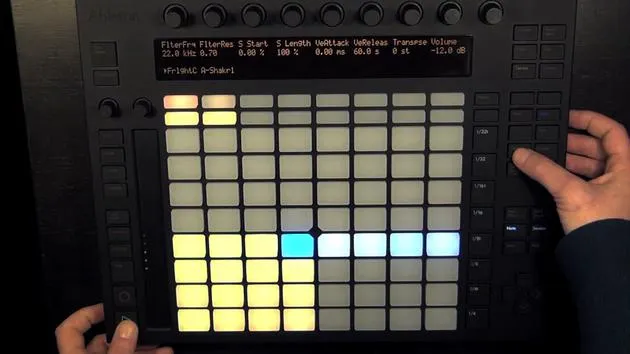
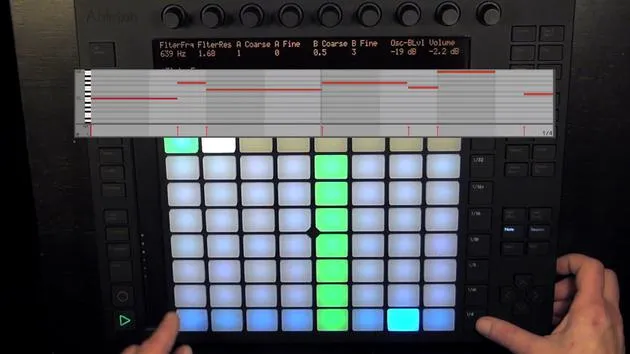
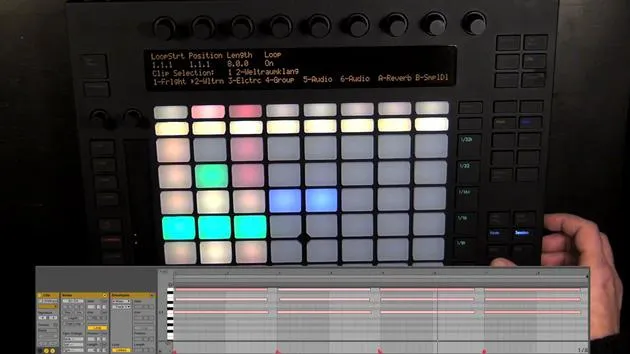
As you might have already noticed, in the display we see parameters, and we are currently in a device mode. This means that we can simply turn one of the eight encoders on top and change the parameter described in the display below, such as the filter frequency or filter resonance, and so on.
Operator Preset
- This is an operator preset in this track.
- The first eight parameters are shown, and we can adjust them.
- To delve deeper, we can use the In button.
Let's press it. As we can see, we have the option to choose different elements: the different oscillators, LFO filters, and so on.
Accessing Parameters
- Choose Parameters: We can select them with the pads of the first row and access those parameters.
- In Button: Right now, we see that In is not lit anymore, which means we can't go any further in.
- Out Button: We can use the Out button to navigate back out again.
Navigating Tracks
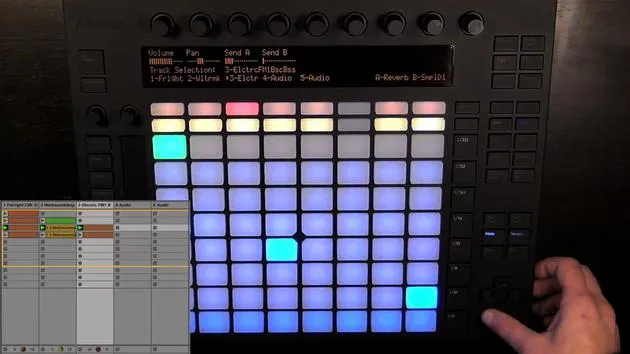
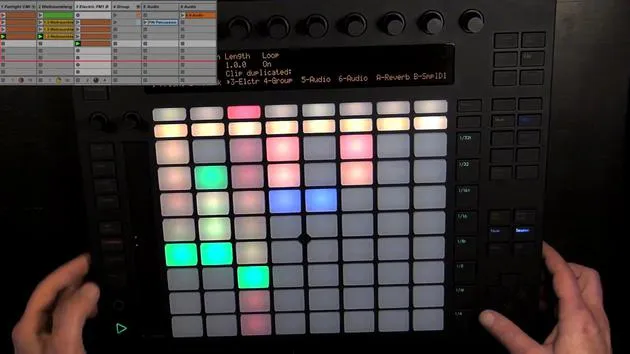
- I'm going to navigate to the previous track, which contains the arpeggiated sound.
- This track contains:
- An instrument rack with MIDI effects,
- A simpler (an instrument),
- A reverb (an audio effect).
Macro Mapped Parameters
- It's macro mapped, and we can see the macros displayed.
- This means that as soon as you have macros, you have access to those parameters right away.
- It's always a great idea to do that when you make your own presets and map your preferred parameters to the macros.
Adjusting Parameters
- We have parameters for the chord or Arpeggiator that we can adjust with the encoders on top.
- Of course, we can press In again to see the different devices: WebCort, Arpeggiator, Glucken (which is my simpler), and then the reverb as well.
- By default, the instrument is always chosen, but we could choose Chord instead.
Visual Indicators
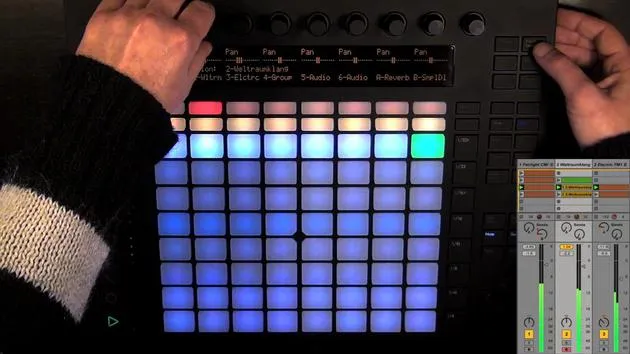
- Now we can access and change its parameters, using In and Out to access more parameters of the instrument rack.
- Note: One button is grey while the others are amber, indicating that the device (in this case, the effect) is deactivated.
Activating and Deactivating Devices
- The grey button means it cannot be turned on and off. However, I can still press the second one because I mapped them to the macros.
- By default, with the second row of pads, you can turn on/off devices and effects.
Changing Parameter Values
- I'm going to show you how simple it is to change parameter values.
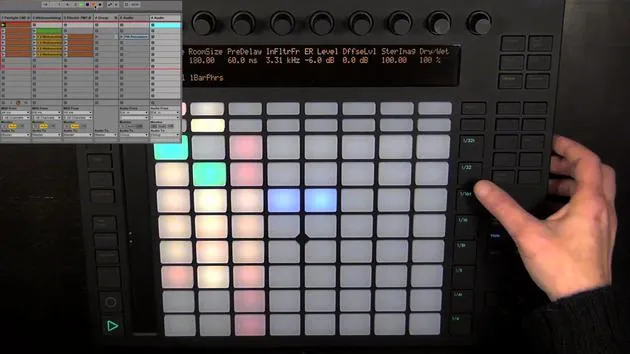
- Let's start with reverb and make it a little less wet.
- We could also change the reverb density a bit.
Arpeggiator Adjustments
- We could also change the sync rate of the arpeggiator, maybe setting it to quarter notes to make it less hectic.
- Since I macro mapped that, I could also change the style.
This quick access with macros is great for preparing changes during Live performance.
Adding Effects
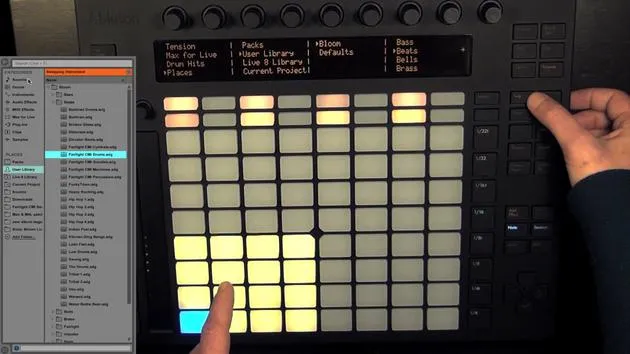
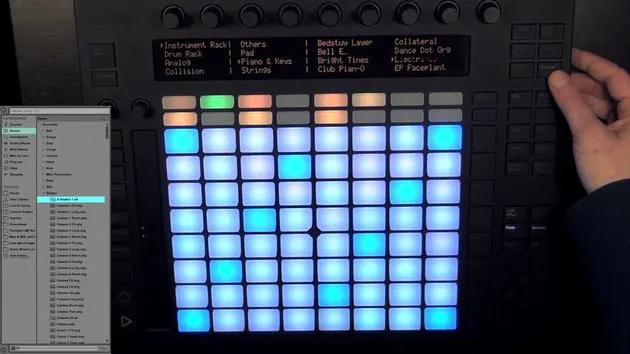
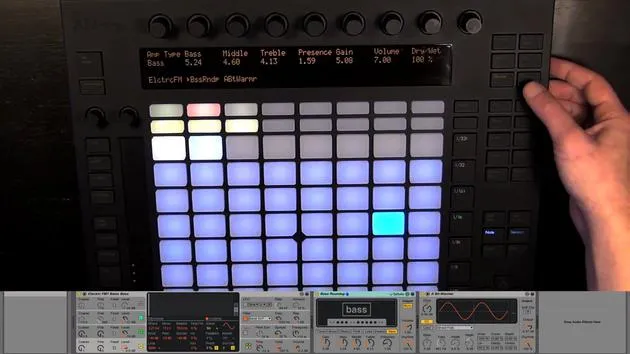
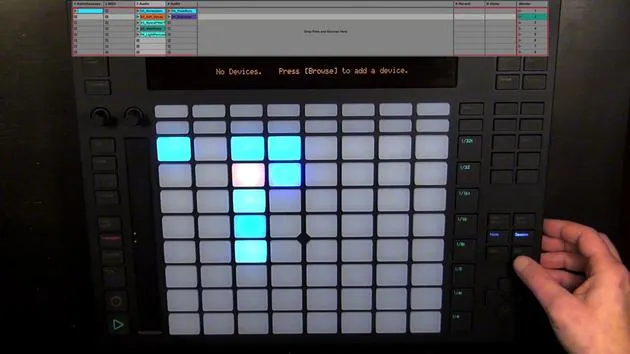
- I can also add effects with Add Effect. Let's do that with the bass track.
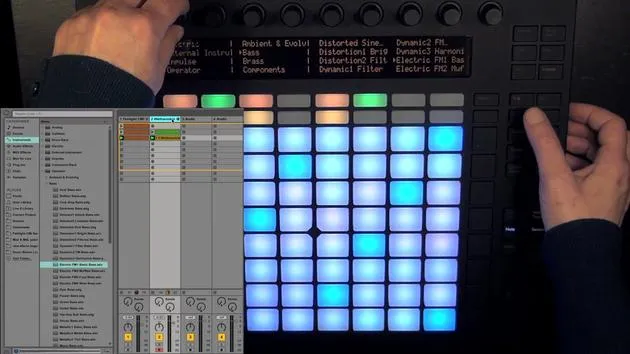
- Press Add Effect, which takes us directly into the browse mode. Here, we can see all the audio effects that we can add.
Adding a Saturator
- Let's add a saturator to the bass.
- Before we listen to our result, note that we are currently in hot swap mode, which means pressing the button again will choose the next preset.
- To leave hot swap mode, simply press Browse again.
Playback and Effect Adjustment
- While we're still in device mode, we have the operator preset and the saturator preset currently chosen.
- Before playback, we can choose to change parameters. For example, let's adjust the pre-distorted bass.
Adding More Effects
- By default, the effect is added to the right of the selected device.
- If I press Add Effect again, I will see options to add additional effects.
Adding Effects to the Left
- It's possible to add effects to the left as well. To do this, keep Shift pressed and then press Add Effect.
- Choose Device and by leaving browse mode again, you'll see it has been added to the left of the saturator.
Adding MIDI Effects
- To add a MIDI effect, you can only do this on MIDI tracks.
- Select the leftmost device on the track, keep Shift pressed, and then press Add Effect.
Example: Adding an Arpeggiator
- Let's add an Arpeggiator preset for demonstration.
- You can see the first eight parameters, and we can also use In for further parameters and Out to navigate back.
Deleting Devices
- If I want to remove a preset I added earlier, hold Delete and press the pad underneath the device to delete it.
Adding New Tracks
- We can also add new tracks with Add Track.
- By default, a MIDI track is added when you press Add Effect.
Adding Audio and Return Tracks
- To add audio or return tracks, hold Add Track and see options in the display.
- Simply press the pads underneath to add.
Plugin Usage
- Plugins can be used, but you can't add them on Push.
- However, you can create racks for your favorite plugins in Live itself.
Creating Effect Racks
- I've added a VST plugin (Camera Crusher) to Live and an audio clip to that track in the session view.
- Deactivate the plugin to hear the sound dry, then with the effect for comparison.
Accessing Plugin Parameters
- The first eight parameters of the Camera Crusher can be navigated just like Live devices.
- You can create an audio effect rack using the right-click option or the keyboard shortcut (Command G on Mac, Ctrl G on Windows).
Saving and Loading Racks
- Save the new audio effect rack, naming it "Camel Crusher."
- To load the effect rack, navigate to the user library presets for audio effects, select "Rack," and access all parameters.
Macro Mapping
- It would make sense to map the macros for plugins you use often, allowing quicker access to commonly used parameters.
- Take time to prepare your plugins in racks for easy access on Push.
16 lecciones
3h 6m de lecciones en vídeo estructuradas
Funciones de vídeo avanzadas
Ralentiza, repite un pasaje, sigue la partitura
Móvil, tablet y ordenador
Practica donde quieras
Garantía de satisfacción 100%
30 días de garantía de devolución
Conoce a tu gurú

Conoce a tu gurú
Madeleine Bloom es una música de formación clásica, productora, multiinstrumentista y cantante de Berlín, y fundadora del sello Quixotica Records. Estudió música electroacústica en el Conservatorio Franz Liszt con el Prof. Robin Minard, y lleva esos métodos a su propia mezcla de pop electrónico. Su música ha recibido elogios de los productores Guy Sigsworth y Rupert Hine, así como una invitación personal de Imogen Heap, cuya gira abrió como telonera.
Antigua agente de soporte técnico de Ableton, en 2012 fundó la plataforma online Sonic Bloom, donde enseña Ableton Live y producción musical mediante cursos, talleres y clases individuales. Ha ayudado a personas de todo el mundo con Ableton Live, Push y Max for Live, además de con ingeniería de sonido, teoría musical, composición y diseño de sonido.







