



Configurar thru-tracks y loopers
Lesson time: (9min 8sec)
Mark Burnett muestra cómo enruta las señales en Ableton Live, configurando thru-tracks y loopers para un directo.
Course preview
This lesson is part of the course Cómo crear un directo espectacular con Ableton Live e instrumentos externos
Watch a preview of the full course below.
Lesson transcript:
Music Lesson: Looping and Audio Routing in Ableton Live
Overview of Devices
Okay, now, with this track, as with almost every other track in Live, there are a bunch of other devices there as well.
- Filters
- EQs
- Various other devices before and after the looper
You'll notice that there are lots of other devices on all of these other tracks. The specific devices do what they are intended to do, but the combinations of devices and the output from those combinations are really a case of experimentation, trial and error, and discovering what sounds you get with these different combinations.
There's nothing particularly rocket science about those; they are basic native Ableton Live devices. I'm just using them in slightly different ways on different tracks to achieve specific goals.
The KITS Track
Now, the next track here is called the KITS track. This is actually redundant at the moment; it's the next thing that I'm looking to add to this performance, which is an electronic drum trigger. As a drummer, I play a lot of drums, and I quite like having sticks as an interface. So, I have a drum pad that I'm hoping to add to this performance setup.
- This track will receive information from the drum pads and turn it into sounds.
- I'm using a selection of different drum kits within Ableton.
Ultimately, I will be able to select different drum kit sounds, play patterns in, and use it in much the same spontaneous way as the microphone. There won't be any recorded patterns; it will just be things that I create on-the-fly. I can create fills and perhaps drum for certain sections of the performance to add extra energy and give me something else to do when I've got a particularly good groove going.
You could consider the microphone and kits as channels 9 and 10 in terms of audio input or sound signal input to the mix.
Audio Handling and Routing
The other tracks to the right of it are very much related to how I'm handling audio and routing audio for various functions inside Live. One of the things I like to do in my performances is to capture small loops and manipulate them.
Through Tracks
To do that, I have to set up a number of tracks that I call through tracks.
- You can see four tracks to the right of the kits; they are labeled Through 1, Through 2, Through 3, and Through 4.
The reason for these through tracks is due to a problem with capturing loops. If I send all the audio from my various devices to the master output while trying to capture some of that output in a loop, I may accidentally create a feedback loop. Additionally, the looping technique I use means that the signal coming into the looper can't pass through anymore once the looper is activated.
For my performance, I don't want that; I want the loop on a separate track so I can mix it in and out of the original signal rather than replacing it.
Looping Example
To illustrate how this works, let's look at Loop 1. The way I capture loops in Live is by using the Beat Repeat device.
- The Beat Repeat is mapped so that its on/off button is connected to one of the buttons on the VCM mixer.
- When I press this button, the Beat Repeat activates, turning on both the device and the track activator on track 21.
The Beat Repeat captures the very first piece of audio coming into it and loops it.
Here's how it works:
- I'll play some audio into it.
- Only the parts I've assigned will loop:
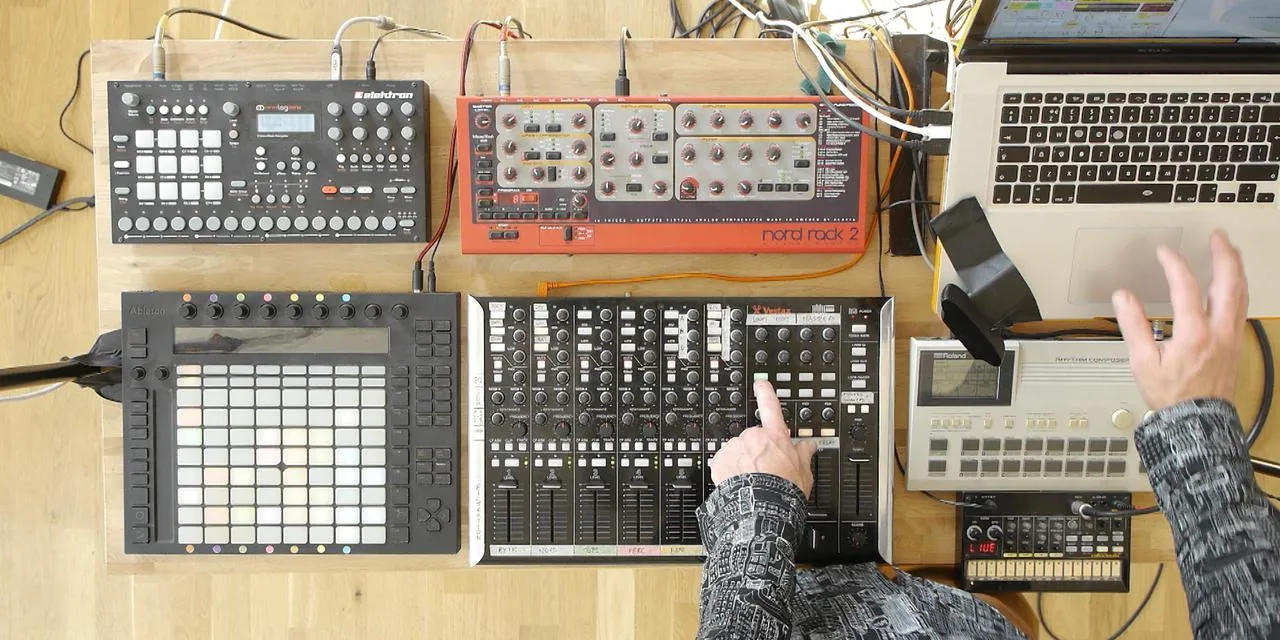
- Audio from the NORD
- Audio from the Korg Volca Beats
- Audio from the lead line
This means that if I capture a loop, it will only encompass those three signals.
Demonstration
Now, I'm going to give you a quick example of how the loop is set up and operated:
- I'm using the NORD because it has a button that allows me to just play a note to initiate the set.
- When I press a note, you can see the signal coming through on the NORD track, and you can also see the VU meter indicating activity on the Through 1 track.
Once I activate the looper, it captures a small loop.
- I can adjust parameters like the volume and grid size, which changes the length of the loop.
Loop Control
I have two loopers set up:
- Looper 1 captures audio from the three devices mentioned above.
- Looper 2 is dedicated to capturing loops from the TR505, as I like to loop specifically the drum sounds.
This setup allows me to create builds and transitions effectively.
Final Thoughts
To recap, these through tracks enable me to pull audio from other tracks and send it to the looper without putting the looper in the signal path directly and blocking the original signal from going to the master.
It's a clever routing method for extracting audio from within the set and manipulating it in a performance context.
About the instructor
Mark Burnett es un Ableton Certified Trainer que lleva más de 14 años trabajando con productos de Ableton. Como productor y DJ en Funk'n Deep Records, sus temas han sonado en grandes festivales y en sesiones y podcasts de artistas como Carl Cox y Richie Hawtin, y ha tocado ante multitudes de miles de personas. También organiza eventos a gran escala como Workhouse Project, y estudió en el Imperial College London. Su curso trata sobre el uso de Ableton Live para construir actuaciones en directo, y está pensado para productores y artistas de música electrónica que quieran llevar su espectáculo del estudio al escenario. read more