



Pista de delay y tiempos de delay
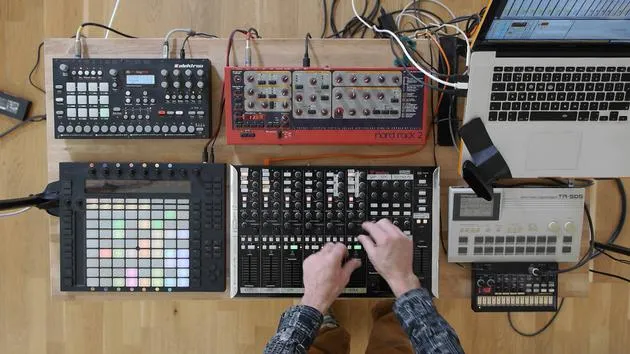
Mark Burnett asigna los mandos del controlador a una pista de retorno de delay en Ableton Live, sincronizando los tiempos de delay al tempo y ajustando la retroalimentación para un directo.
Qué incluye el curso
16 lecciones (2h 26m) · 2 gratis
01. Preparar el equipo
1:29
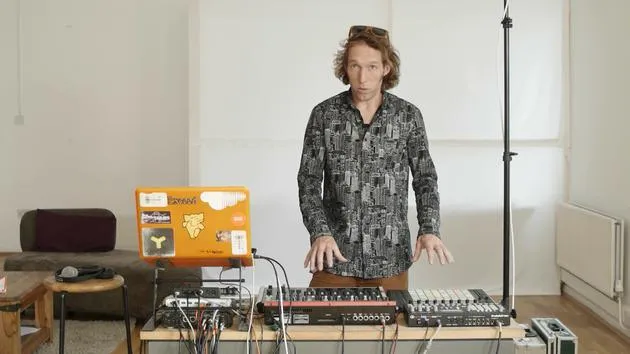
02. Presentación de los instrumentos
Lección gratis5:44
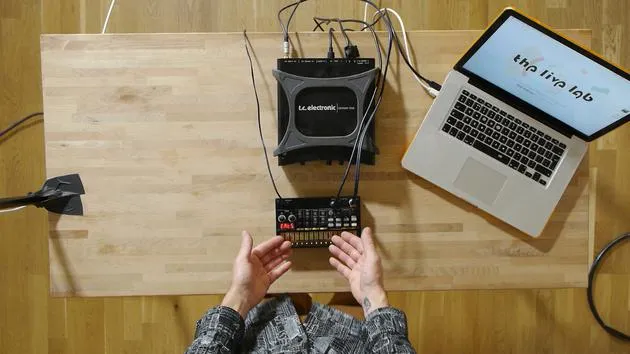
03. BONUS - Configurar un instrumento externo (Korg Volca Beats) en Ableton desde cero
Lección gratis12:51
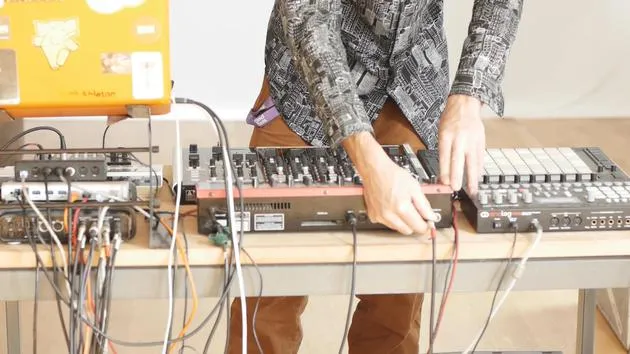
04. Entender el cableado, el MIDI y el enrutamiento de audio analógico
4:01
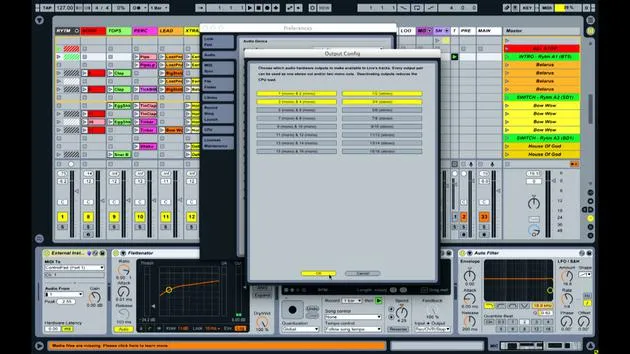
05. Configurar las preferencias de MIDI y audio en Ableton
10:44
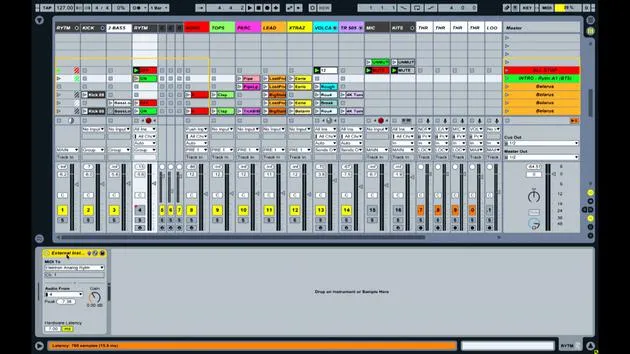
06. Configurar pistas y enrutamiento de señal en Ableton Live
6:46
07. Configurar pistas de instrumento externo en Ableton Live
8:33
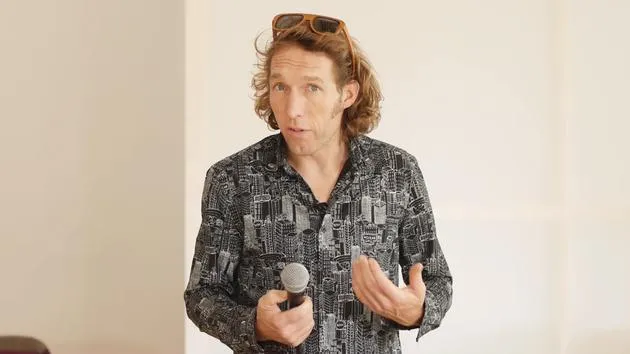
08. Configurar una pista de micrófono en Ableton Live
6:09
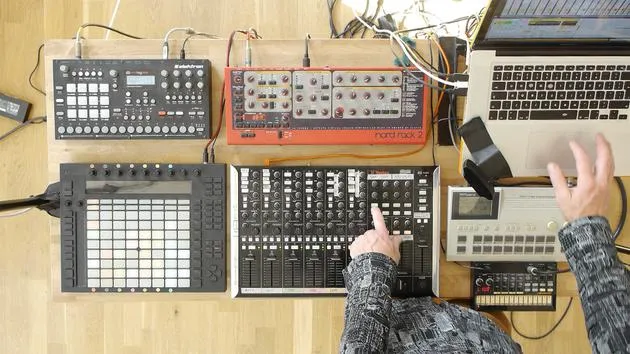
09. Configurar thru-tracks y loopers
9:08
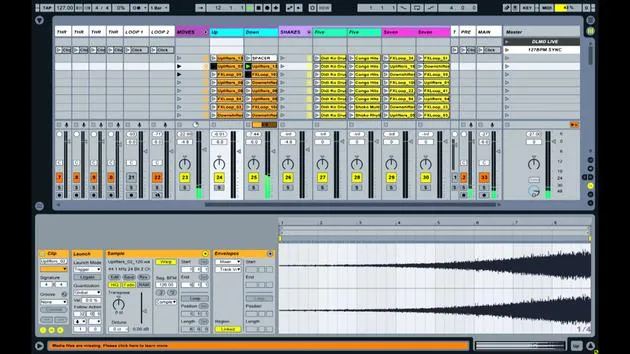
10. El arma secreta del set: movers and shakers
8:08
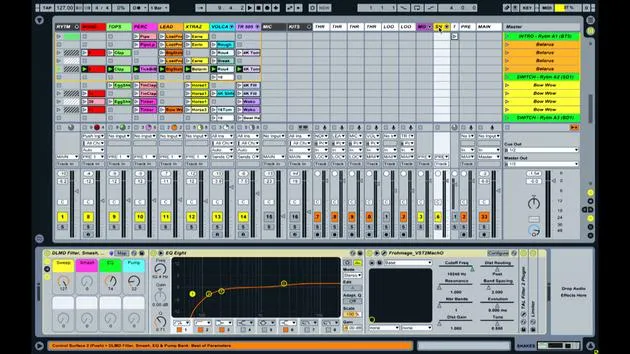
11. Enrutamiento de salida y FX máster
13:36
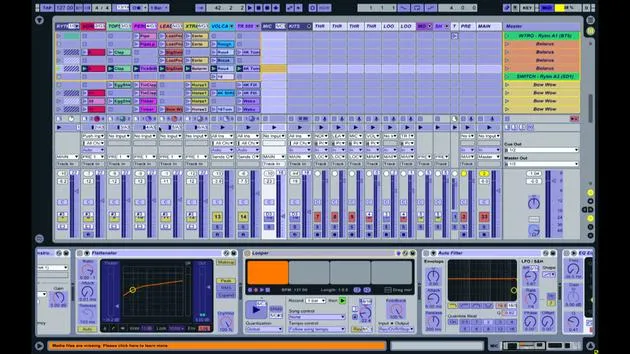
12. Mapeo MIDI, racks y macros (parte 1)
14:16
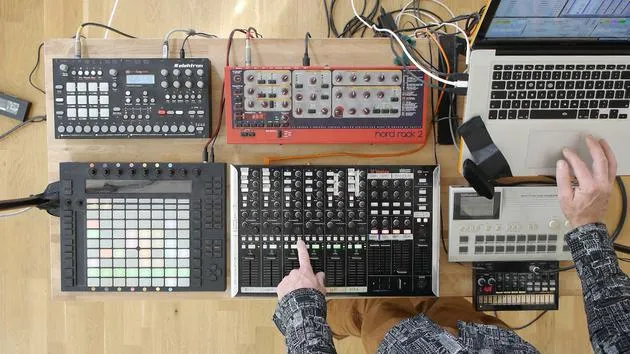
13. Mapeo MIDI, Racks y Macros (parte 2)
12:35
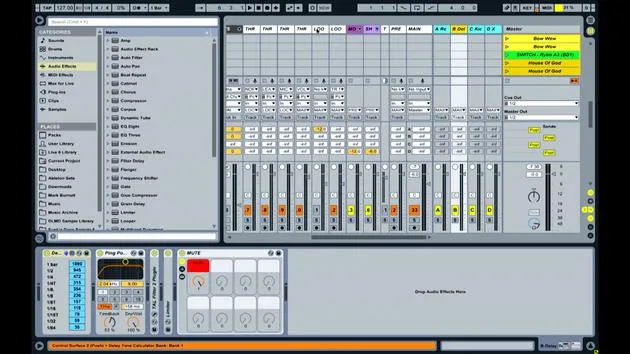
14. Pista de delay y tiempos de delay
Estás aquí3:33
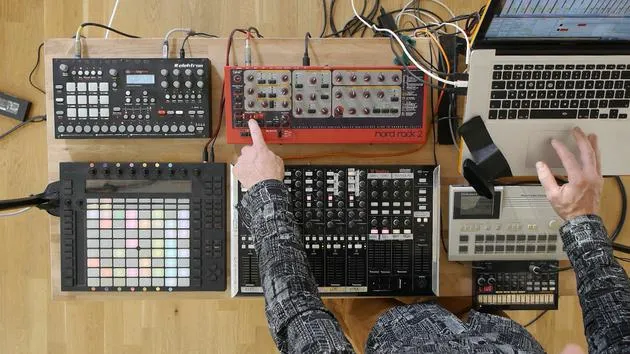
15. Cambios de programa e instrumentos externos
7:11
16. Contenido del set y técnica de interpretación
21:23
Transcripción de la lección
Final Note on Mapping
Okay, and just as a final note on mapping, I want to show you one of the things that I've set up that facilitates interaction between myself, the controller, and what's shown on screen.
Purpose of Mapping
The primary purpose of most of this mapping and assignment is to enable me to interact with these devices without having to spend a lot of time looking at the screen and working out what's going on.
Setting Up Delay Times
Importance of Screen Interaction
One thing that I do need to look at the screen for is when I'm setting up the delay times for things. The delay time changes depending on the tempos. If I want to synchronize particular delay times with the current tempo and time signature, then I need to:
- Listen (which means I have to actually be playing the delay while I'm doing it, introducing potential errors)
- Visually confirm the specific delay time for that track before applying it
Adjusting Delay Parameters
To manage this, I have two knobs on the device that control parameters from within my delay track.
- The delay track on screen is my second return track.
- The max for live device called "delay time calculator" is used, followed by a delay unit (in this case, the ping pong delay).
Knob Assignments:
- Knob 1: Controls feedback (within the useful range of 53 to 92%)
- Knob 2: Controls the delay time itself
Automatic View Adjustment
Now, if I switch to another track and want to adjust the delay time:
- As soon as I turn the delay time knob, it automatically jumps to the clip view of the delay track.
The way I've done that is by assigning the same MIDI controller to both the delay time knob and the view of that particular delay time device.
Quick Synchronization
This allows me to see:
- What delay time I'm at in the delay unit.
- The values for various synchronized delays.
For instance, if I wanted a quarter note or a dotted or a quarter triplet note delay time, I can see immediately that it would be:
- 315 milliseconds
Since I can see the milliseconds I've applied, I can easily set it to 315 milliseconds. Then, when I apply that delay, it will synchronize correctly.
Conclusion
This is another way you can use MIDI mappings to not only control things but also to bring up the correct information on screen. This approach helps you make the right decisions when preempting a specific transition or performing a particular technique.
16 lecciones
2h 26m de lecciones en vídeo estructuradas
Funciones de vídeo avanzadas
Ralentiza, repite un pasaje, sigue la partitura
Móvil, tablet y ordenador
Practica donde quieras
Garantía de satisfacción 100%
30 días de garantía de devolución
Conoce a tu gurú
Conoce a tu gurú
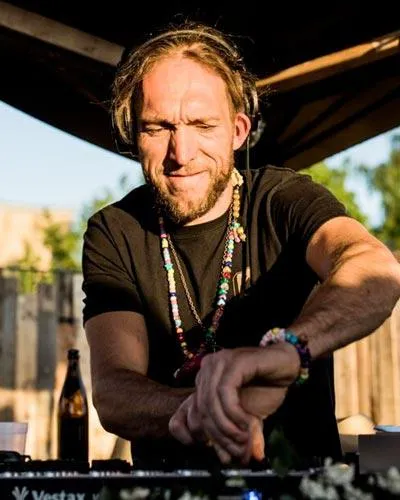
Mark Burnett es un Ableton Certified Trainer que lleva más de 14 años trabajando con productos de Ableton. Como productor y DJ en Funk'n Deep Records, sus temas han sonado en grandes festivales y en sesiones y podcasts de artistas como Carl Cox y Richie Hawtin, y ha tocado ante multitudes de miles de personas. También organiza eventos a gran escala como Workhouse Project, y estudió en el Imperial College London. Su curso trata sobre el uso de Ableton Live para construir actuaciones en directo, y está pensado para productores y artistas de música electrónica que quieran llevar su espectáculo del estudio al escenario.







