



Bending
James Barratt desglosa cómo hacer bendings limpios: apoyar el bending con dedos adicionales detrás, alcanzar la nota objetivo afinada y controlar el sustain, con licks de blues de ejemplo para probar.
Qué incluye el curso
14 lecciones (2h 12m) · 1 gratis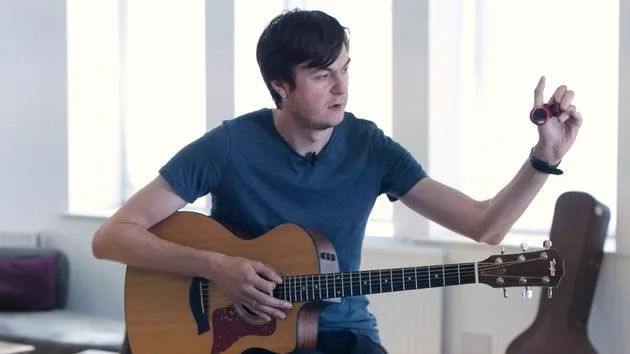
01. Afinación
13:34
02. Primeros pasos
Lección gratis9:58
03. Técnica básica
9:01
04. Acordes abiertos
6:24
05. Progresiones de acordes
7:57
06. El ritmo y la mano derecha
11:56
07. REM - Everybody Hurts
9:01
08. Bryan Adams - Run To You
3:23
09. Palm muting
3:16
10. Legato
8:47
11. Michael Jackson - Beat It
5:23
12. Bending
Estás aquí15:36
13. Acordes con cejilla
11:35
14. Resumen - AC/DC Back In Black
16:56
Transcripción de la lección
Lesson on String Bending
Hey guys, today's lesson is going to be about string bending. Okay?
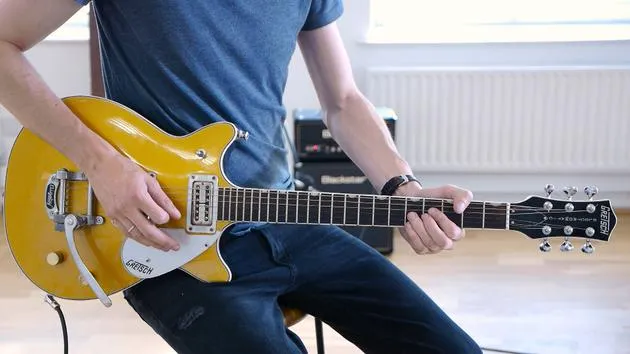
And for the eagle-eyed amongst you, you can see I've got a new guitar. I switched the electric for this one; it's just a little bit easier on my fingers when I'm showing you loads of bends. And it looks pretty damn cool as well, doesn't it?
General Technique of Bending Strings
So what we're going to do is start from the ground up and talk about the general technique of how to bend a string properly. The first thing we need to talk about is support.
Importance of Support
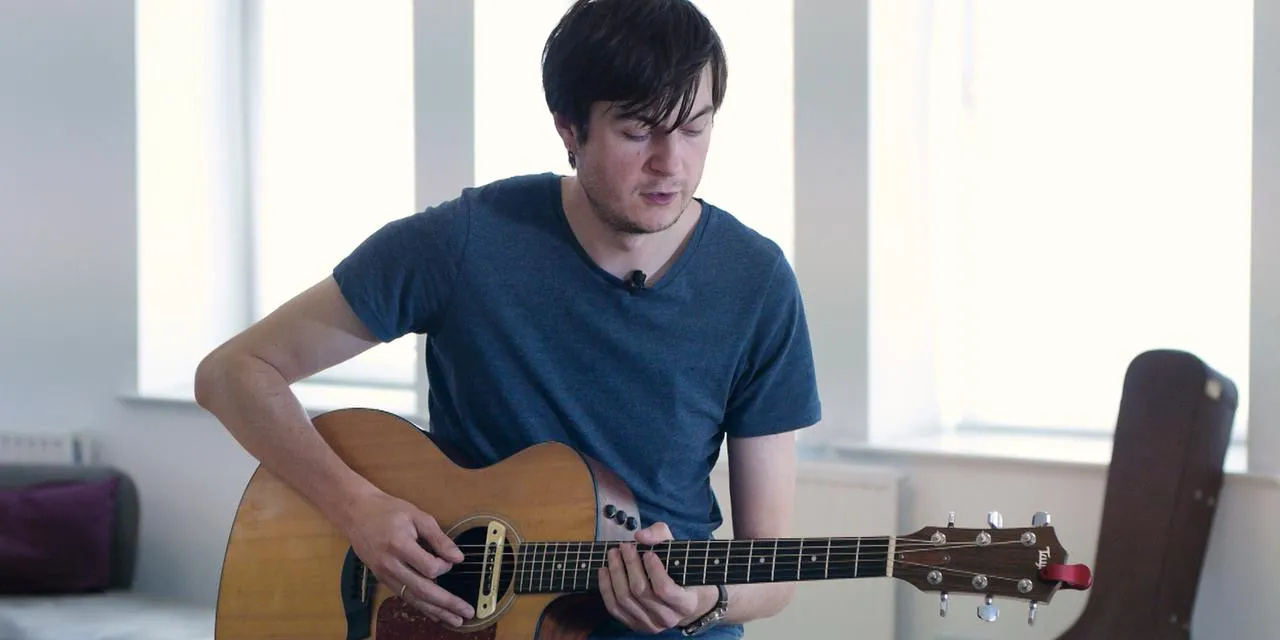
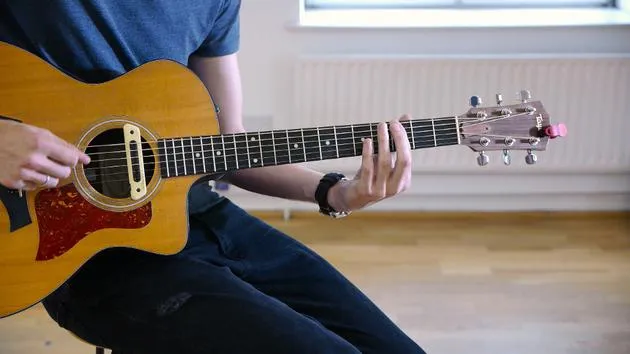
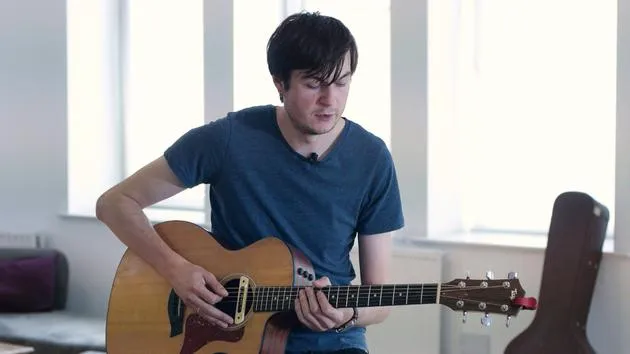
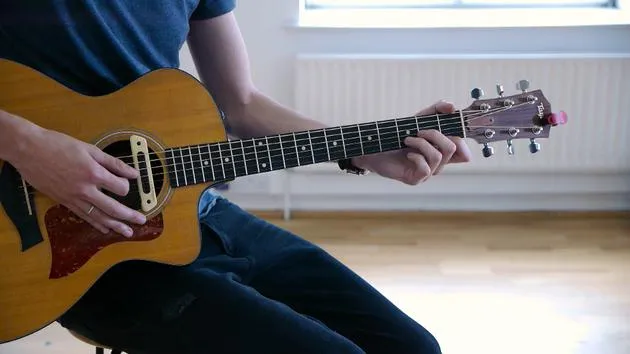
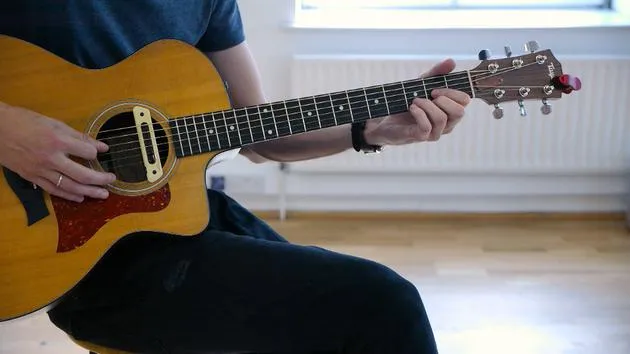
Supporting a bend is really, really important. By that, I mean we are going to line up other fingers on the same string behind the bending finger.
- For example, if we are bending on the eighth fret of the E string with our third finger, I don't just want to pick that string and start trying to bend it with a single finger on the guitar.
- It's too much resistance going through that one finger.
- It's going to hurt, and I'll have no control over the sustain and the height of the bend. Really, it's just going to sound weak and hurt.
So, I need to support that bending finger by lining up at least one other finger behind it.
- My second finger can help support that bend behind my third finger on the same string.
- I could line up my first finger as well if I wanted to, and I will for this example.
Types of Bends
Now, let's talk about how we read bends and how they're notated along with the different types of bends we'll encounter.
- Quarter Tone Bend: The smallest bend known as a quarter tone bend is essentially like half of one fret in terms of pitch. It's a really negligible amount of change in pitch, but you hear it all the time in blues licks. It sounds really, really cool.
"A quarter tone bend will kind of sound like this."
So just that little tweak up sounds really cool.
Supporting the Bend
Even for that tiny amount of string movement, I'm going to support that bend with my second finger.
Now, what you can see I'm doing there with my first finger (and I do this a lot) is use my first finger as essentially a muting finger.
- If I don't do that, what will happen is, if I exaggerate the bend a little more and come down, you can hear the open strings above the string that I've bent from.
- You can particularly hear that open G ringing there, which isn't good.
So, I use my first finger as a muter.
- My second finger is the one that's supporting the bend.
- Even for that quarter tone bend, I want to make sure that no other strings can ring out apart from the one that I'm fretting.
Pressure and Finger Placement
We are applying pressure with both fingers down onto the fretboard. We want to make sure that the strings above, like the B string, go underneath our fingertips.
- We don't want the string above going over our fingernails.
- If I do a large bend, I'm going to have one or two strings underneath my third and second fingers.
Different Amounts of Bends
We've discussed the quarter tone bend, which is very small.
- A half tone bend is the equivalent of bending one fret.
- Notation-wise, it would look like: pick the eighth fret, have a little arrow pointing upwards to indicate that I'm bending the string upwards, and then in brackets, you usually get the pitch of the note that you're bending to.
For instance, if I'm doing a half tone bend, I'd have:
- Number 8 with an arrow up, and then the number 9 to indicate bending up half a tone.
You can hear that I'm bending to the tone of the ninth fret there.
We can bend a tone as well, which is equivalent to bending two frets.
- In this case, I would have my eighth fret, an arrow upwards, and then the number 10 in brackets to indicate I'm bending to that pitch.
Practicing Bends
A really good exercise to start with is getting used to bending and the feel of bending on all six strings. It feels very different.
- For example, bending a string with my second finger on the third fret feels quite different than bending on the third fret of the E string.
- The shape and location of the strings on the fretboard mean that when I bend on the thick E string, I actually have to bend down towards the floor.
Physically, I can't bend upwards towards the ceiling like I can on the thin E string because I'll run out of fretboard and go off the side.
- The same thing will happen on the top string.
In essence, it doesn't matter whether you're technically bending down towards the floor or up towards the ceiling; you get the same effect.
Bending with the First Finger
The only time you are not going to support a bend is when you are doing a bend with your first finger.
- The reason is there are no spare fingers behind it to support it.
- Generally, the first finger is probably the strongest finger on our left hand anyway, so it can cope with doing bends on its own.
Pre-Bend Exercise
A really good exercise I have found for practicing my bending is this:
- Pick any location on the guitar; let's say the seventh fret on the G string.
- That is my target pitch that I want to bend up to.
Next:
- Go down a fret and pre-bend the string.
- By pre-bending, I mean bending it before I pick it.
- This tests my ability to accurately pitch to the seventh fret.
For example:
- If I guessed a bit sharp, I bent the string too much, and now I'm pretty much spot on.
Downward Bends
We bent upwards; now, let's talk about bending downwards.
- To bend down, we go up, then release the bend.
It's important to keep the pressure on the fingerboard the entire time.
"You see it all the time: people will bend up, get the pitch, and then come down, and the note dies."
That's because they've lost pressure on the fingerboard.
String Bending Contextualized in Licks
Now I want to show you some bends in the context of licks.
Lick 1
Here's the first lick; I'll just play it for you and then we'll discuss:
1, 2, 3, 4.
It's kind of a bluesy-sounding lick utilizing the quarter tone bend.
- We're playing a third fret on the G string. Even with this very small bend, we're going to support it with our second finger and use our first finger as a muter.
The lick goes as follows:
- Bends up a tiny bit, open E, then open B to the third fret on the B.
- Then we'll do a cheeky bend on there as well, followed by descending notes, ending on the root note, the E.
Lick 2
Now let's look at one that uses a more substantial bend.
- We're up on the seventh fret of the G string doing a tone bend.
This will require more effort to bend up one tone.
- We lead with our third finger, support with the second, muting with the first.
We pick the seventh fret and immediately bend up a tone to reach the pitch of the ninth fret.
It's worth practicing that a few times.
- For this lick, we must bend upwards because the following notes involve barring across the B and E strings.
- This means we do not want our bent string in the way of fretting those notes next.
Conclusion
To wrap up, here are the important things to take away:
- Support, support, support. You must support your bending finger unless you're bending with your first finger.
Spend some time with this; it's a tricky technique and takes practice to get right. Make sure you are targeting and are precise with the pitch you want to reach.
Good luck with this! I look forward to seeing you in the next lesson.
14 lecciones
2h 12m de lecciones en vídeo estructuradas
Funciones de vídeo avanzadas
Ralentiza, repite un pasaje, sigue la partitura
Móvil, tablet y ordenador
Practica donde quieras
Garantía de satisfacción 100%
30 días de garantía de devolución
Conoce a tu gurú

Conoce a tu gurú
James ha disfrutado de una exitosa carrera como músico a tiempo completo desde que se graduó en la Academy of Contemporary Music en 2007. Desde entonces ha trabajado con artistas y productores de Stereophonics, Ronnie Dunn, Scissor Sisters y muchos más. También compone música para televisión y cine, como el anuncio de televisión 'Music Pieces' de Sony Walkman y el tráiler de la película Albatross.
Se define a sí mismo como una especie de purista, un músico de músicos, y este enfoque de su arte ha despertado el interés de grandes empresas y productores de televisión. A James se le puede escuchar en programas como 'Geordie Shore' e incluso en anuncios de la British Heart Foundation, gracias a su versatilidad natural como artista. Como él mismo dice: "El mejor cumplido, y el más frecuente, que recibo en las sesiones para clientes es que toco lo que es 'correcto' para la música. A menudo, todo se reduce a la sencillez."
"James es de verdad. Un gran intérprete, con un tono demoledor, y no dudaría ni un segundo en recomendarlo para cualquier proyecto. ¡Sigue así, James!" - Joey Sykes (Meredith Brooks / Will Champlin / The Babys)
En Foundations of Rock Guitar Technique, James transmite exactamente esa filosofía, mostrándote cómo desarrollar una técnica de guitarra rock sólida y musical y tocar lo que es 'correcto' para la canción.







