



BONUS - Ein externes Instrument (Korg Volca Beats) in Ableton von Grund auf einrichten
Lerne, ein externes Instrument (Volca Beats) in Ableton Live einzurichten und zu konfigurieren
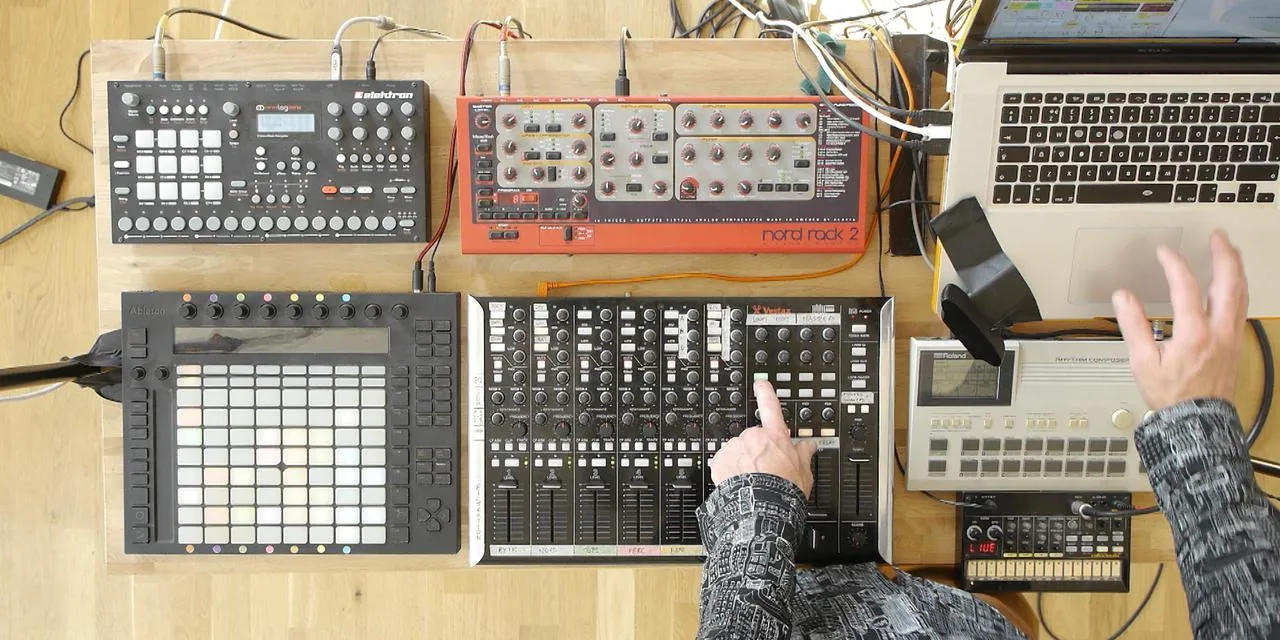
Das steckt im Kurs
16 Lektionen (2h 26m) · 2 gratis
01. Das Equipment aufbauen
1:29
02. Vorstellung der Instrumente
Gratis-Lektion5:44
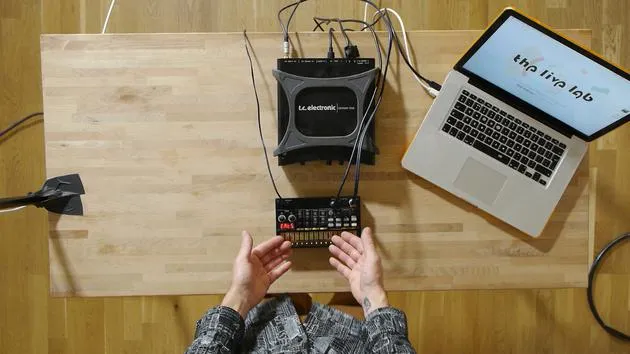
03. BONUS - Ein externes Instrument (Korg Volca Beats) in Ableton von Grund auf einrichten
Du bist hier12:51
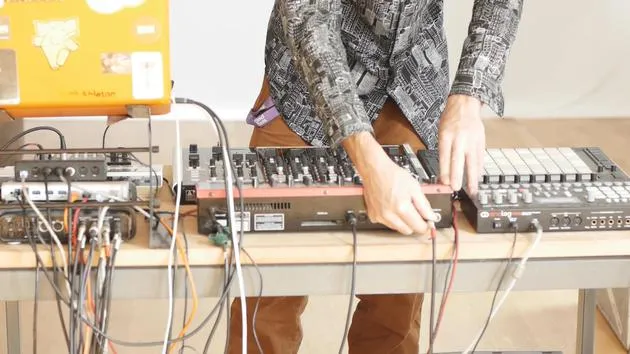
04. Verkabelung, MIDI und analoges Audio-Routing verstehen
4:01
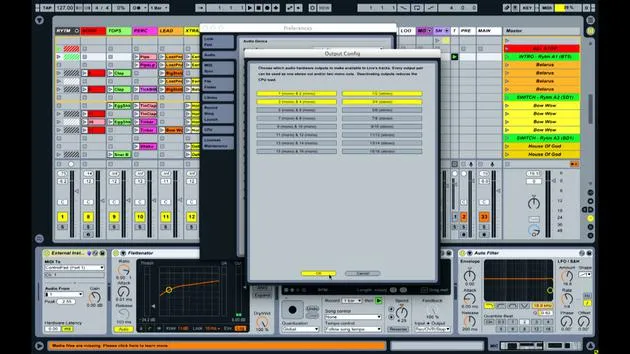
05. MIDI- & Audio-Einstellungen in Ableton einrichten
10:44
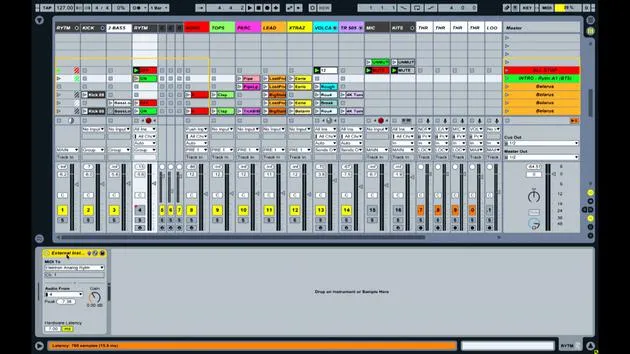
06. Spuren einrichten & Signal-Routing in Ableton Live
6:46
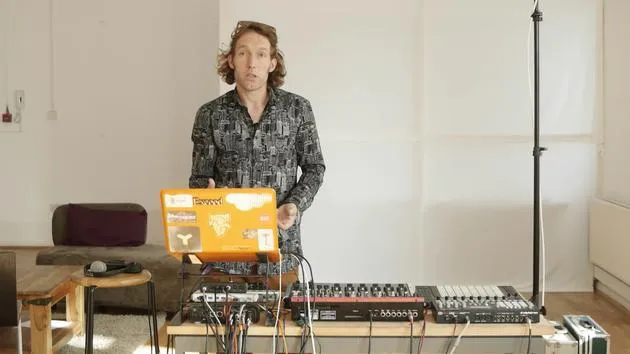
07. Externe Instrumentenspuren in Ableton Live einrichten
8:33
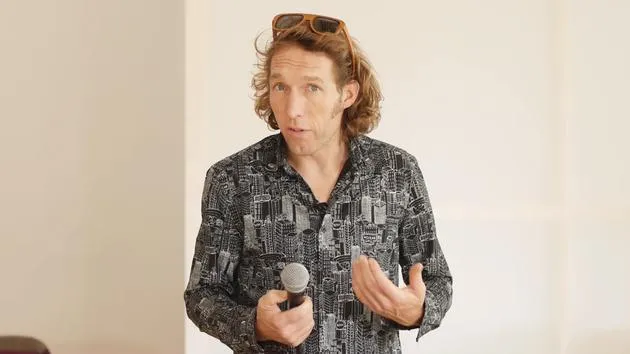
08. Eine Mikrofonspur in Ableton Live einrichten
6:09
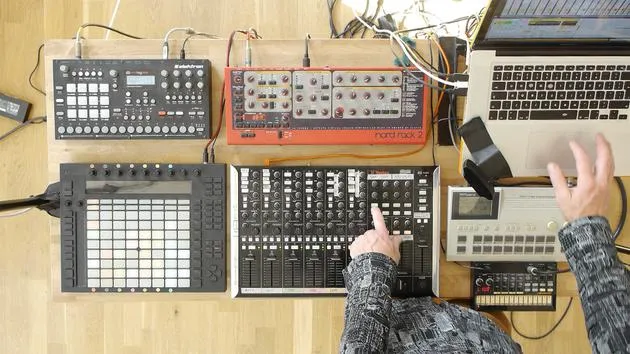
09. Thru-Tracks und Looper einrichten
9:08
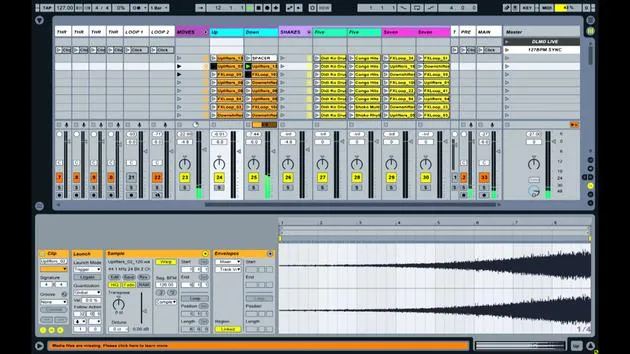
10. Die Geheimwaffe des Sets – Movers and Shakers
8:08
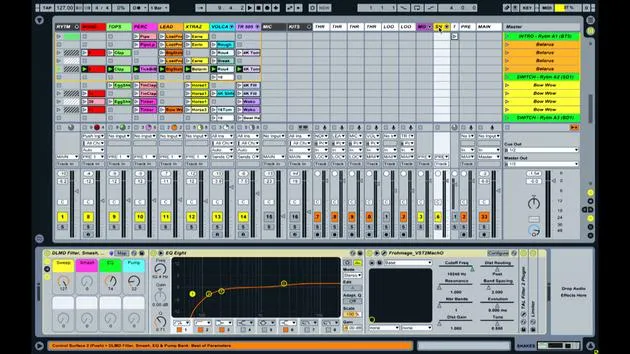
11. Ausgangsrouting & Master-FX
13:36
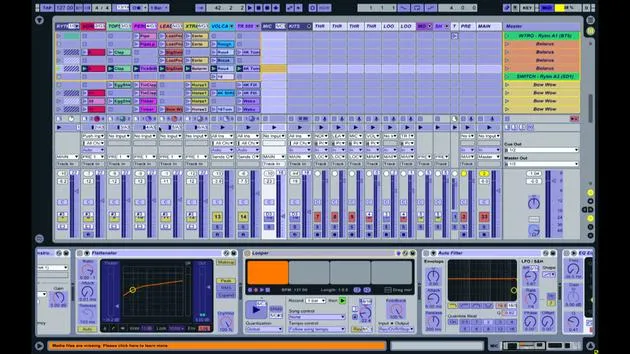
12. MIDI-Mapping, Racks & Macros (Teil 1)
14:16
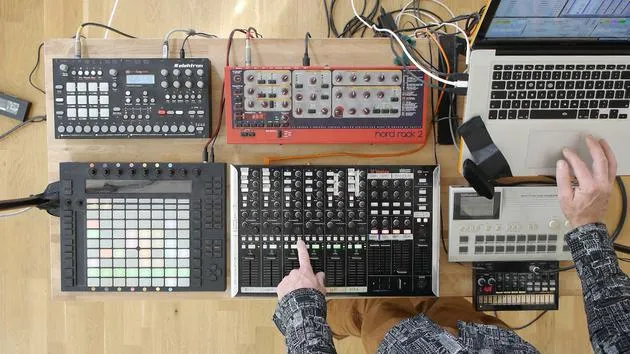
13. MIDI-Mapping, Racks & Macros (Teil 2)
12:35
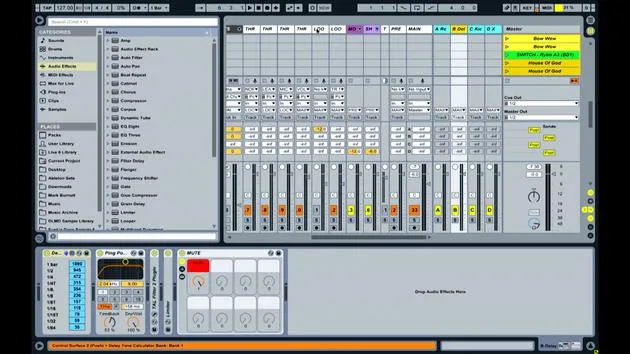
14. Delay-Spur und Delay-Zeiten
3:33
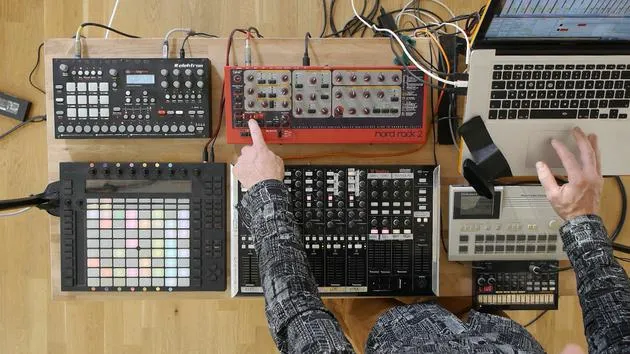
15. Programmwechsel & externe Instrumente
7:11
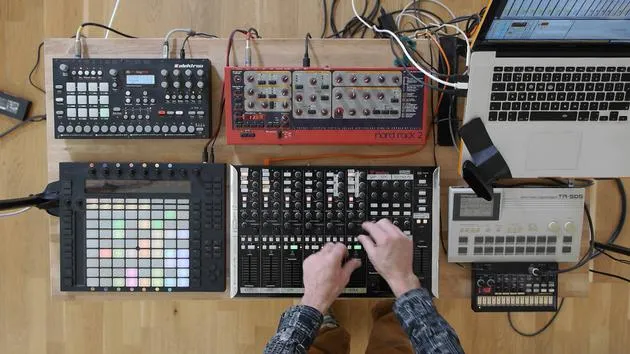
16. Set-Inhalt und Performance-Technik
21:23
Transkript der Lektion
Integrating Hardware with Ableton Live
Okay, so you've been using Ableton for a little while. You've managed to create some parts and sort of play around with ideas. You might have even been using it for a while, and you're proficient in producing music inside the software itself. But now, you've decided that you want to get involved in the hardware revolution that's happening right now.
People are realizing the benefits and the fun involved in getting hold of actual hardware boxes that you can interact with.
Getting Started with Hardware
Let's say you've just been to the shop and bought something like the Korg Volker Beats. It's a lovely little drum machine, super cheap for what you get. It has some really nice analog circuits that create some fantastic sounds. You can play it straight out of the shop with the built-in speaker, but you want to know how to integrate it with what you've already got inside Ableton Live.
Equipment Needed
To get this to work, you're going to need a couple of things:
- Audio MIDI Interface:
- The one I'm using today is the TC Electronic Connect Live.
- It's important that your interface has:
- Audio inputs and outputs.
- MIDI in and out (the MIDI out is crucial, as it's how you will send information to your external gear).
Connecting Everything Together
Now, I'm going to show you how to connect everything together.
- My audio interface is a FireWire interface, so it connects with a FireWire cable.
- If you have a USB audio interface, it will connect using a USB cable.
Plug in the FireWire cable to my Mac. Once connected, you should see power on the front of your audio interface.
Next, plug in your Korg Volker Beats.
- Remember, this device only has a MIDI in, so it can only receive information (it can't send information as MIDI), but it does have an audio out.
Setting Up the MIDI Connection
-
MIDI Cable:
- Use a standard five pin MIDI cable.
- Connect the output from the audio MIDI device to the input on the Korg Volker Beats.
- This will send MIDI information; for example, when I tell Ableton Live to play kick drums, it sends that message to the drum machine.
-
Audio Connection:
- You'll need an audio lead to get the sound back into Ableton.
- The Volker Beats has a mini jack output, so use a mini jack lead to connect it to the larger mono jacks on my audio interface (inputs 1 and 2).
-
Powering the Device:
- Some devices run on batteries; if your Korg does, make sure you have some, or plug it in.
Setting Up Ableton Live
Now, let's get Ableton loaded.
- It's best to plug in all your devices before booting up Live, as this helps it recognize everything correctly.
-
Open Ableton Live:
- Create a new set to work from the basic building blocks.
-
Audio Preferences:
- Go to the preferences (Control + Comma or Command + Comma).
- Select the audio tab to ensure your audio input/output device is set to the one you're using.
- If it isn't, select it from the drop-down box.
- Check that inputs and outputs 1 and 2 are activated (they should be yellow).
-
Monitoring Signal:
- Go back to your set.
- Open the IO tab if you don't see the input/output routing section.
- Start tapping on the Volker Beats; you should see the VU meters lighting up.
Using the External Instrument Device
To trigger your drum machine and get audio back into your Live set:
-
Create a MIDI Track:
- Drag an external instrument onto MIDI track one.
- Set the MIDI section to send info to your Korg Volker Beats.
-
Set MIDI and Audio Channels:
- In the external instrument device, select the appropriate MIDI channel (for Korg Volker Beats, it operates on MIDI channel 10).
- Set the audio input to 1 and 2.
-
Test the Setup:
- Enable your MIDI keyboard and record arm the track. Try playing some notes to trigger sounds from the drum machine.
Creating Patterns and Mixing
- Now you can create MIDI patterns within the MIDI track, triggering the drum machine sounds.
- Use the piano roll in the MIDI clip to identify sound mappings (e.g., C1 for kick drum).
Final Thoughts
This setup allows you to incorporate your external instrument much like any other software plugin while allowing for hands-on interaction. You can adjust parameters and sounds directly on the hardware, and still maintain the ability to apply effects, mix, and manipulate audio within Ableton Live.
I hope this helps you understand how to connect a basic device! Next, I'll show you my full live setup involving multiple devices all working under the same principle: sending messages out as note information and getting audio back in for a cohesive performance.
16 Lektionen
2 Std. 26 Min. strukturierte Videolektionen
Erweiterte Videofunktionen
Verlangsamen, Passagen loopen, mitlesen
Handy, Tablet & Desktop
Üben, wo du willst
100 % Zufriedenheitsgarantie
30 Tage Geld-zurück-Garantie
Lern deinen Guru kennen
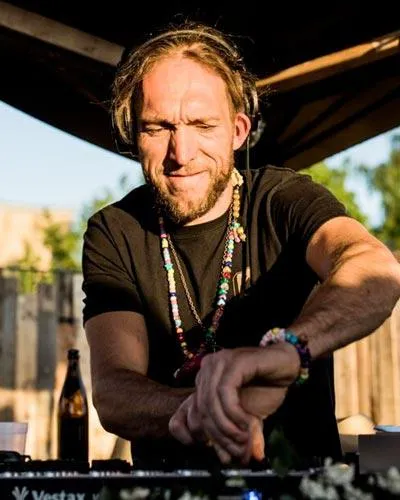
Lern deinen Guru kennen
Mark Burnett ist ein Ableton Certified Trainer, der seit über 14 Jahren mit Ableton-Produkten arbeitet. Als Produzent und DJ bei Funk'n Deep Records liefen seine Tracks auf großen Festivals sowie in Sets und Podcasts von Künstlern wie Carl Cox und Richie Hawtin, und er hat vor Tausenden von Menschen gespielt. Außerdem veranstaltet er große Events wie das Workhouse Project und studierte am Imperial College London. Sein Kurs behandelt den Einsatz von Ableton Live zum Aufbau von Live-Performances und eignet sich für Produzenten und Performer im Bereich elektronischer Musik, die ihre Show aus dem Studio auf die Bühne bringen möchten.







